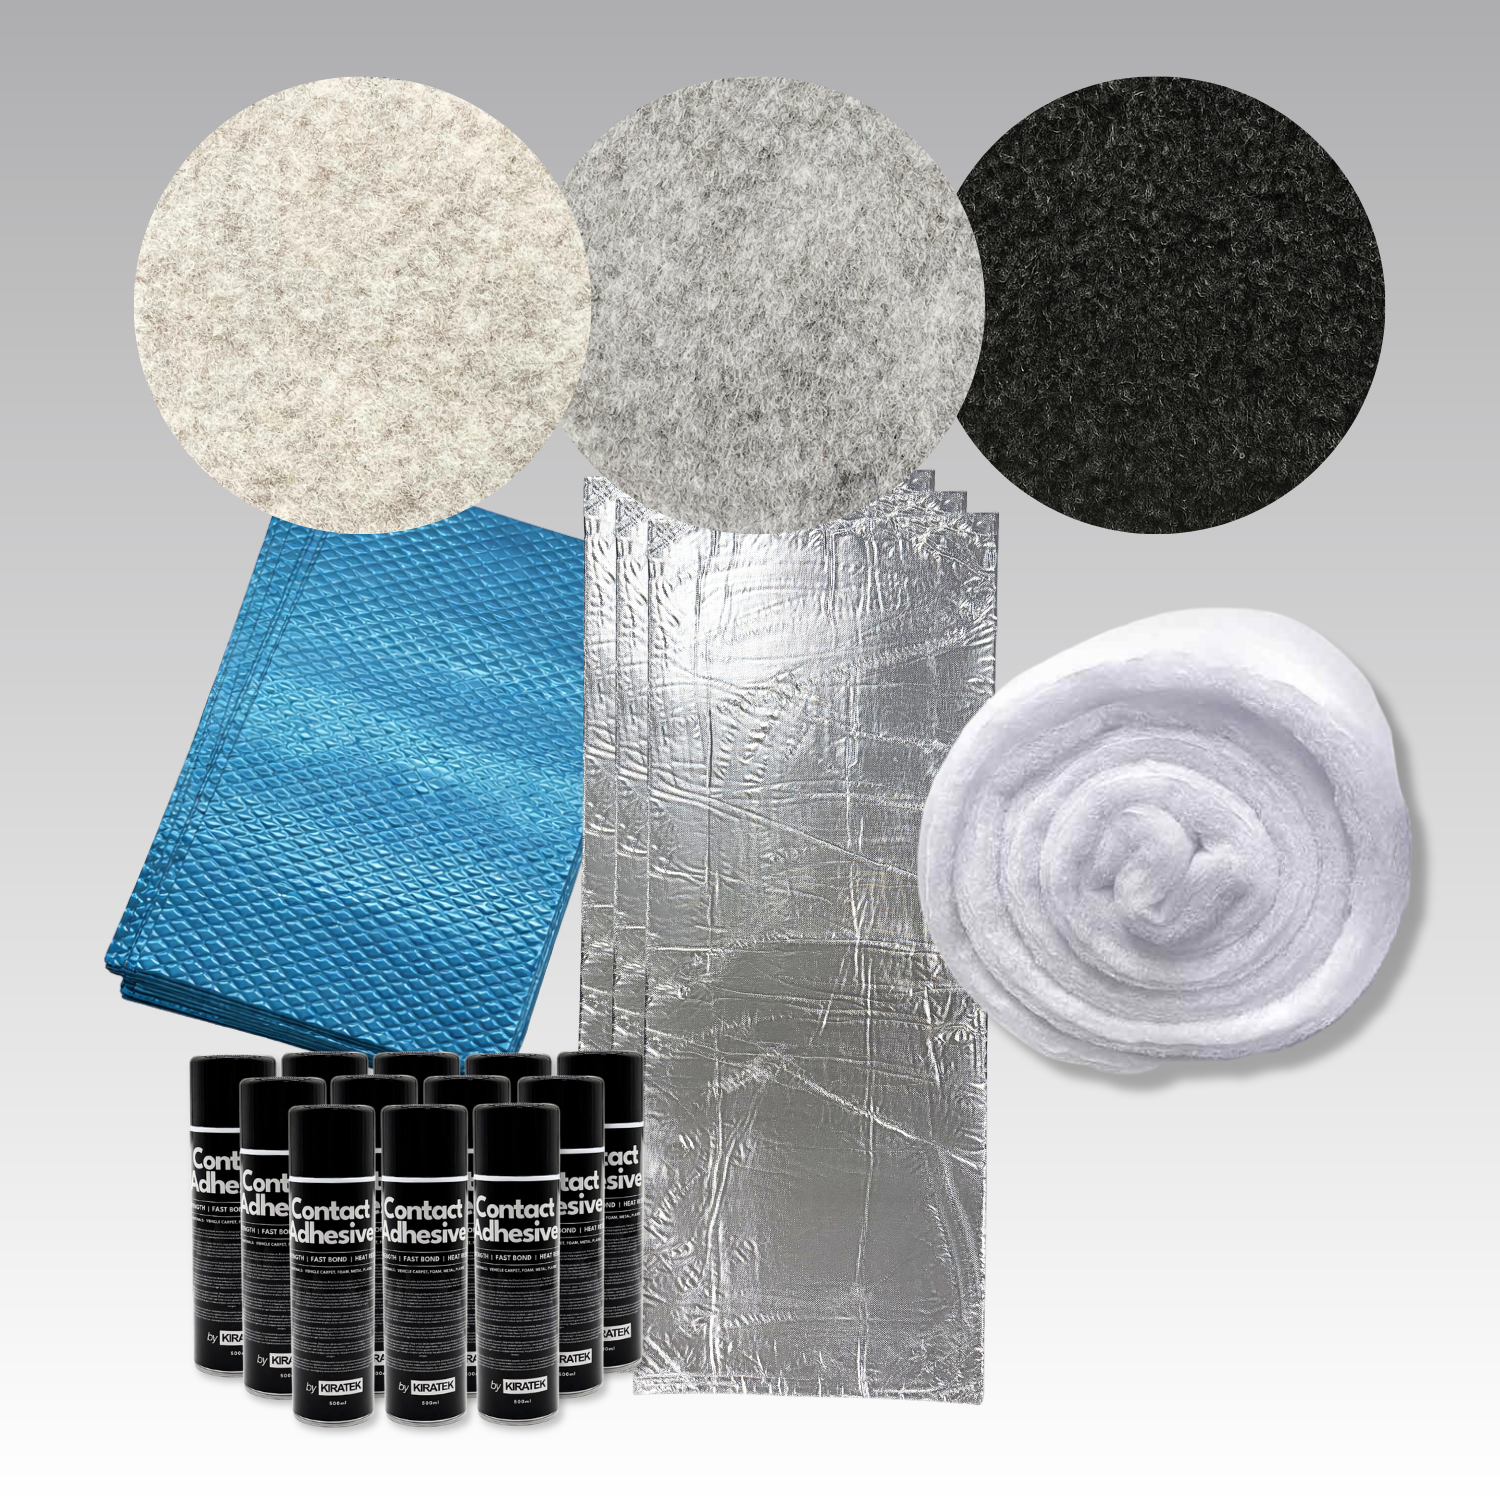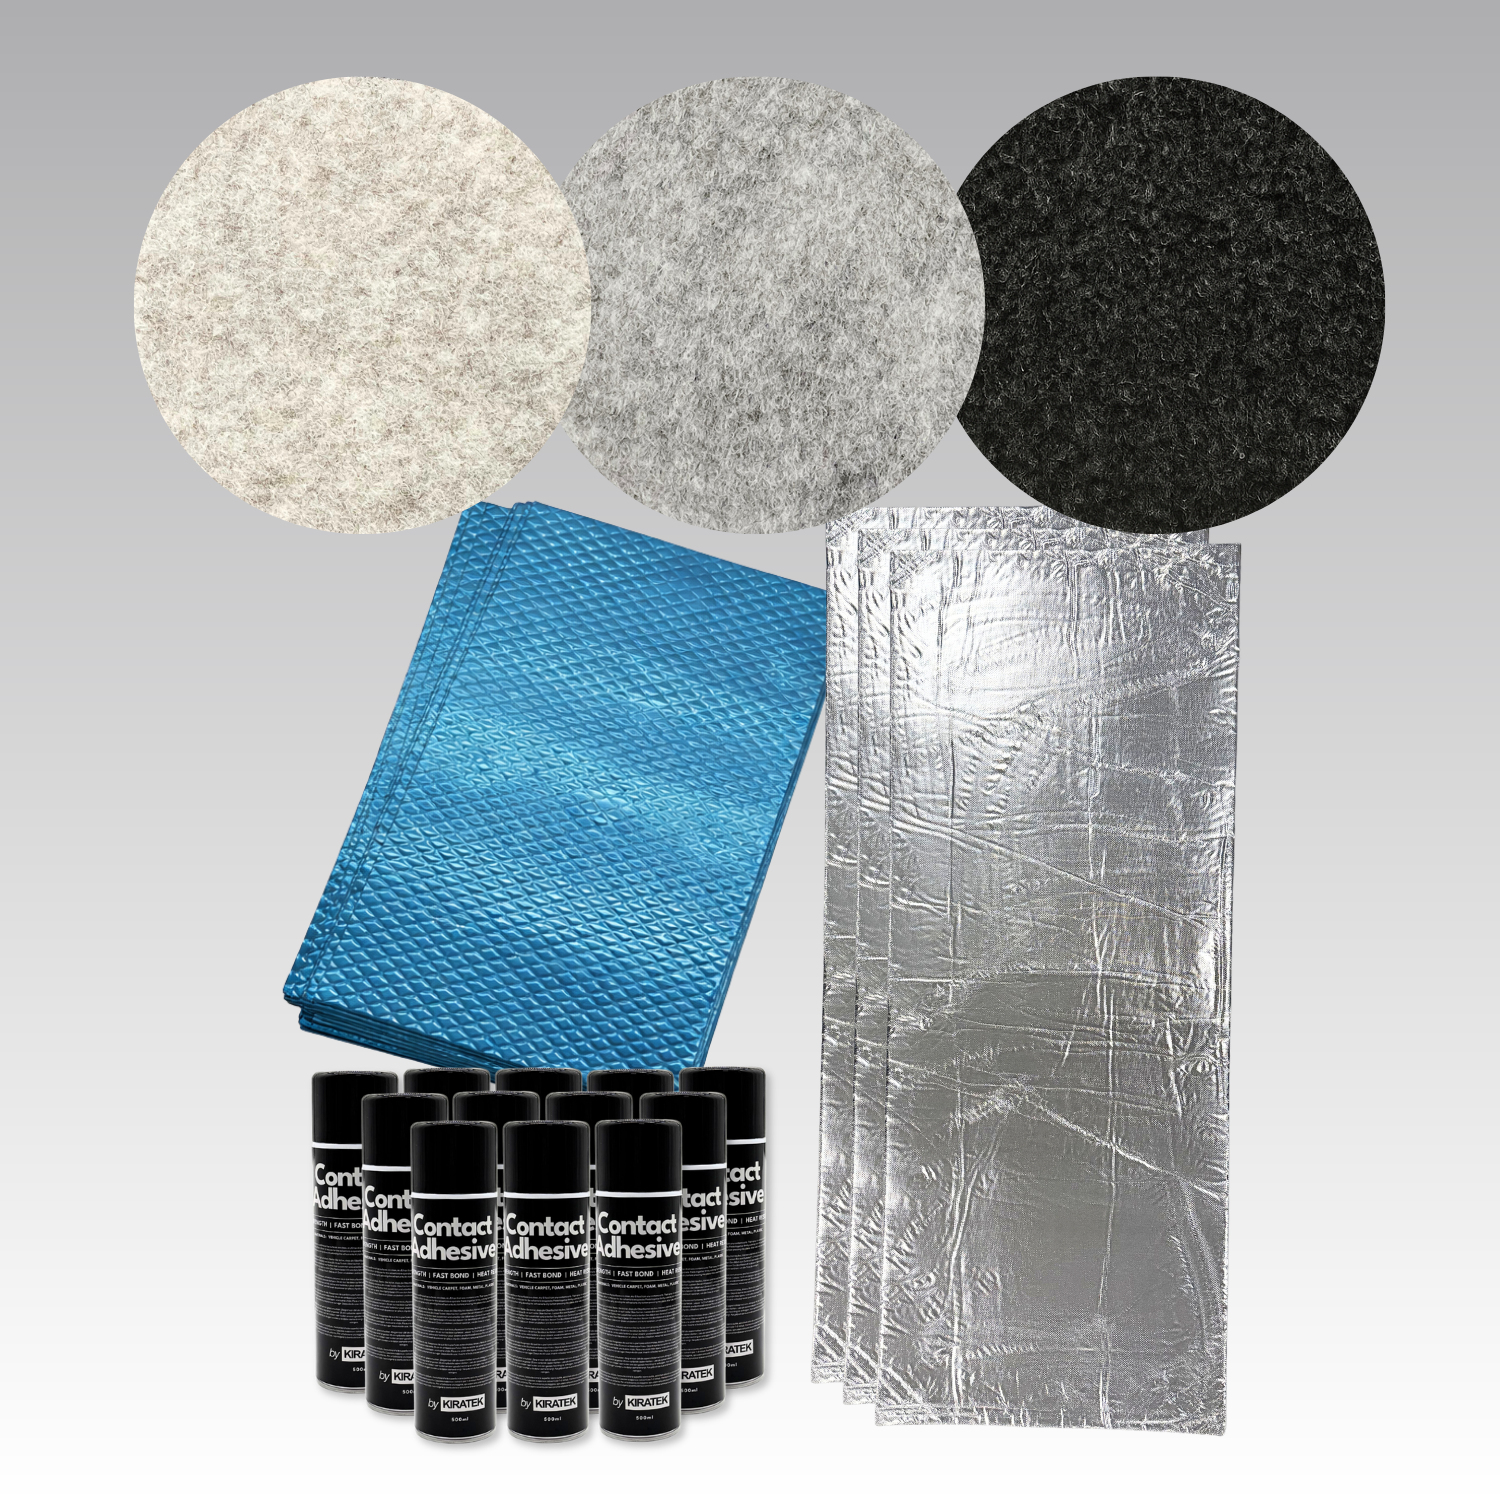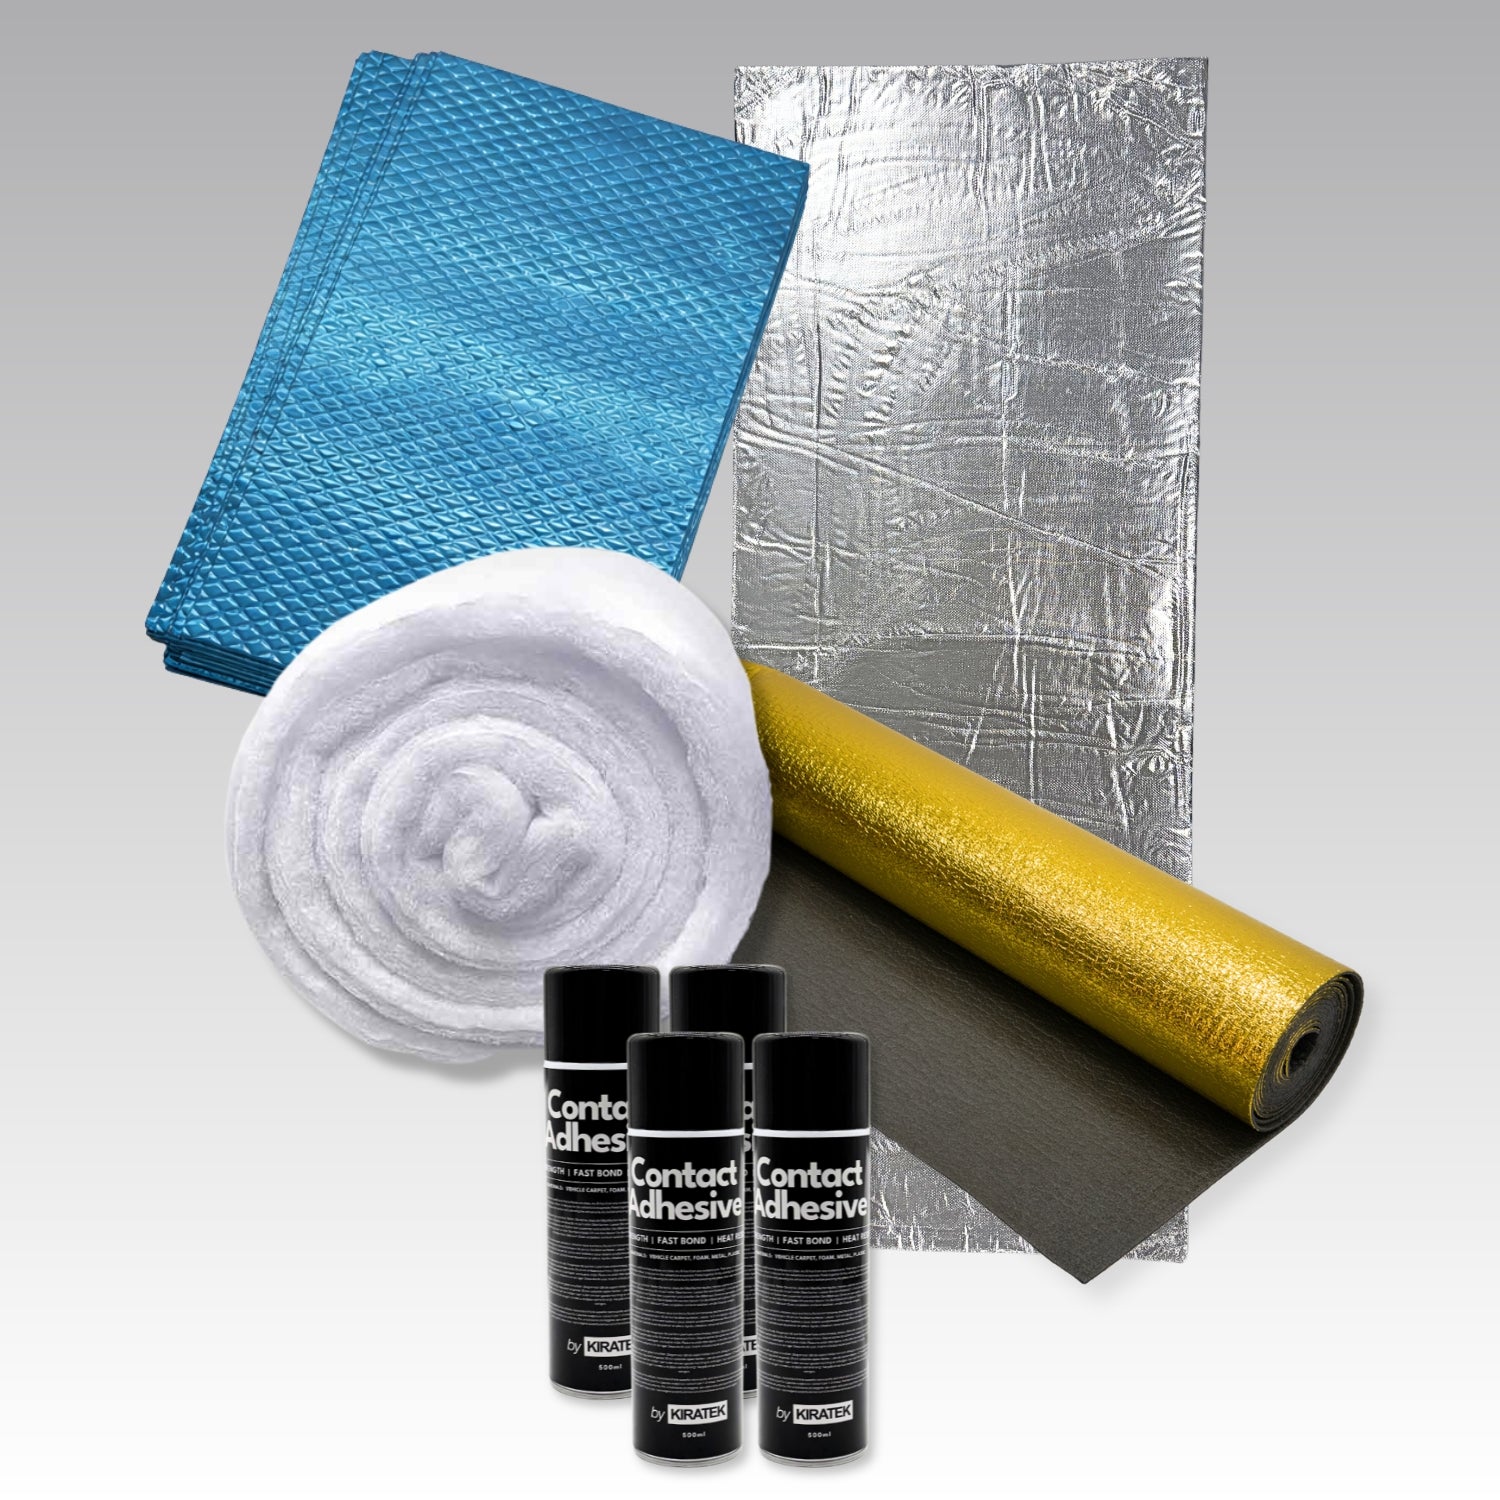
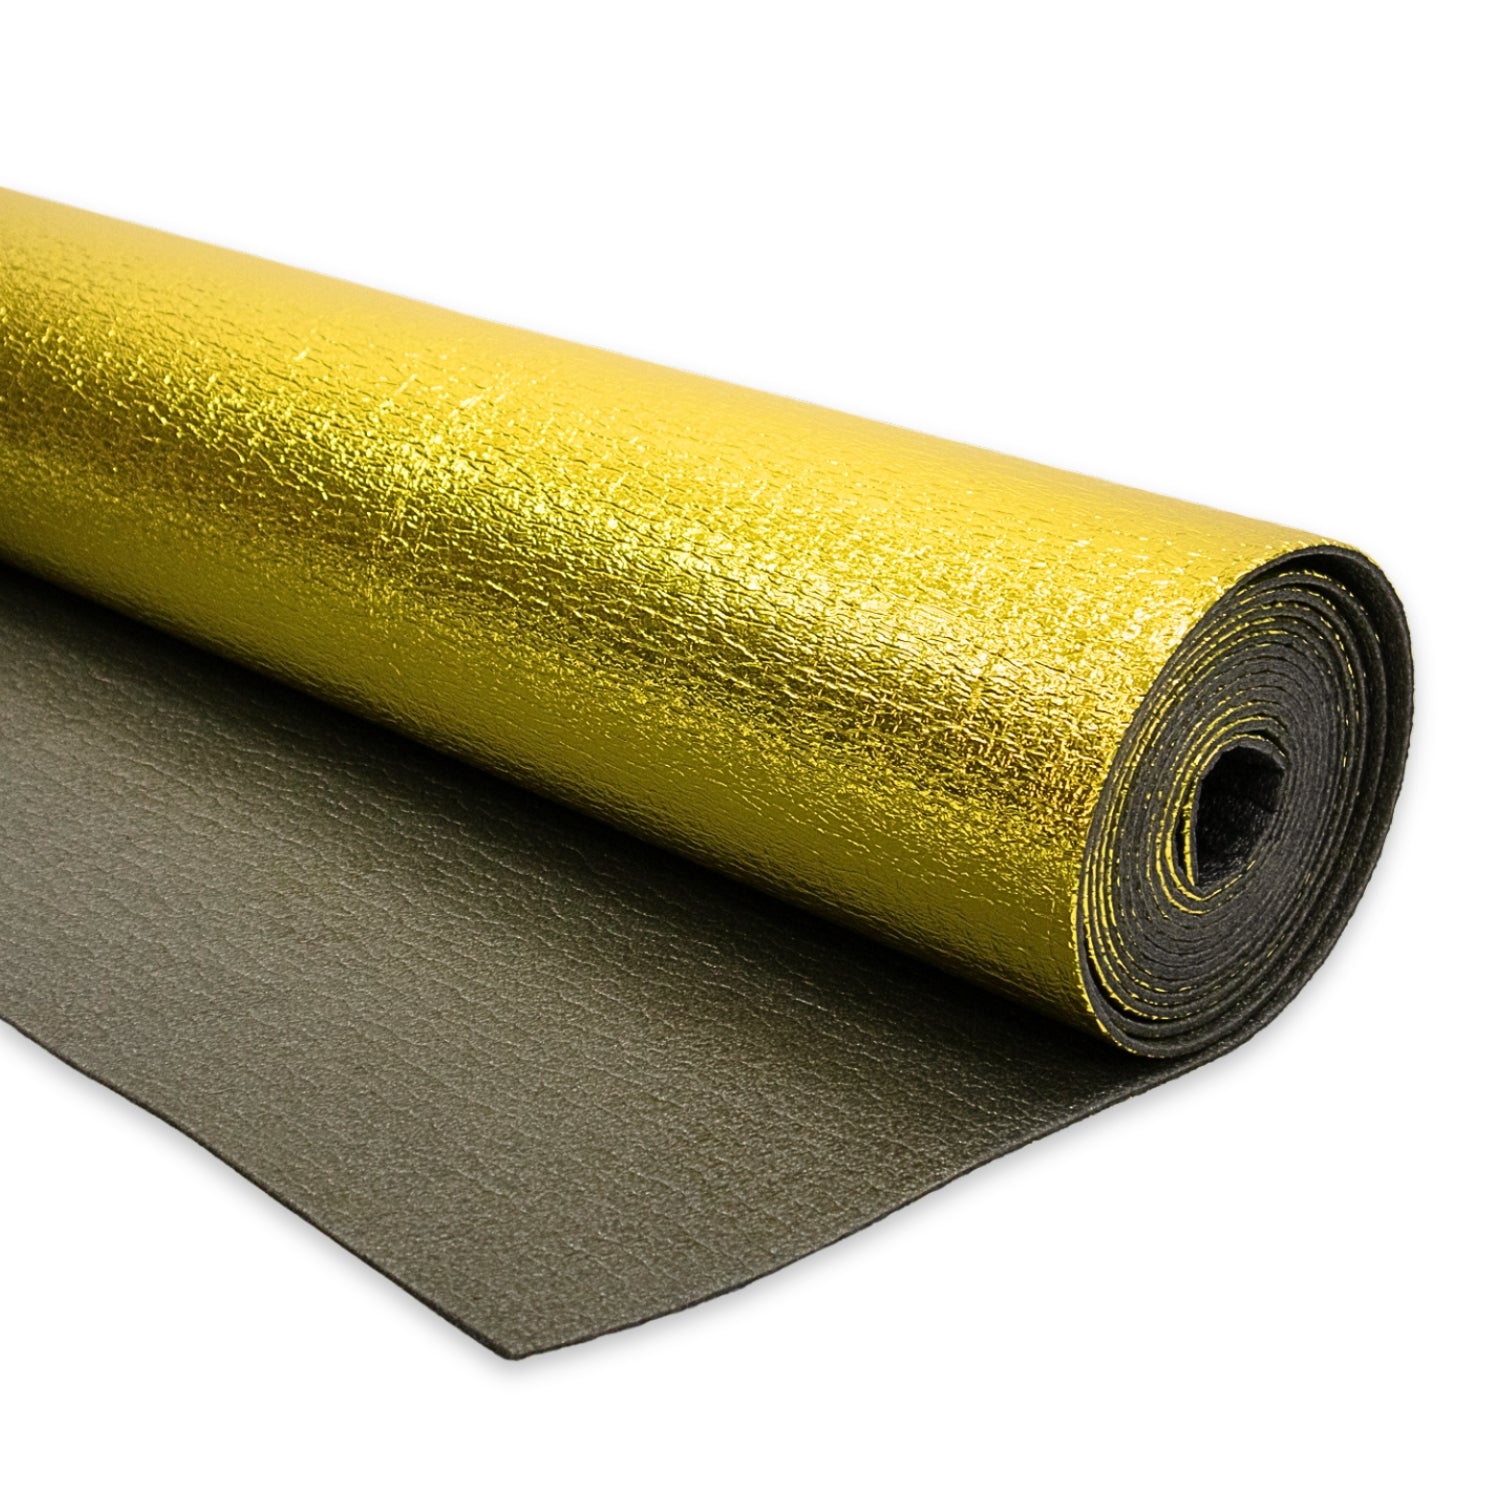


Beschrijving
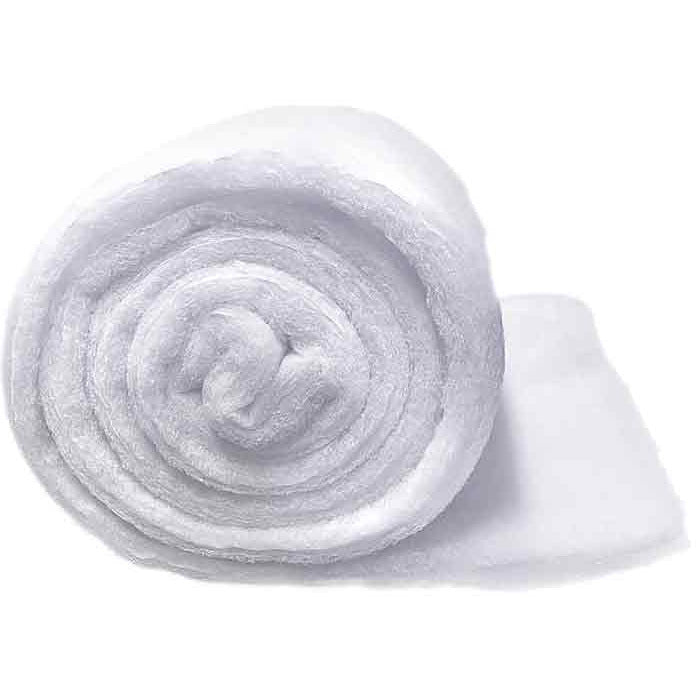
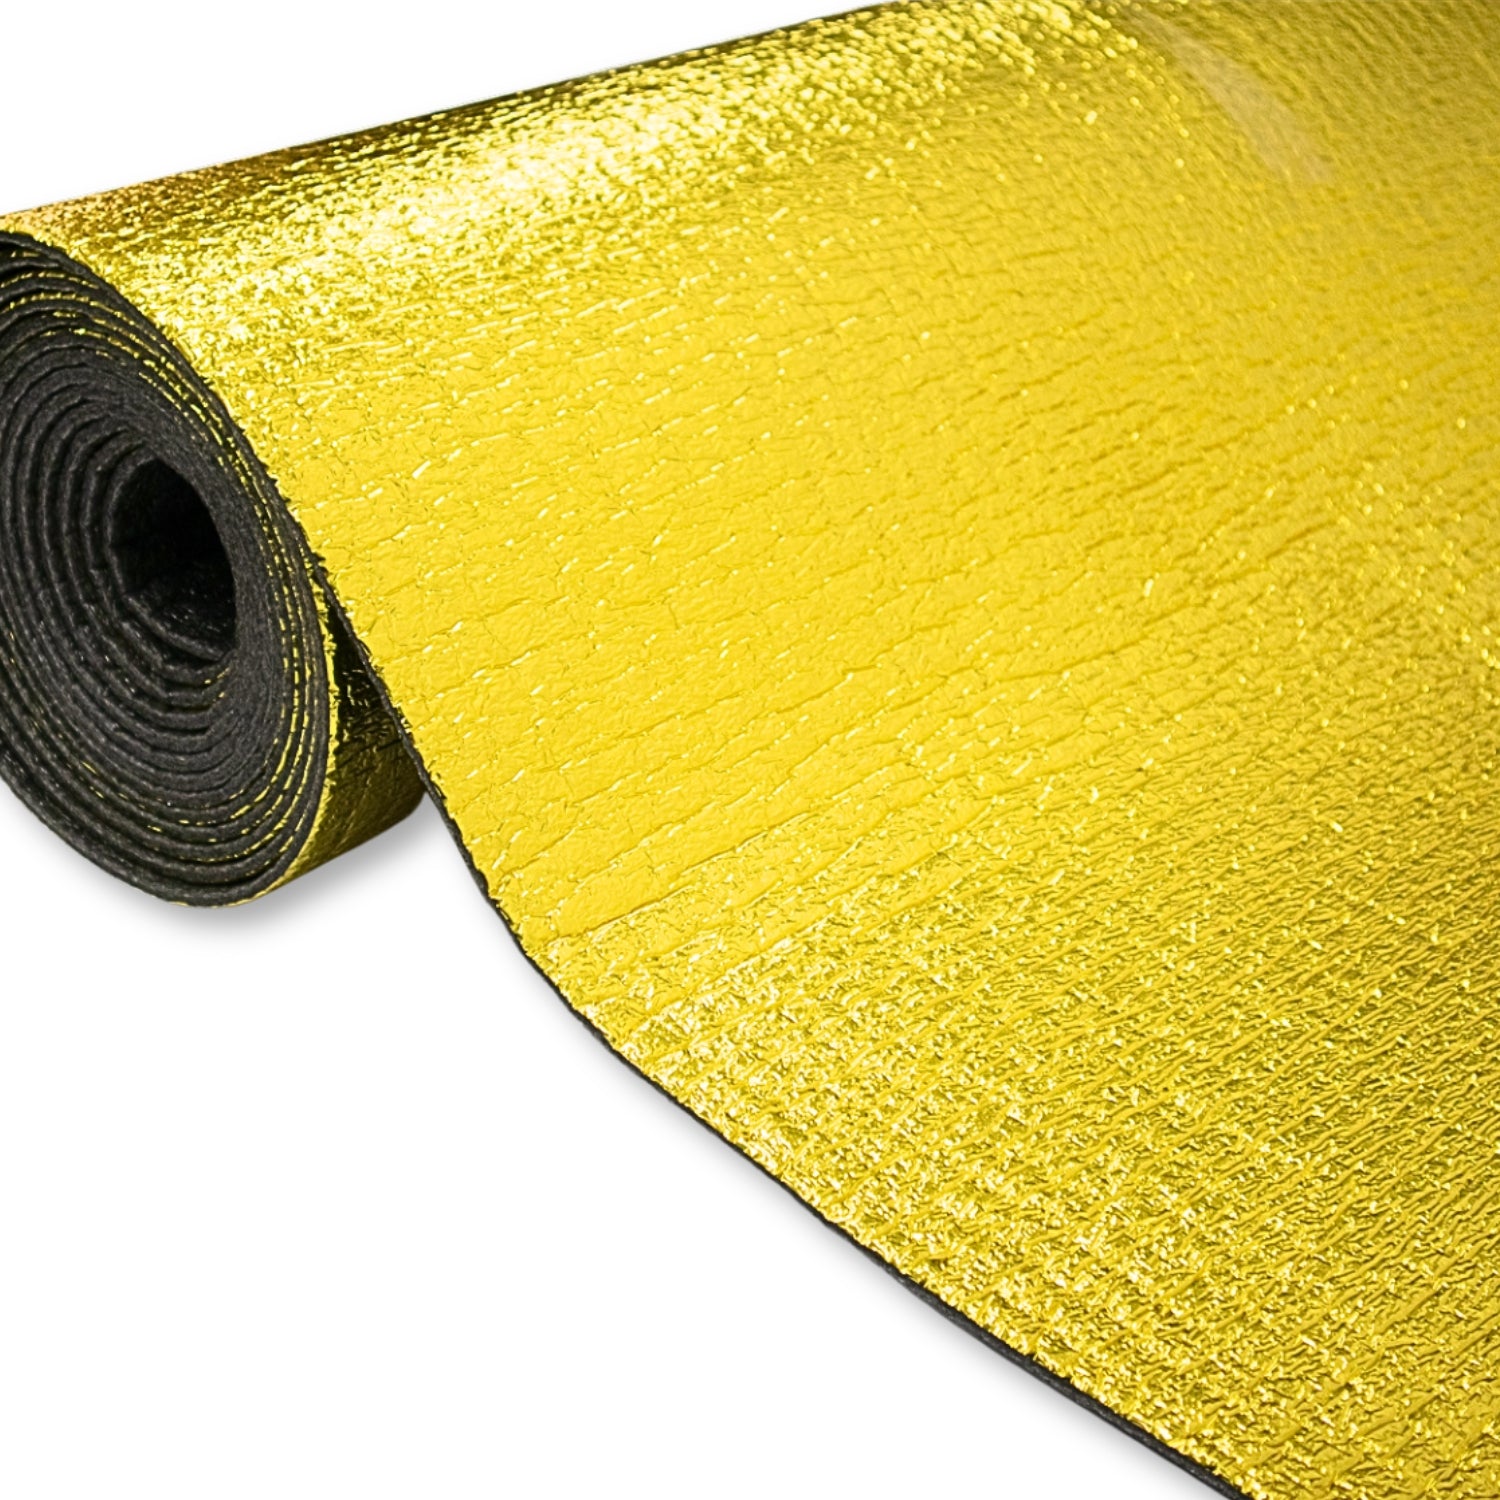
Deze hoogwaardige vloerisolatie is ontworpen voor bestelwagens en campers en helpt het geluid van de weg te verminderen en de thermische isolatie onder je vloer te verbeteren.
Waarom vloerisolatie gebruiken?
Vloerisolatie helpt om een stillere, warmere en comfortabelere bestelwagen te creëren door een isolerende laag toe te voegen tussen de metalen vloer en je bekleding. Het helpt bij het verminderen van weggeluid en trillingen van onderaf, terwijl het ook de warmte beter vasthoudt zodat de bestelwagen minder koud aanvoelt onder de voeten. Het helpt ook bij het wegwerken van kleine oneffenheden in de metalen vloer eronder, zodat je beklede vloer een nettere en gelijkmatigere basis krijgt om op te liggen.
💡 Bundelsets: Als je hier bent beland om een volledige bestelwagen te isoleren, is onze bestelwagenisolatiekit meestal de beste optie, omdat deze voordeliger is dan alles afzonderlijk te kopen.
Belangrijkste kenmerken
- Ontworpen voor onder vloerbedekking - Past netjes onder je vloerbedekking
- Vermindert lawaai van de weg - Helpt het geluid en de trillingen van de weg eronder te verminderen
- Verbetert de warmte-isolatie - Helpt je bestelwagen warmer en comfortabeler te maken onder de voeten
- Maakt kleine vloeroneffenheden glad - creëert een gelijkmatiger oppervlak onder de multiplexvloer
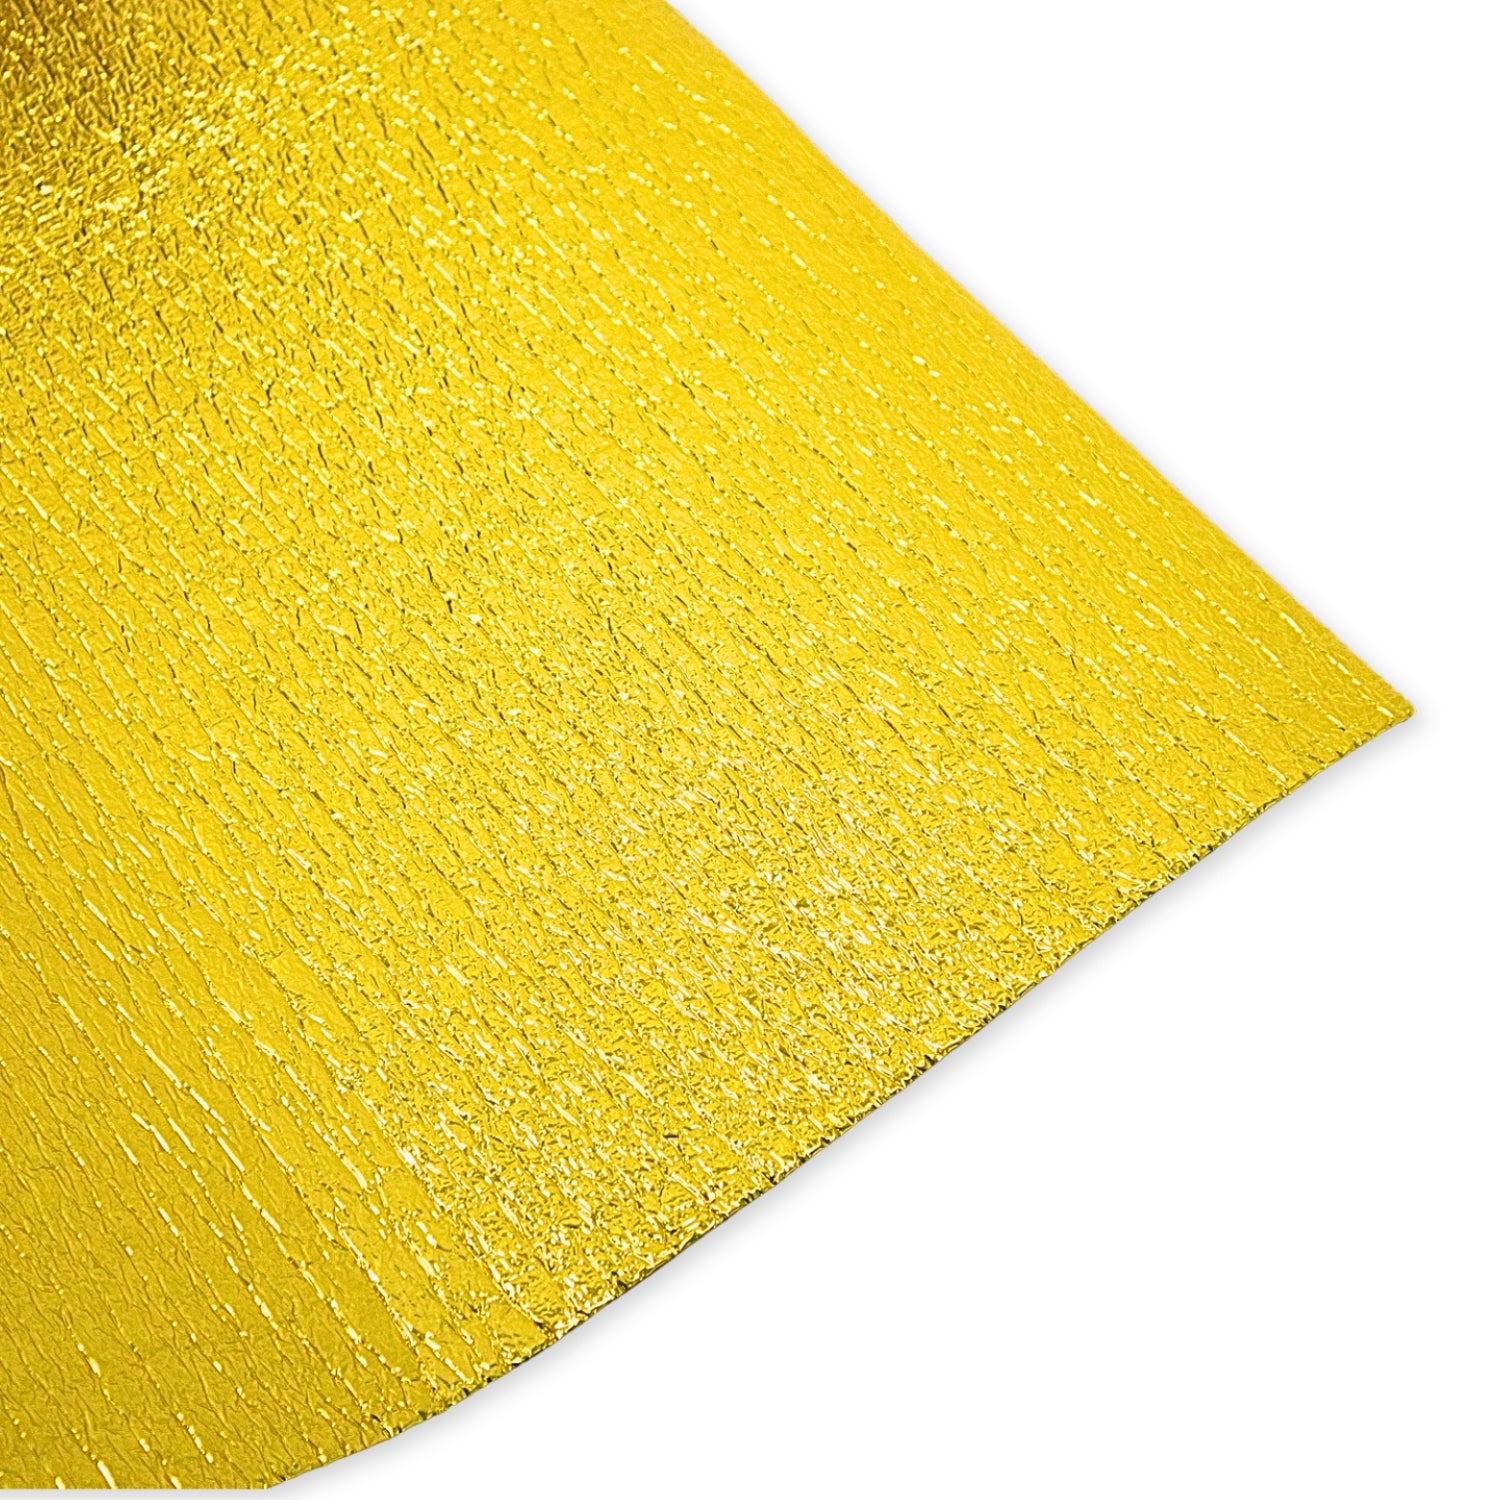
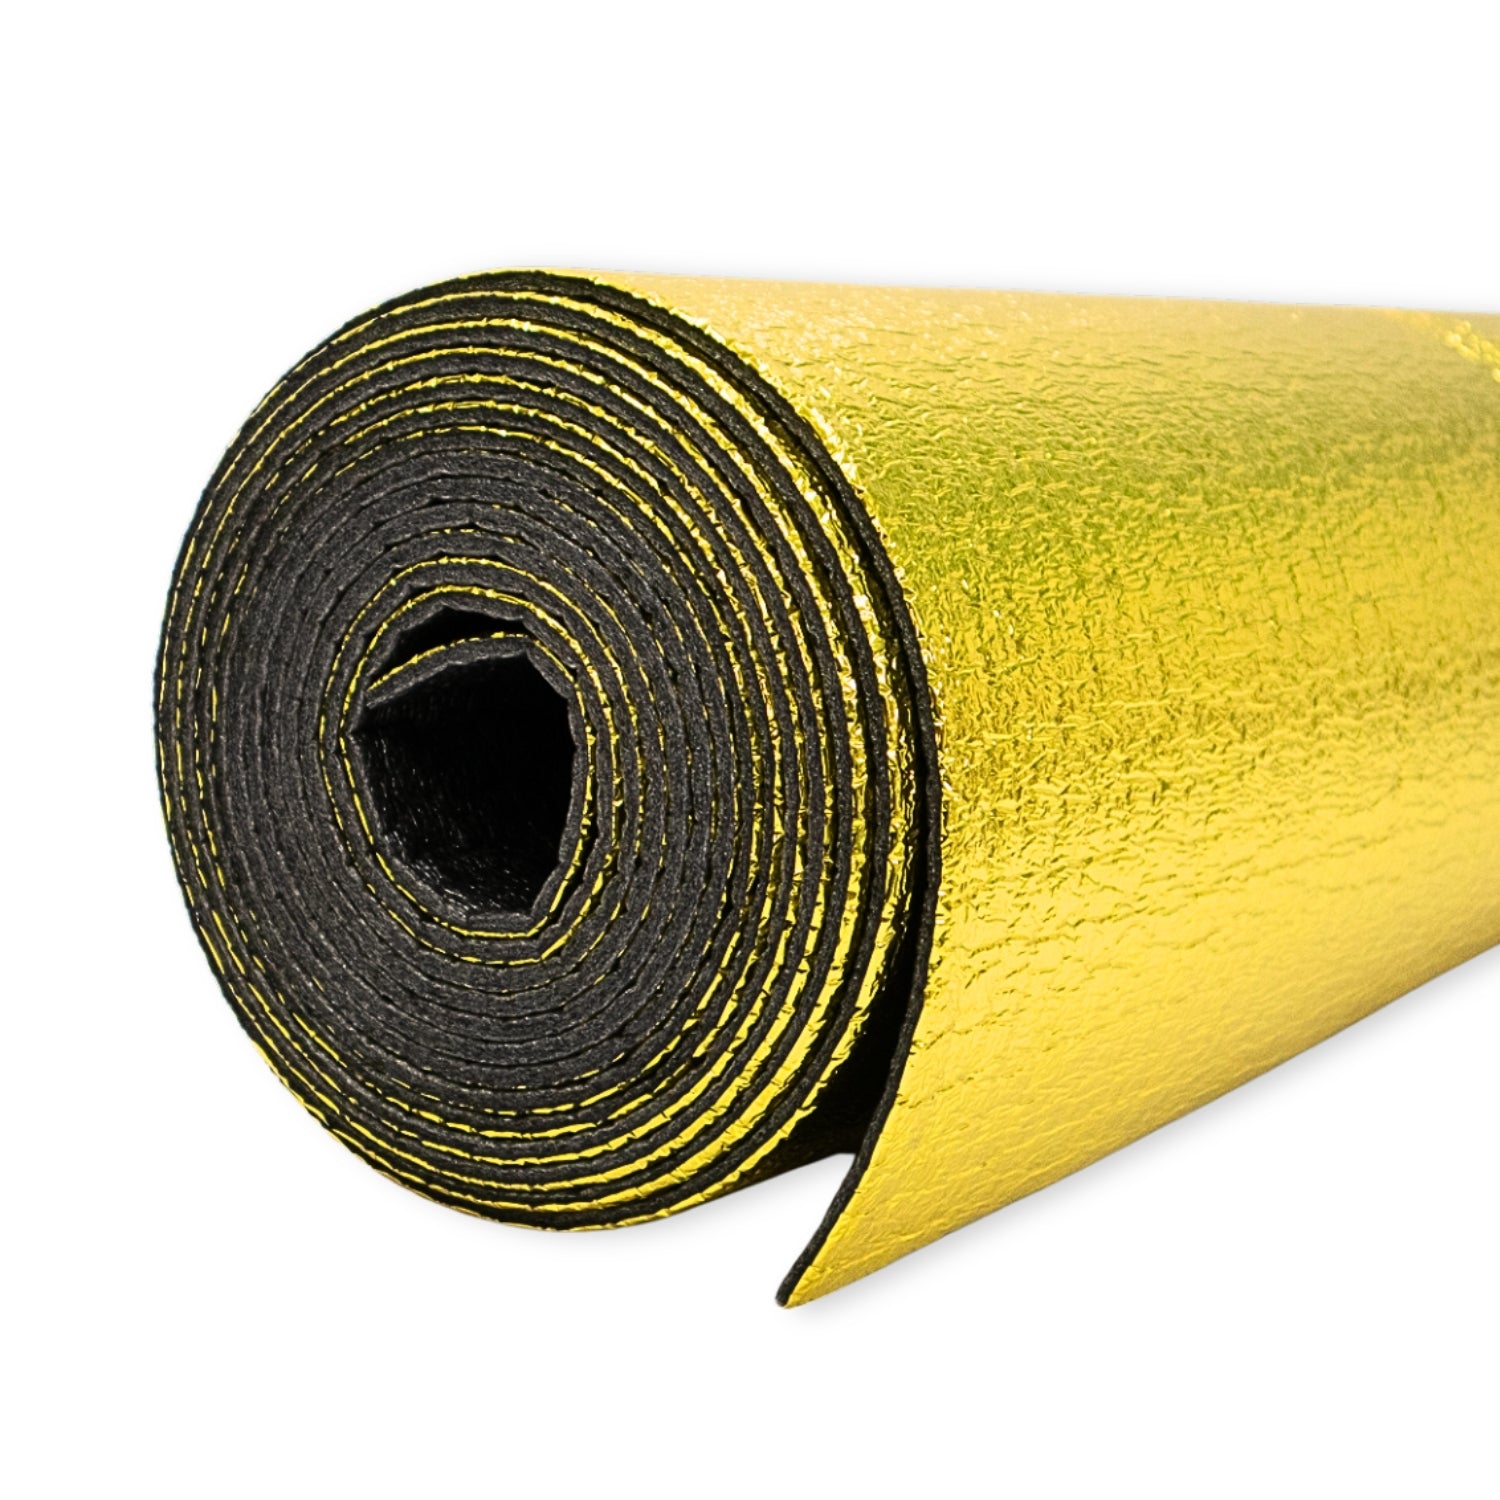
- Dampscherm van gouden aluminiumfolie - helpt het risico van vochtophoping te verminderen
- Lichtgewicht - Gemakkelijk te hanteren en te installeren
- Vlamvertragend - Extra veiligheid voor het bouwen van je bestelwagen
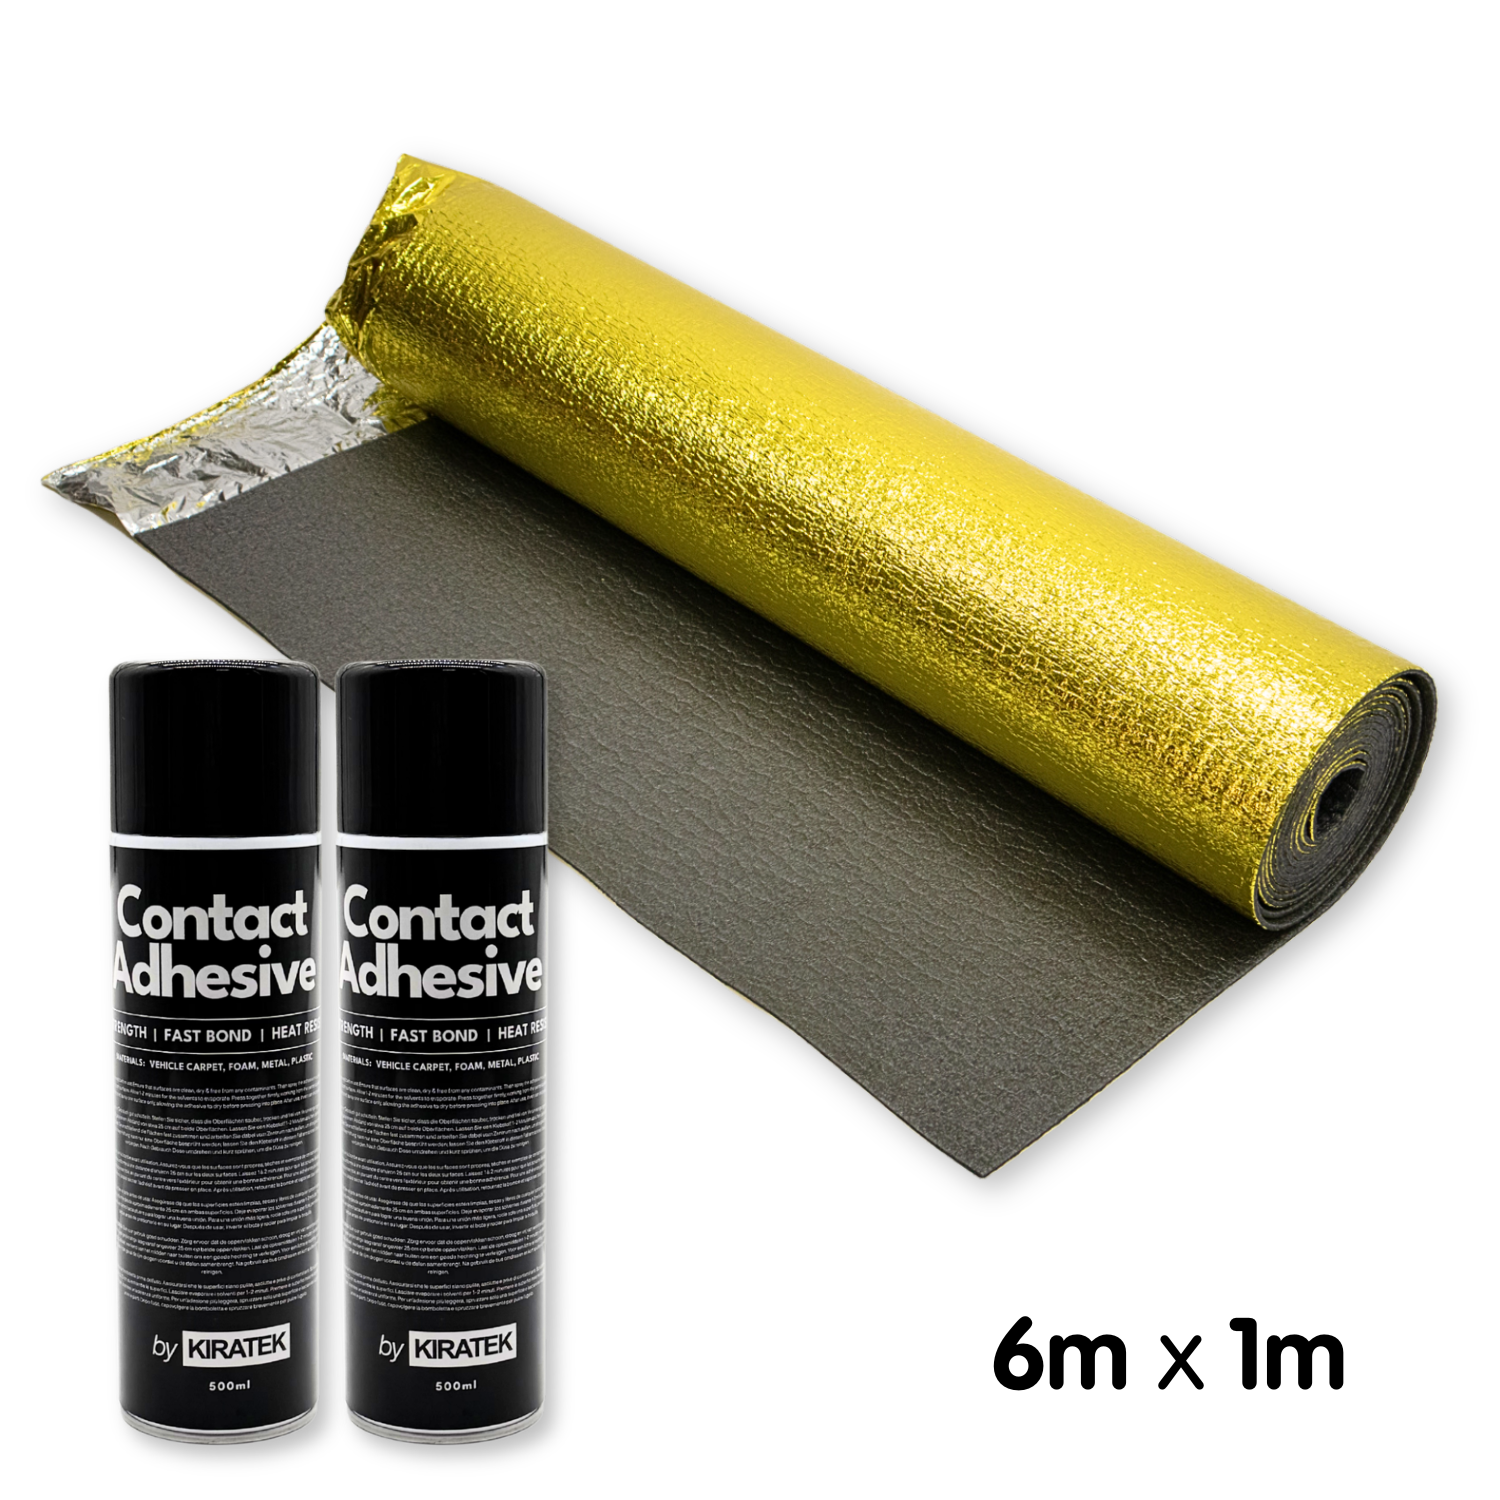
- Inclusief voldoende hogetemperatuurspuitlijm - Eén complete kit!
Technische details
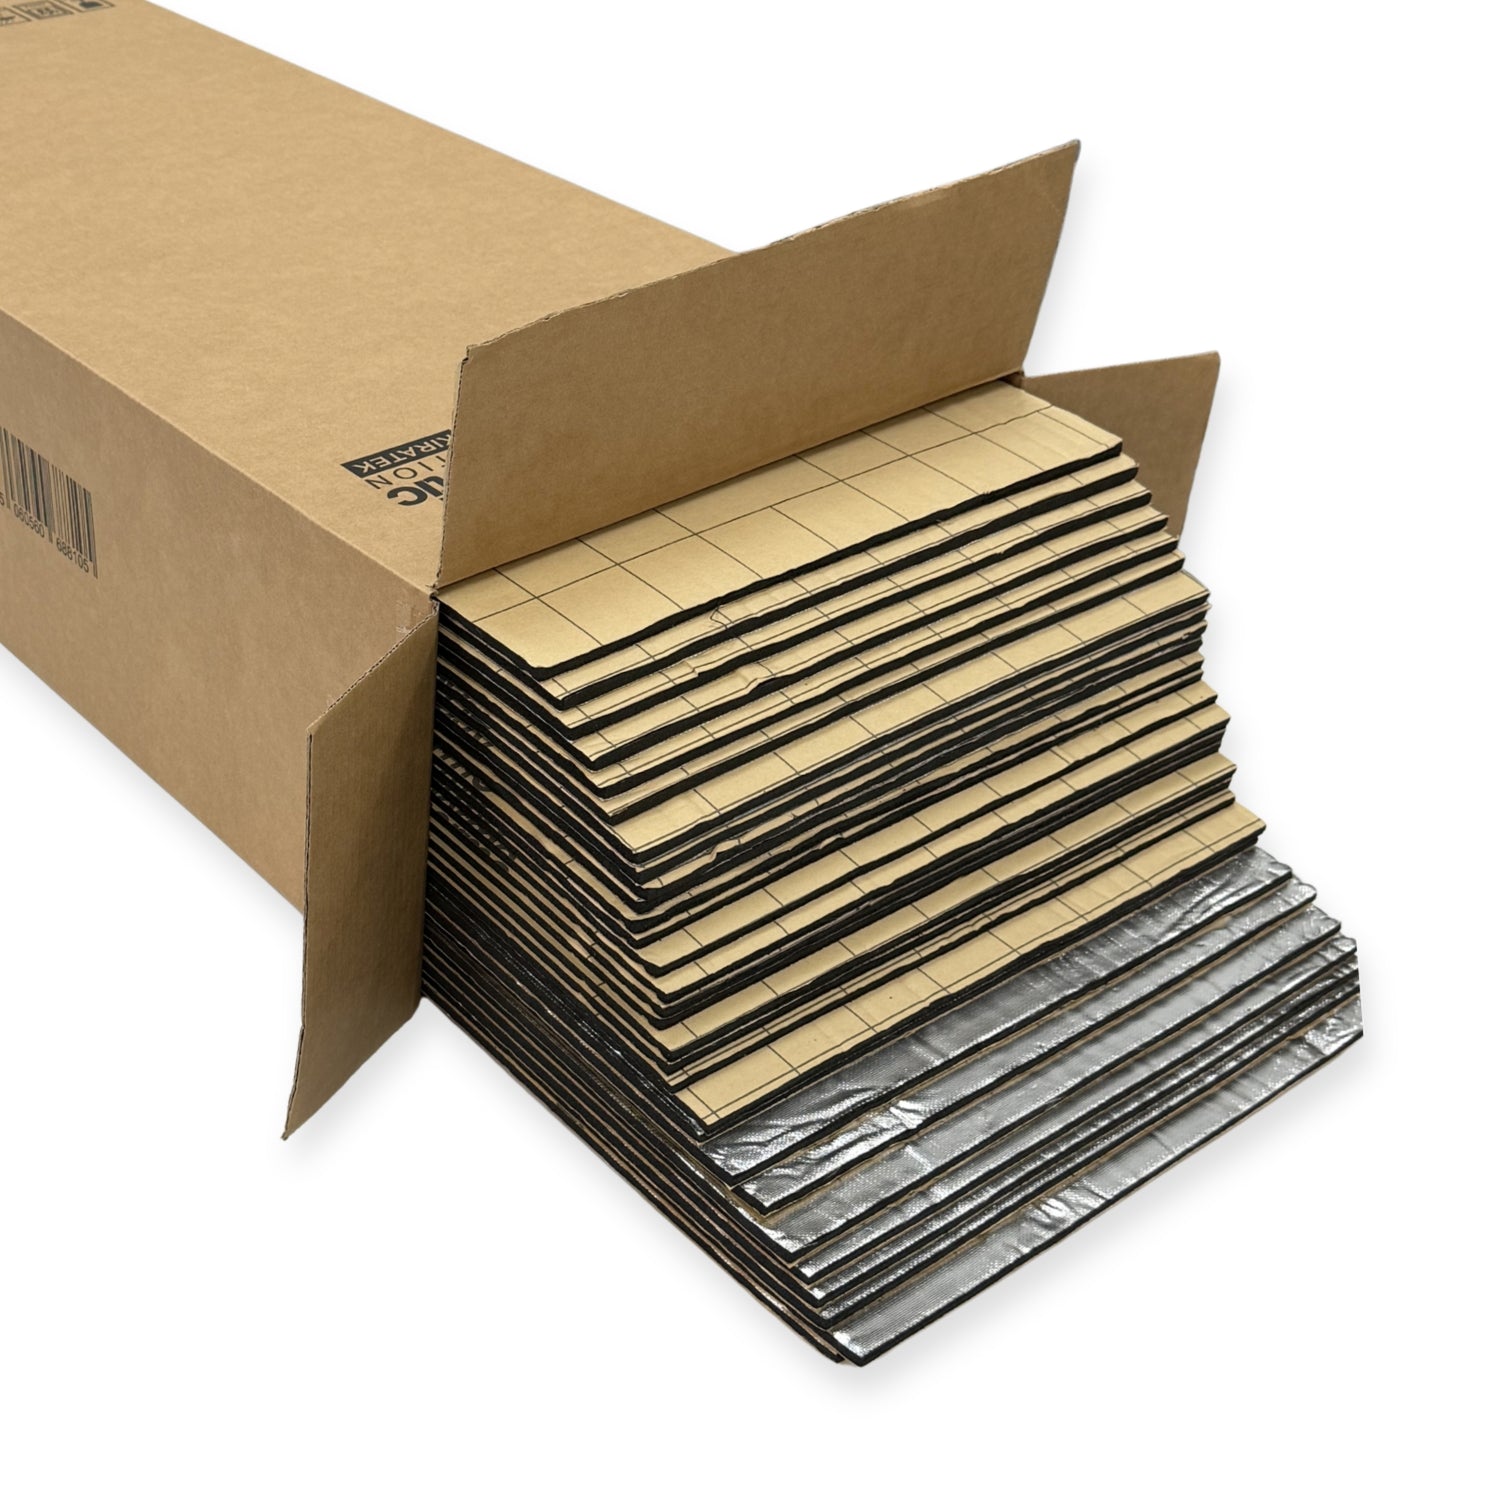
- Breedte: 1 meter
- Lengte: Lengte naar keuze
- Dikte: 5mm
Weet je niet zeker welke maat je nodig hebt?
| Bestelwagenmaat | Benodigde vloerbedekking bij benadering | Aanbevolen vloerisolatie | Voorbeelden Bestelwagengrootte |
|---|---|---|---|
| HALF-camper | 4m² | 1 rol van 4 m | VW Caddy, Ford Transit Connect |
| MEDIUM - korte wielbasis | 5m² | 1 rol van 6 m | VW Transporter T4/T5/T6/T6.1, Ford Transit Custom, Vivaro, Trafic, Primastar |
| MEDIUM - lange wielbasis | 6m² | 1 x 6m rol | VW Transporter T4/T5/T6/T6.1, Ford Transit Custom, Vivaro, Trafic, Primastar |
| GROOT | 7-8m² | 2 x 4m rollen | VW Crafter, MAN TGE, Mercedes Sprinter, Fiat Ducato |
Zo breng je vloerisolatie aan in een camper
Wat heb je nodig?
- Gouden vloerisolatie
- Hoge temperatuur spuitlijm
- hobbymes
- Meetlint
- Ontvetter + schone doek
Tip: Installeer in droge omstandigheden op kamertemperatuur voor de beste hechting.
1. 1. Bereid de vloer voor: Veeg / stofzuig eventueel stof en puin. Veeg de metalen vloer in met ontvetter en laat volledig drogen. Een schoon oppervlak is belangrijk voor de hechting van de lijm.
2. 2. Rol de isolatie uit en snijd deze af:
-
Rol de isolatie uit over het hele vloeroppervlak. Laat het even platliggen om het snijden te vergemakkelijken.
-
Leg het ruwweg op zijn plaats.
-
Snijd rond obstakels zoals wielkasten, treden, stoelbevestigingen of vloerverstevigingen. Gebruik een scherp mes en snijd langzaam en gecontroleerd. Til of vouw de isolatie waar nodig iets terug zodat je de omtrek duidelijk kunt zien.
-
Controleer regelmatig of het past.
Druk de plaat tijdens het snijden even aan om ervoor te zorgen dat hij goed aansluit op de contouren van de vloer. -
Knip de randen bij voor een mooie afwerking.
Als alles vlak ligt, werk je de omtrek bij door de randen gelijk te knippen met de muren of ribben.
Tip: Grote platen kunnen volumineus zijn. Als het stuk moeilijk te hanteren is, aarzel dan niet om het in twee delen te knippen om het gemakkelijker te maken - het heeft geen invloed op de prestaties.
Als het hanteren van grote stukken moeilijk is, kun je de isolatie ook in kleinere, hanteerbare stukken snijden. Dit maakt het gemakkelijker om het materiaal nauwkeurig te plaatsen, vooral als je het zonder hulp installeert. Kleinere stukken kunnen ook worden gebruikt om resterende kieren netjes op te vullen.
3. Breng lijm aan en bevestig de isolatie
- Werk in hanteerbare delen zodat de lijm kleverig blijft.
- Spuit een dunne, gelijkmatige laag lijm op zowel de metalen vloer als de achterkant van de isolatie.
- Laat de lijm 30-60 seconden kleven.
- Druk de isolatie stevig op zijn plaats.
- Strijk glad vanaf één rand naar buiten toe om luchtzakken te voorkomen.
- Zorg ervoor dat het volledig over de richels en hoeken heen is geplakt.
4. Voeg je vloerbedekking toe
- Leg multiplex of je afgewerkte vloerbedekking er rechtstreeks op.
- Als je houten latten gebruikt, leg deze dan bovenop de isolatie (niet op het kale metaal) om een ononderbroken isolatie te behouden.
Downloads
- 📄 Kiravans_Guide_to_Lining_and_Insulation_-_EN_-_EU_19.5.26?v=13216898753612586394
- 📄 Kiravans_Guide_to_Lining_and_Insulation_-_DE_-_EU_19.5.26?v=1341552485107635333
- 📄 Kiravans_Guide_to_Lining_and_Insulation_-_FR_-_EU_19.5.26?v=11781593676593581868
- 📄 Kiravans_Guide_to_Lining_and_Insulation_-_ES_-_EU_19.5.26?v=8701840867010735285
- 📄 Kiravans_Guide_to_Lining_and_Insulation_-_IT_-_EU_19.5.26?v=15379910778108904230
- 📄 Kiravans_Guide_to_Lining_and_Insulation_-_NL_-_EU_19.5.26?v=8694541492370723474
LEVERING - 12.50 EUR
Kiravans' ongecompliceerde bezorgtarieven - een vast bedrag van 12,50 EUR voor Zone 1 & 2 landen, ongeacht de hoeveelheid artikelen die je koopt.
Deze transparante aanpak betekent dat je alleen betaalt voor de eerste doos, of je nu één artikel koopt of twintig artikelen! Wij geloven in eerlijkheid en eerlijkheid, en onze leveringsprijzen weerspiegelen dat door geen kosten te verbergen in onze productprijzen.
Weet je niet zeker in welke zone je je bevindt? Kijk dan op hier.
Kiravans biedt een uitgebreid'No Quibble Returns'-beleid . Je kunt elke aankoop tot 90 dagen na aankoop retourneren voor omruiling of volledige terugbetaling.
We vragen je alleen het door de fabrikant aanbevolen onderhoudsadvies en de uiterste gebruiksdatum op te volgen. Lees ons volledige beleid hier >
Betaling & veiligheid
Je betalingsgegevens worden veilig verwerkt. We slaan geen creditcardgegevens op en hebben geen toegang tot uw creditcardgegevens.
Kiravans is de toonaangevende online verkoper van camperombouwproducten. We ontwerpen, maken en sourcen al meer dan 16 jaar kit van topkwaliteit.
Ons magazijn bevindt zich in Nederland. We zijn trots op onze snelle leveringen en er zijn geen invoerrechten of tarieven te betalen - gewoon een probleemloze winkelervaring!
Lees het Kiravans volledige verhaal hier
Alles bekijken >