


Descrizione
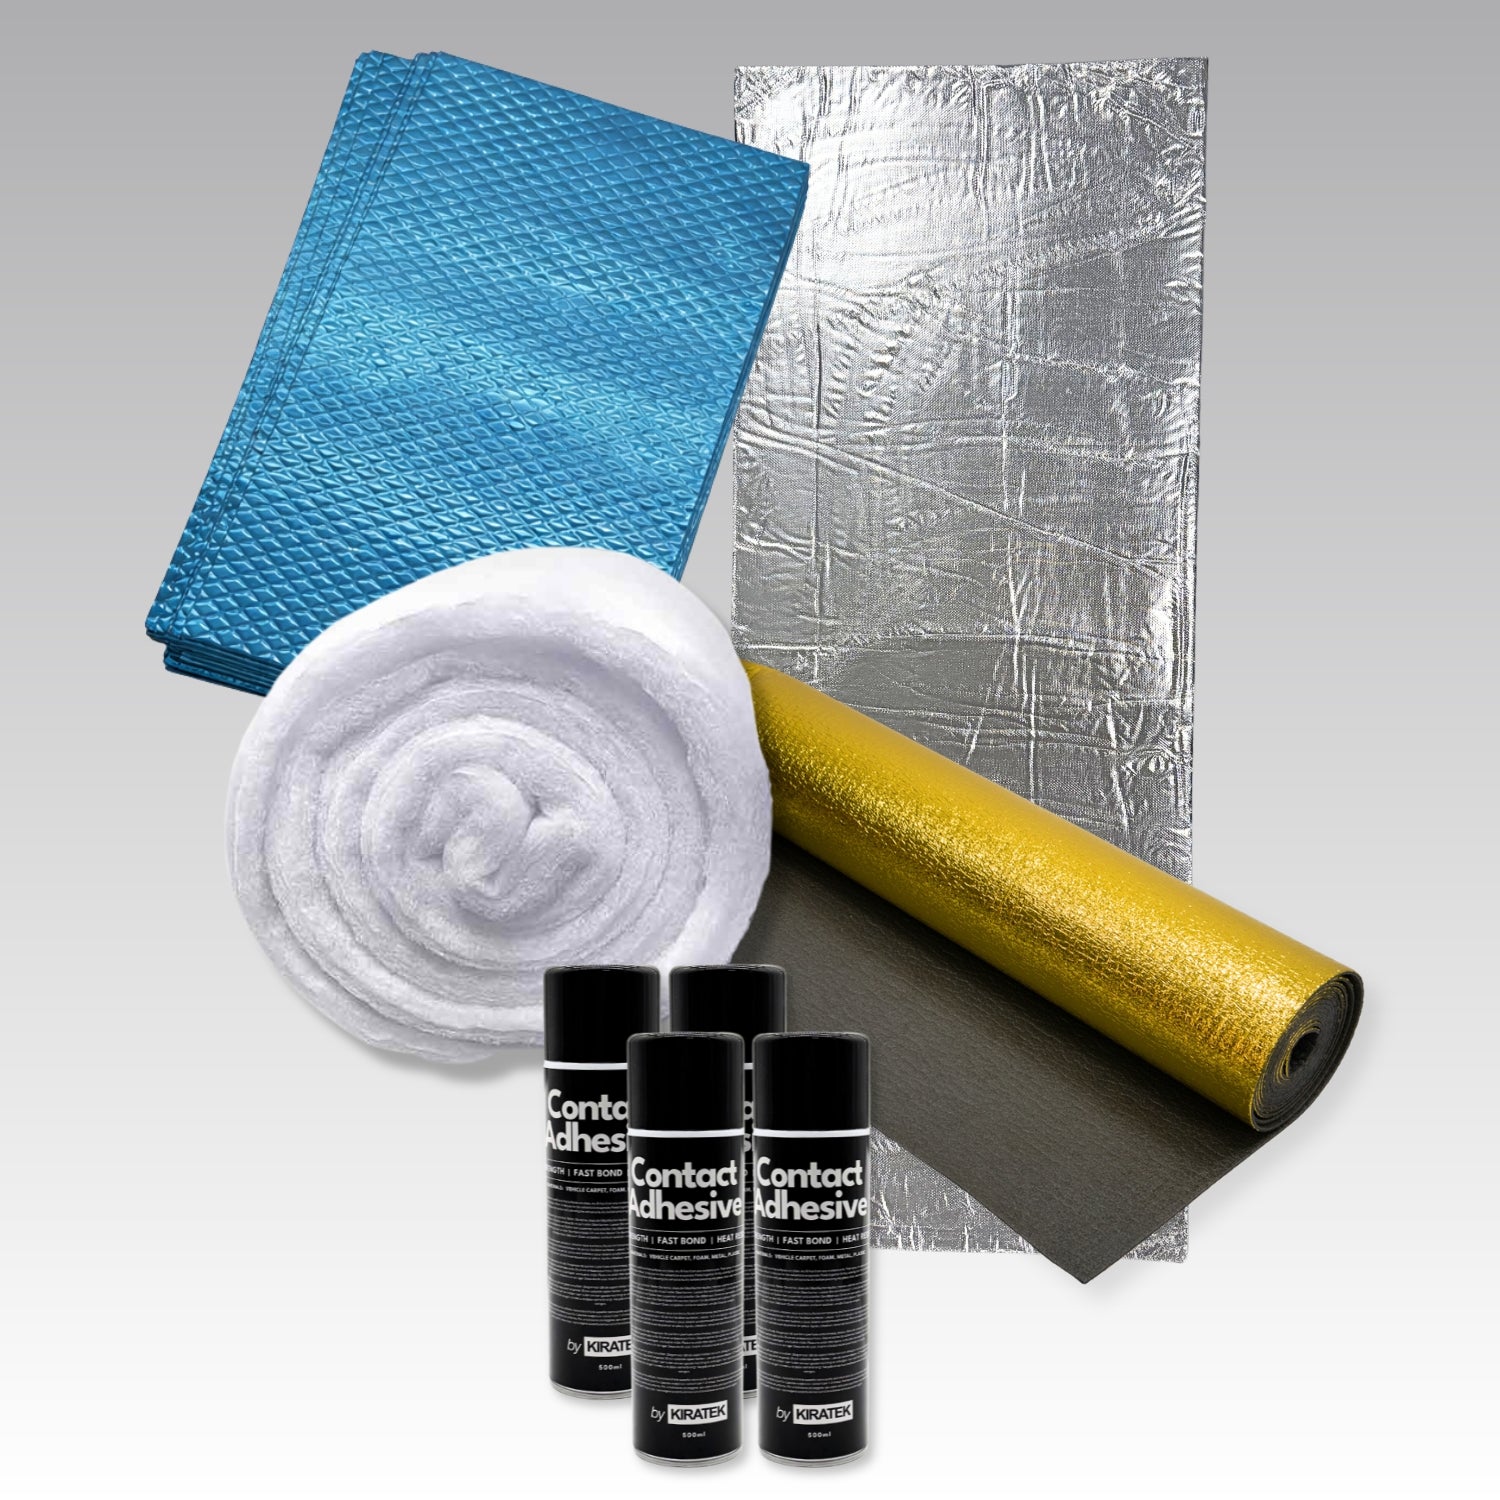
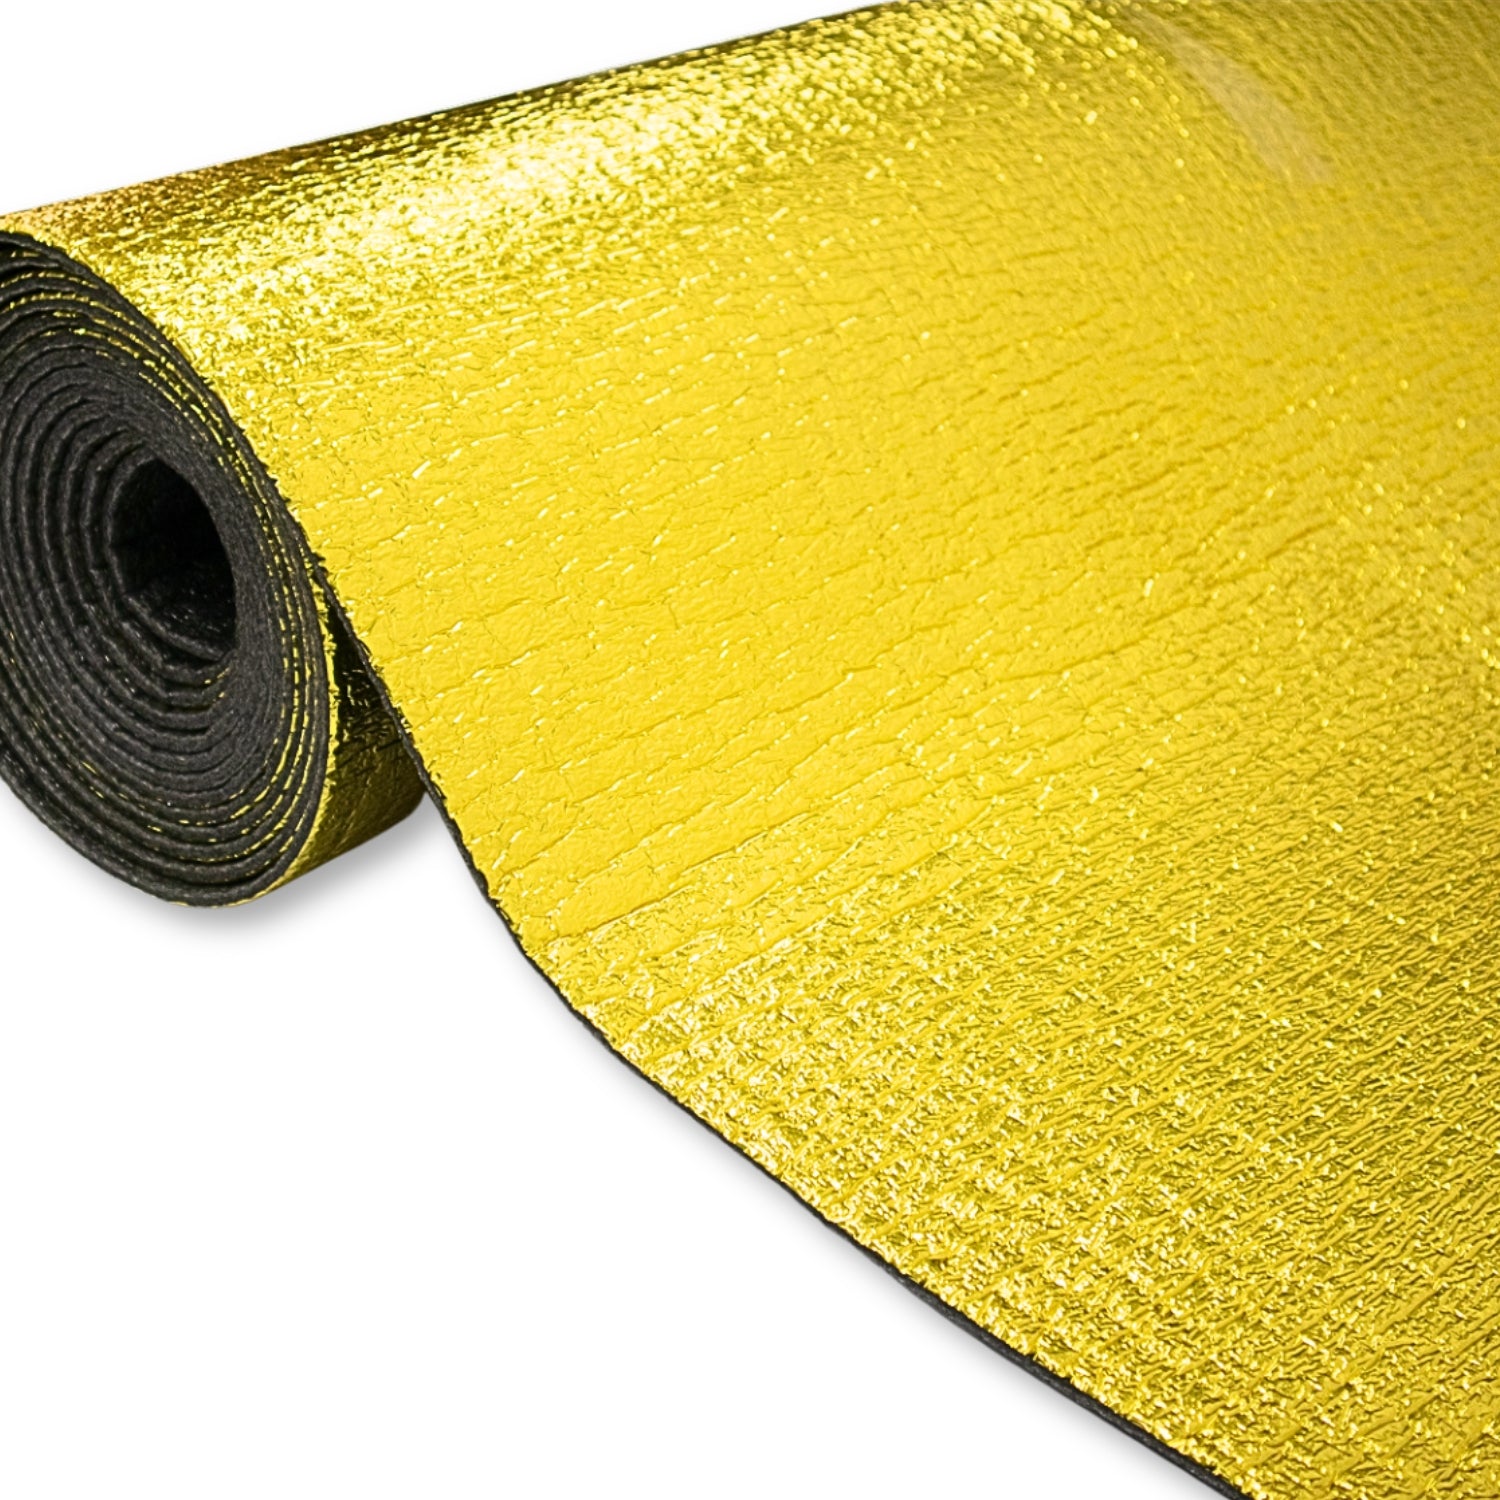
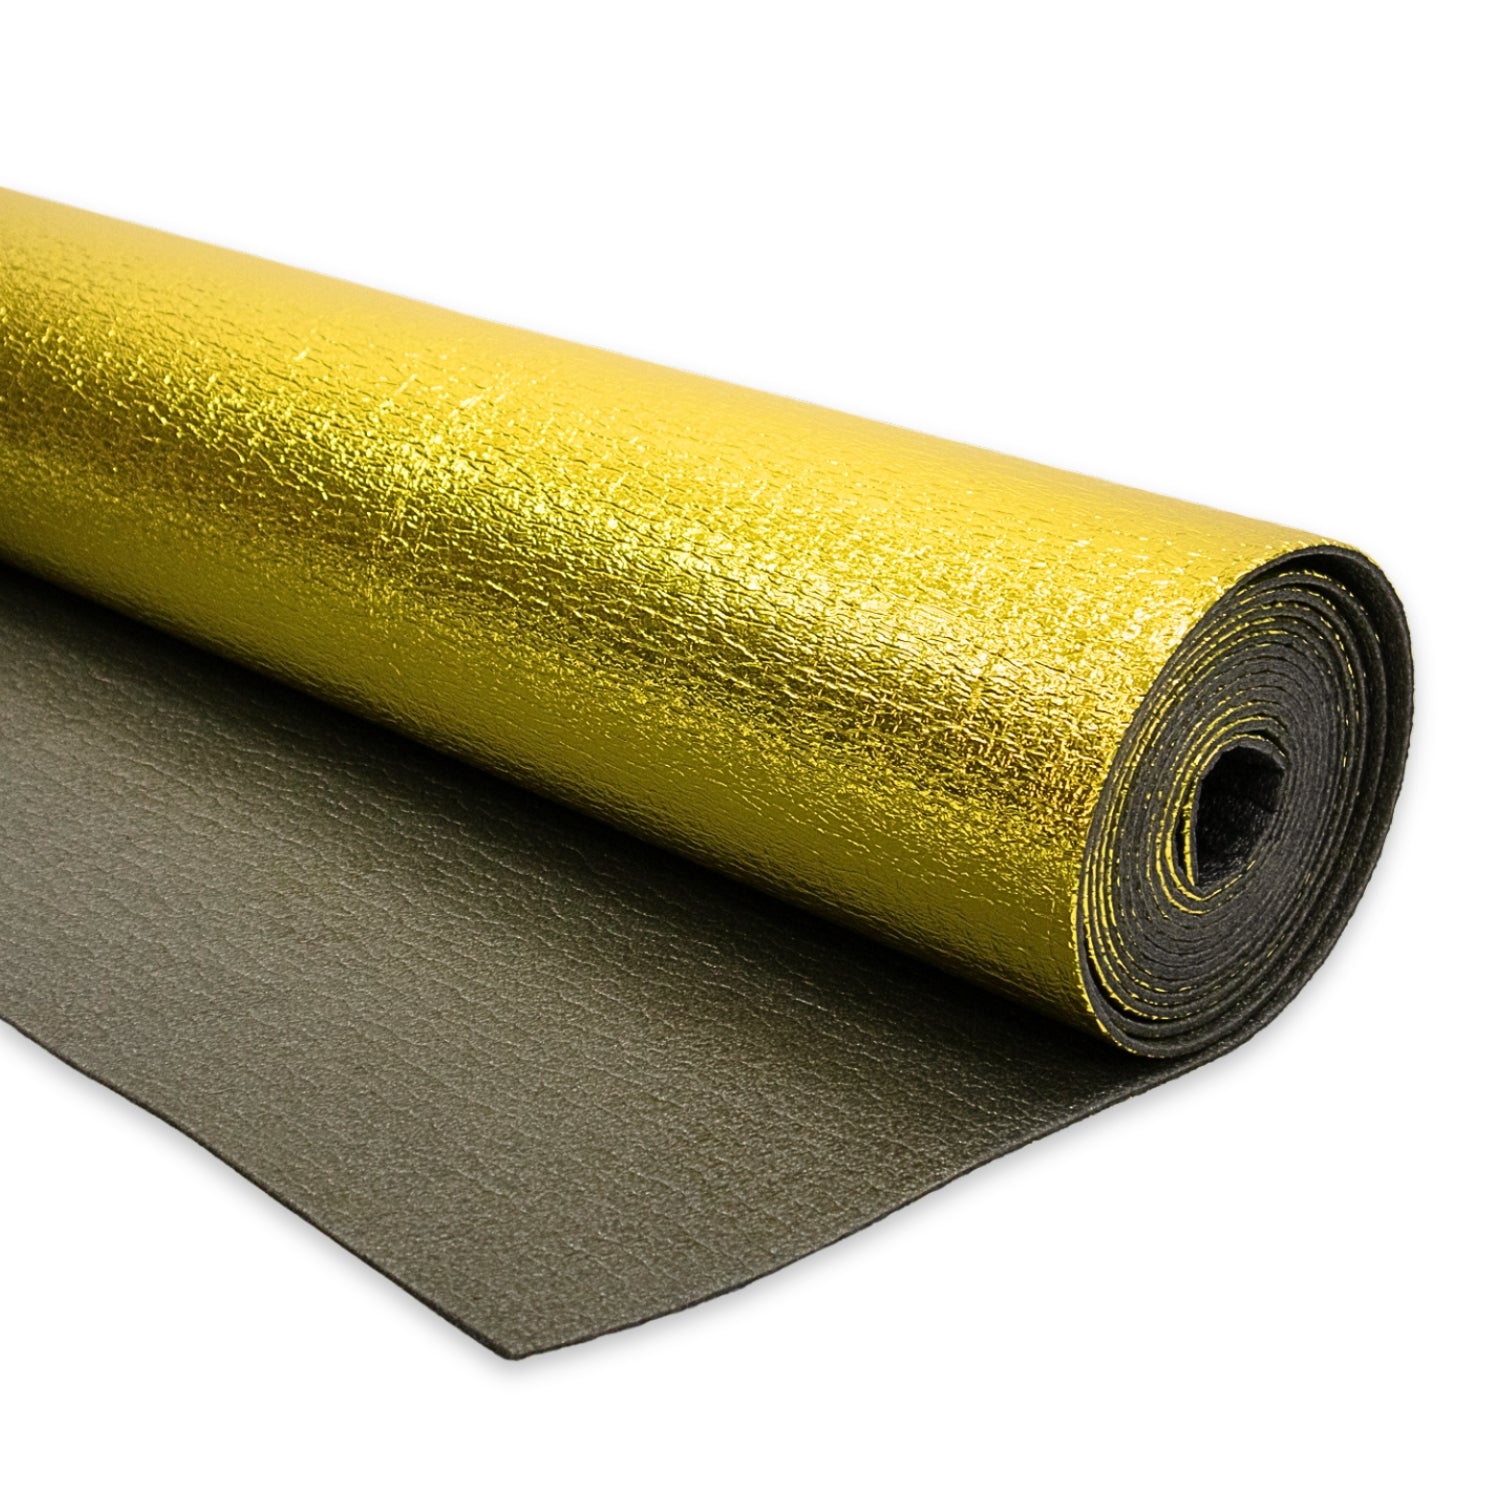
Questo isolamento sottopavimento di qualità superiore è stato progettato per furgoni e camper, contribuendo a ridurre il rumore della strada e a migliorare l'isolamento termico sotto il pavimento.
Perché usare l'isolamento del pavimento?
L'isolamento sotto il pavimento contribuisce a creare un furgone più silenzioso, più caldo e più confortevole, aggiungendo uno strato isolante tra il pavimento metallico e il rivestimento in compensato. Contribuisce a ridurre il rumore della strada e le vibrazioni provenienti dal basso, migliorando al tempo stesso la ritenzione del calore per rendere il furgone meno freddo sotto i piedi. Contribuisce inoltre ad attenuare le piccole imperfezioni del pavimento metallico sottostante, offrendo al pavimento in multistrato una base più ordinata e uniforme su cui poggiare.
💡 Kit di fasciatura: Se siete arrivati qui cercando di isolare un furgone completo, il nostro kit di isolamento per furgoni è di solito l'opzione migliore, in quanto risulta più conveniente rispetto all'acquisto separato.
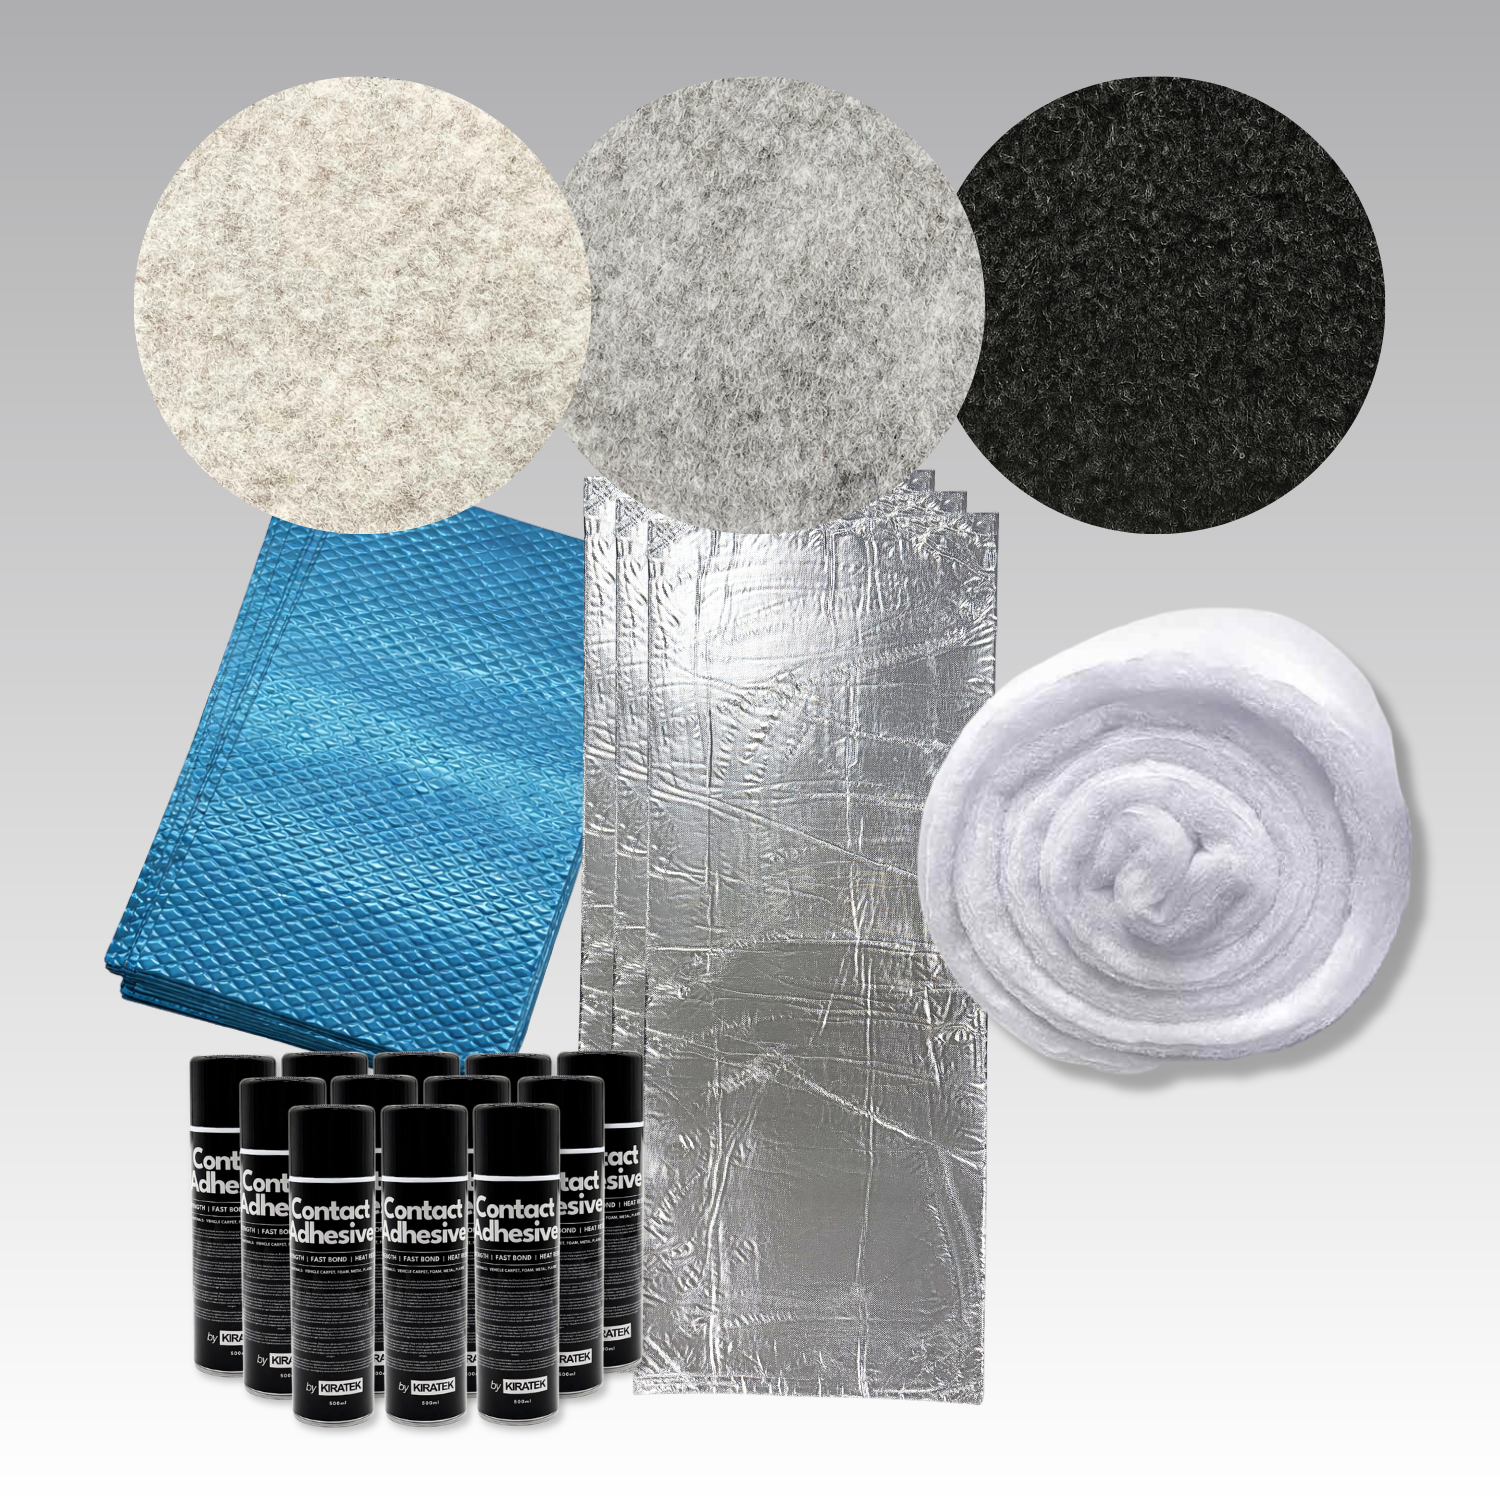
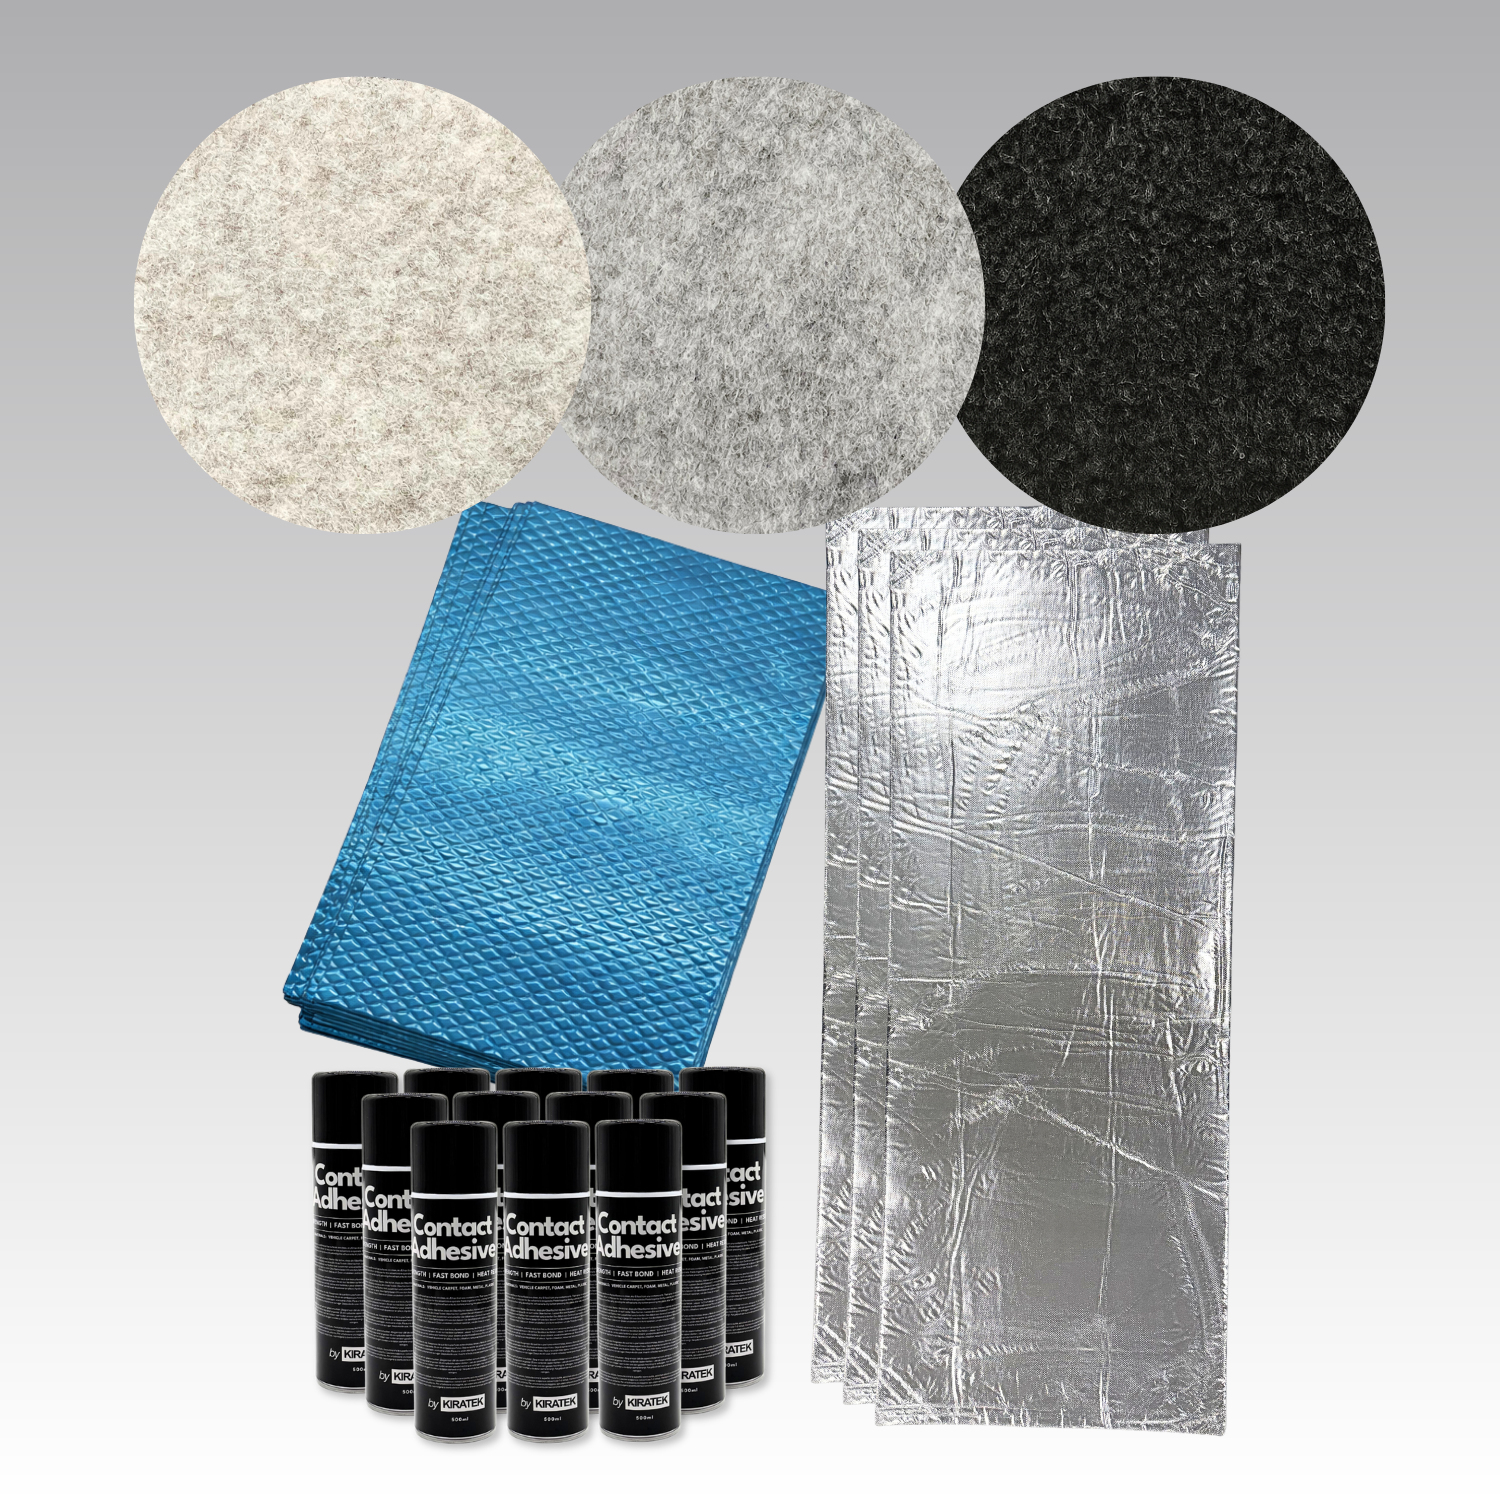
Caratteristiche principali
- Progettato per i pavimenti a strati - Si posiziona perfettamente sotto il pavimento
- Riduce il rumore della strada - Contribuisce a ridurre i rumori e le vibrazioni provenienti dalla strada sottostante.
- Migliora l'isolamento termico - Contribuisce a rendere il vostro furgone più caldo e più confortevole sotto i piedi
- Attenua le piccole imperfezioni del pavimento - Crea una superficie più uniforme sotto il pavimento a strati
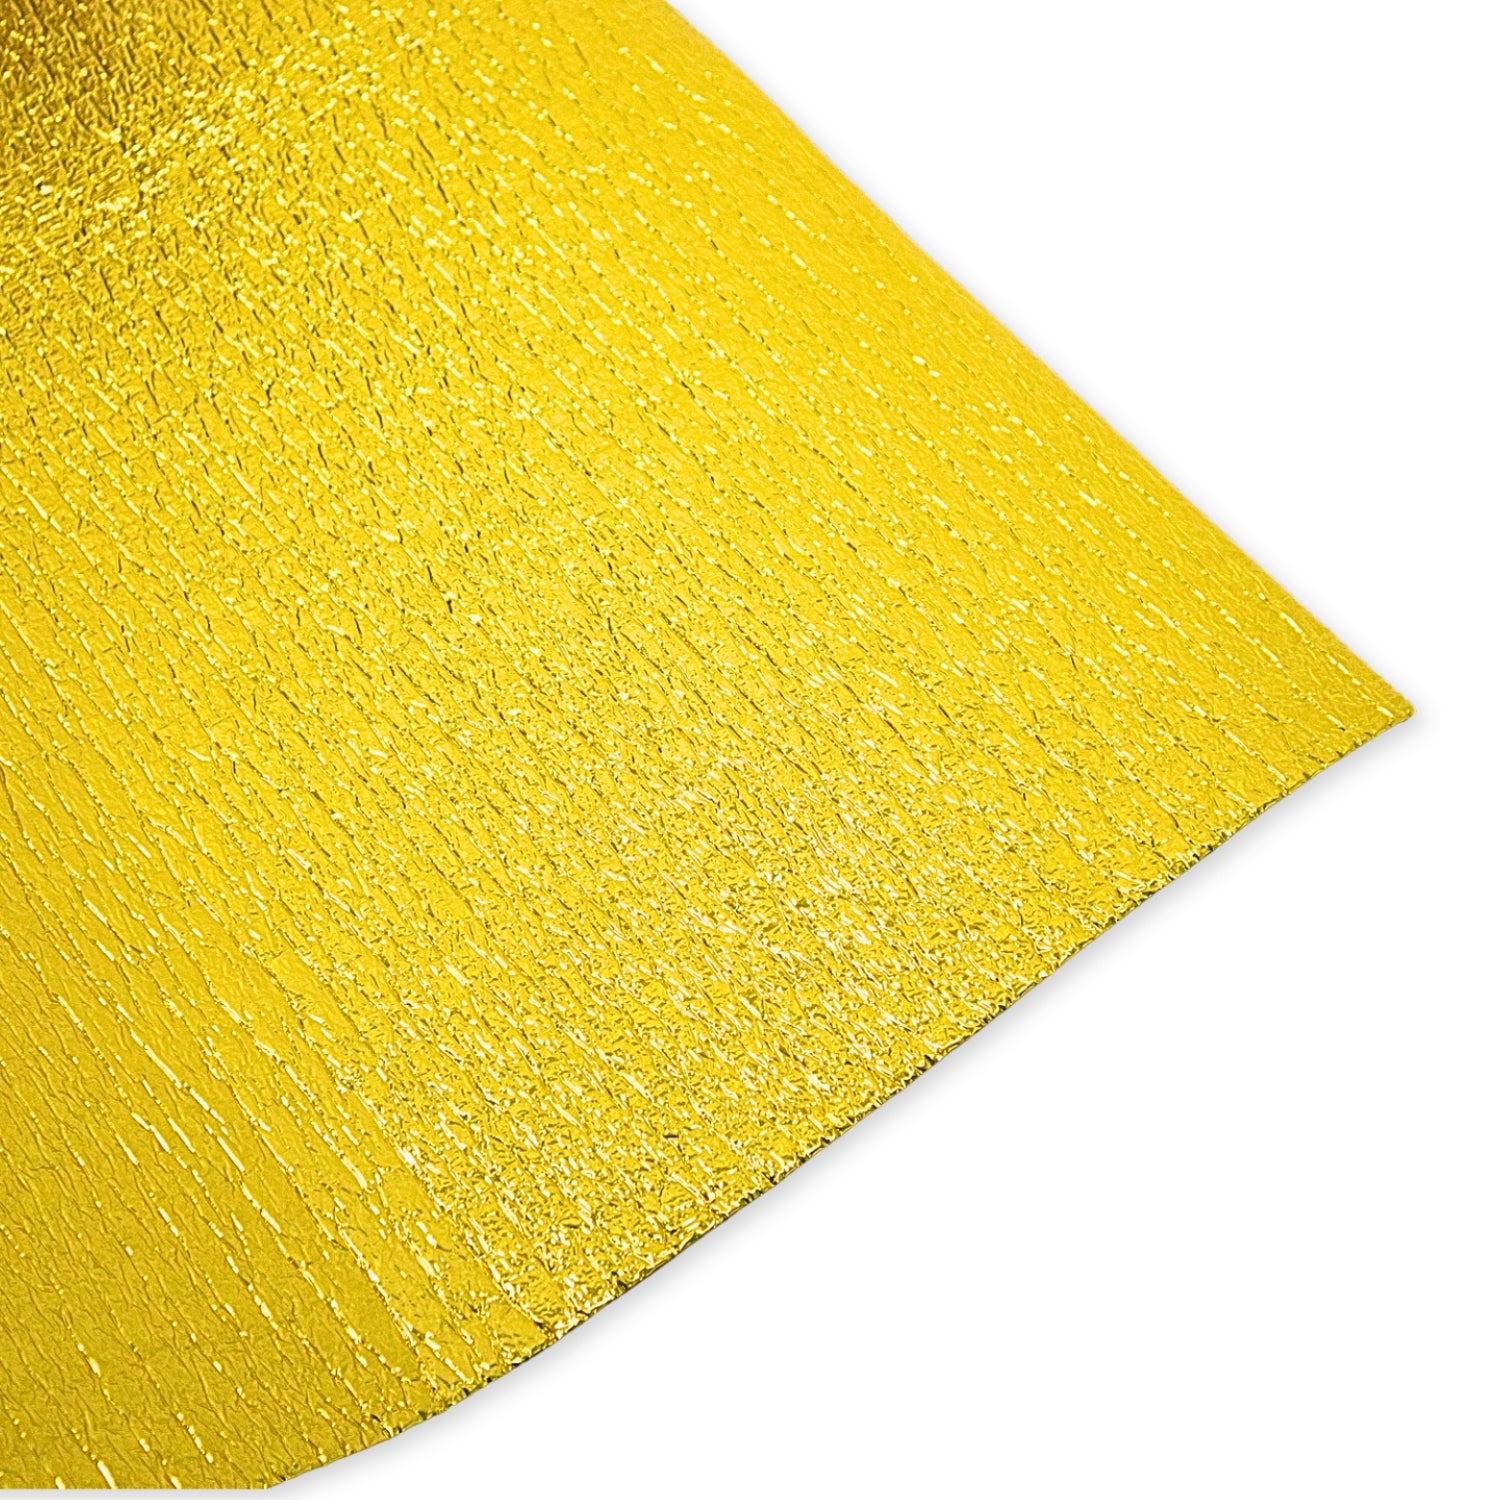
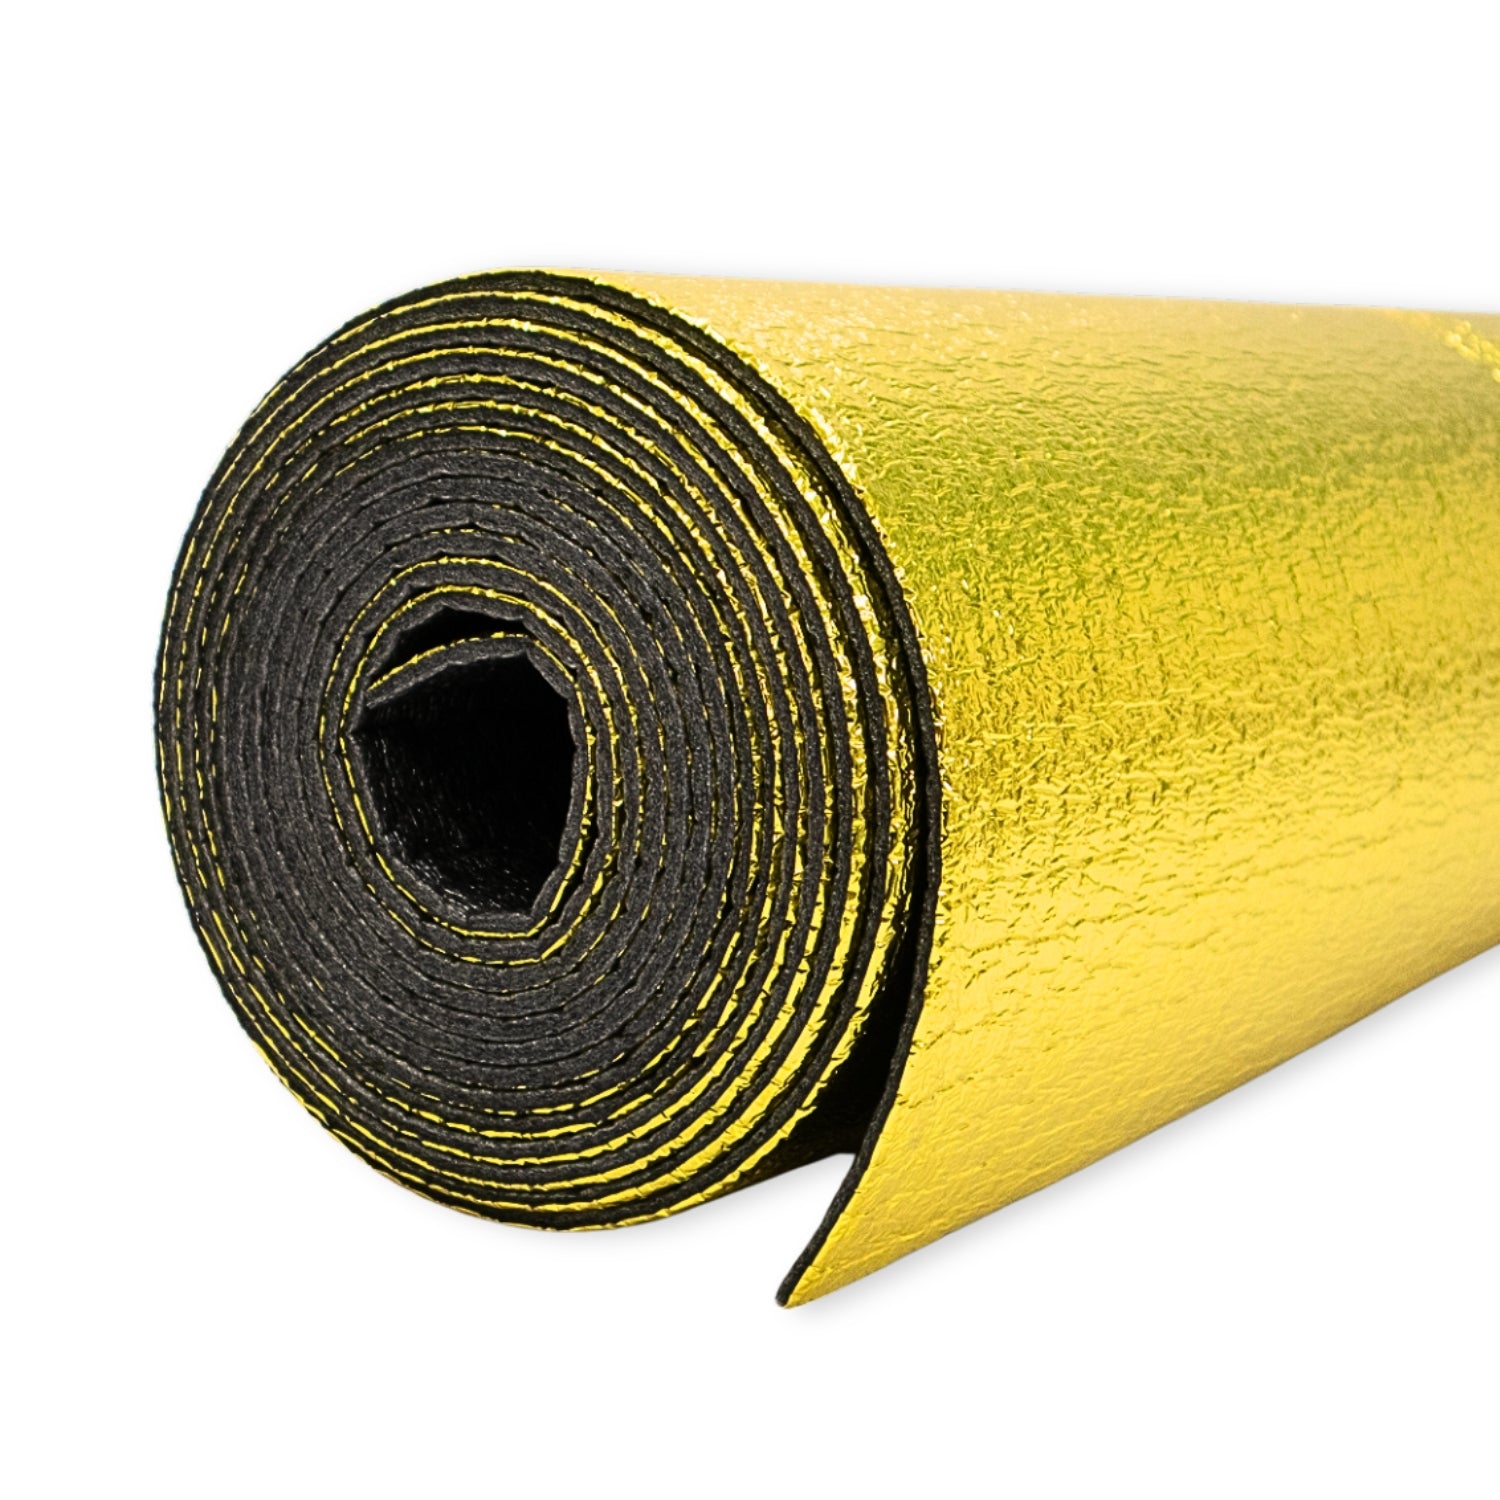
- Barriera di controllo del vapore in foglio di alluminio dorato - Contribuisce a ridurre il rischio di accumulo di umidità
- Leggero - Facile da maneggiare e installare
- Ritardante di fiamma - Maggiore sicurezza per la costruzione del furgone
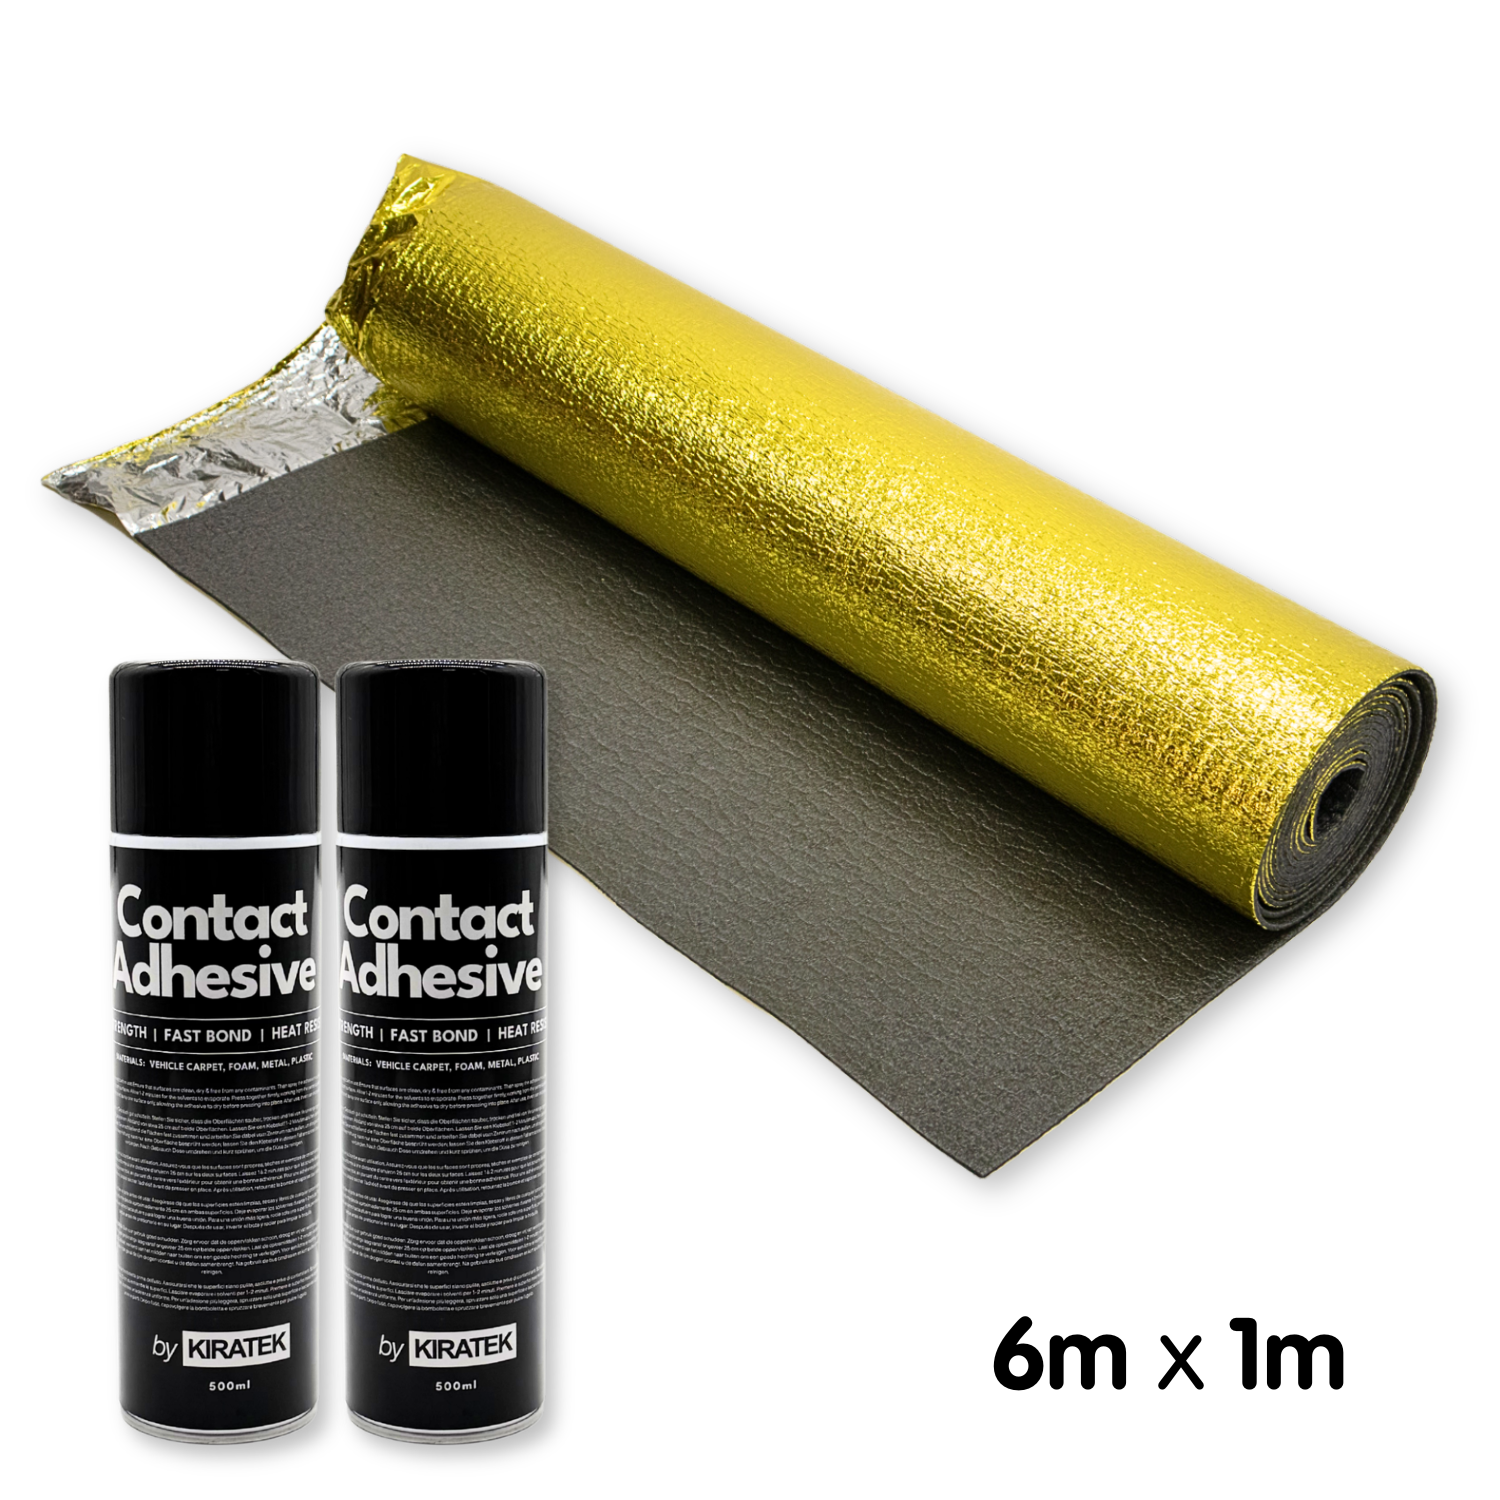
- Include una quantità sufficiente di adesivo spray per alte temperature - Un kit completo!
Dettagli tecnici
- Larghezza: 1 metro
- Lunghezza: Lunghezza a scelta
- Spessore: 5 mm
Non sei sicuro della misura che ti serve?
| Dimensione del furgone | Copertura approssimativa del pavimento necessaria | Isolamento del pavimento consigliato | Esempi di dimensioni del furgone |
|---|---|---|---|
| Camper MEZZO | 4mq | 1 rotolo da 4 m | VW Caddy, Ford Transit Connect |
| MEDIO - Passo corto | 5mq | 1 rotolo da 6 metri | VW Transporter T4/T5/T6/T6.1, Ford Transit Custom, Vivaro, Trafic, Primastar |
| MEDIO - Passo lungo | 6mq | 1 rotolo da 6 m | VW Transporter T4/T5/T6/T6.1, Ford Transit Custom, Vivaro, Trafic, Primastar |
| GRANDE | 7-8mq | 2 rotoli da 4 metri | VW Crafter, MAN TGE, Mercedes Sprinter, Fiat Ducato |
Come montare l'isolamento sotto il pavimento di un camper
Cosa vi serve:
- Isolamento sottopavimento Gold
- Adesivo spray ad alta temperatura
- Coltello multiuso
- Metro a nastro
- Sgrassatore + panno pulito
Suggerimento: per una migliore adesione, installare in condizioni asciutte e a temperatura ambiente.
1. Preparare il pavimento: Spazzare/aspirare la polvere e i detriti. Pulire il pavimento metallico con lo sgrassatore e lasciarlo asciugare completamente. Una superficie pulita è importante per far aderire l'adesivo.
2. Stendere e tagliare l'isolamento:
-
Stendere l'isolamento su tutta l'area del pavimento. Lasciarlo riposare in piano per un momento, in modo da facilitare il taglio.
-
Posizionarlo in modo approssimativo.
-
Tagliare intorno agli ostacoli come passaruota, gradini, supporti dei sedili o eventuali rinforzi del pavimento. Utilizzate un taglierino affilato ed eseguite tagli lenti e controllati. Sollevate o ripiegate leggermente l'isolante dove necessario, in modo da poter vedere chiaramente il contorno.
-
Controllate spesso l'adattamento.
Durante il taglio, premere temporaneamente il foglio per assicurarsi che si adatti bene ai contorni del pavimento. -
Rifinite i bordi per ottenere una finitura aderente.
Una volta che tutto è in piano, riordinate il perimetro tagliando a filo delle pareti o delle nervature.
Suggerimento: Le lastre di grandi dimensioni possono essere ingombranti. Se il pezzo diventa difficile da maneggiare, non esitate a tagliarlo in due sezioni per facilitarne il montaggio.
Se è difficile maneggiare pezzi di grandi dimensioni, si può anche tagliare l'isolante in sezioni più piccole e maneggevoli. In questo modo è più facile posizionare il materiale con precisione, soprattutto se lo si installa senza aiuto. I ritagli più piccoli possono essere utilizzati anche per riempire in modo ordinato gli spazi vuoti rimasti.
3. Applicare la colla e fissare l'isolamento
- Lavorate in sezioni maneggevoli in modo che la colla rimanga appiccicosa.
- Spruzzate uno strato sottile e uniforme di adesivo sia sul pavimento metallico che sul retro dell'isolamento.
- Lasciare agire l'adesivo per 30-60 secondi.
- Premere saldamente l'isolante in posizione.
- Spianare da un bordo verso l'esterno per evitare sacche d'aria.
- Assicurarsi che sia completamente incollato sulle creste e sugli angoli.
4. Aggiungere il pavimento
- Posare il compensato o il pavimento finito direttamente sopra.
- Se si utilizzano listelli di legno, posizionarli sopra l'isolamento (non sul metallo nudo) per mantenere un isolamento continuo.
Download
- 📄 Kiravans_Guide_to_Lining_and_Insulation_-_EN_-_EU_19.5.26?v=13216898753612586394
- 📄 Kiravans_Guide_to_Lining_and_Insulation_-_DE_-_EU_19.5.26?v=1341552485107635333
- 📄 Kiravans_Guide_to_Lining_and_Insulation_-_FR_-_EU_19.5.26?v=11781593676593581868
- 📄 Kiravans_Guide_to_Lining_and_Insulation_-_ES_-_EU_19.5.26?v=8701840867010735285
- 📄 Kiravans_Guide_to_Lining_and_Insulation_-_IT_-_EU_19.5.26?v=15379910778108904230
- 📄 Kiravans_Guide_to_Lining_and_Insulation_-_NL_-_EU_19.5.26?v=8694541492370723474
CONSEGNA - 12,50 EUR
I prezzi di consegna di Kiravans sono semplici: una tariffa forfettaria di 12,50 EUR per i Paesi delle zone 1 e 2, indipendentemente dalla quantità di articoli acquistati.
Questo approccio trasparente significa che pagherete solo la prima scatola, sia che acquistiate un articolo che venti articoli! Crediamo nella correttezza e nell'onestà, e i nostri prezzi di consegna riflettono questo aspetto, non nascondendo i costi all'interno dei prezzi dei prodotti.
Non siete sicuri della zona in cui vi trovate? Controllate qui.
Kiravans offre un'ampia politica direstituzione "senza problemi" . È possibile restituire qualsiasi acquisto fino a 90 giorni dopo l'acquisto, per un cambio o un rimborso completo.
Vi chiediamo solo di seguire i consigli di manutenzione e le date di scadenza raccomandate dal produttore. Leggete la nostra politica completa qui >
Pagamento e sicurezza
I tuoi dati di pagamento sono trattati in modo sicuro. Non conserviamo i dettagli della carta di credito né abbiamo accesso alle informazioni della tua carta di credito.
Kiravans è il principale rivenditore online di prodotti per la conversione dei camper. Da oltre 16 anni progettiamo, produciamo e acquistiamo kit di alta qualità.
Il nostro magazzino si trova nei Paesi Bassi. Siamo orgogliosi delle nostre consegne rapide e non ci sono dazi d'importazione o tariffe da pagare - solo un'esperienza di acquisto senza problemi!
Leggi la storia di Kiravans storia completa qui
Vedi tutto >