


Beschreibung
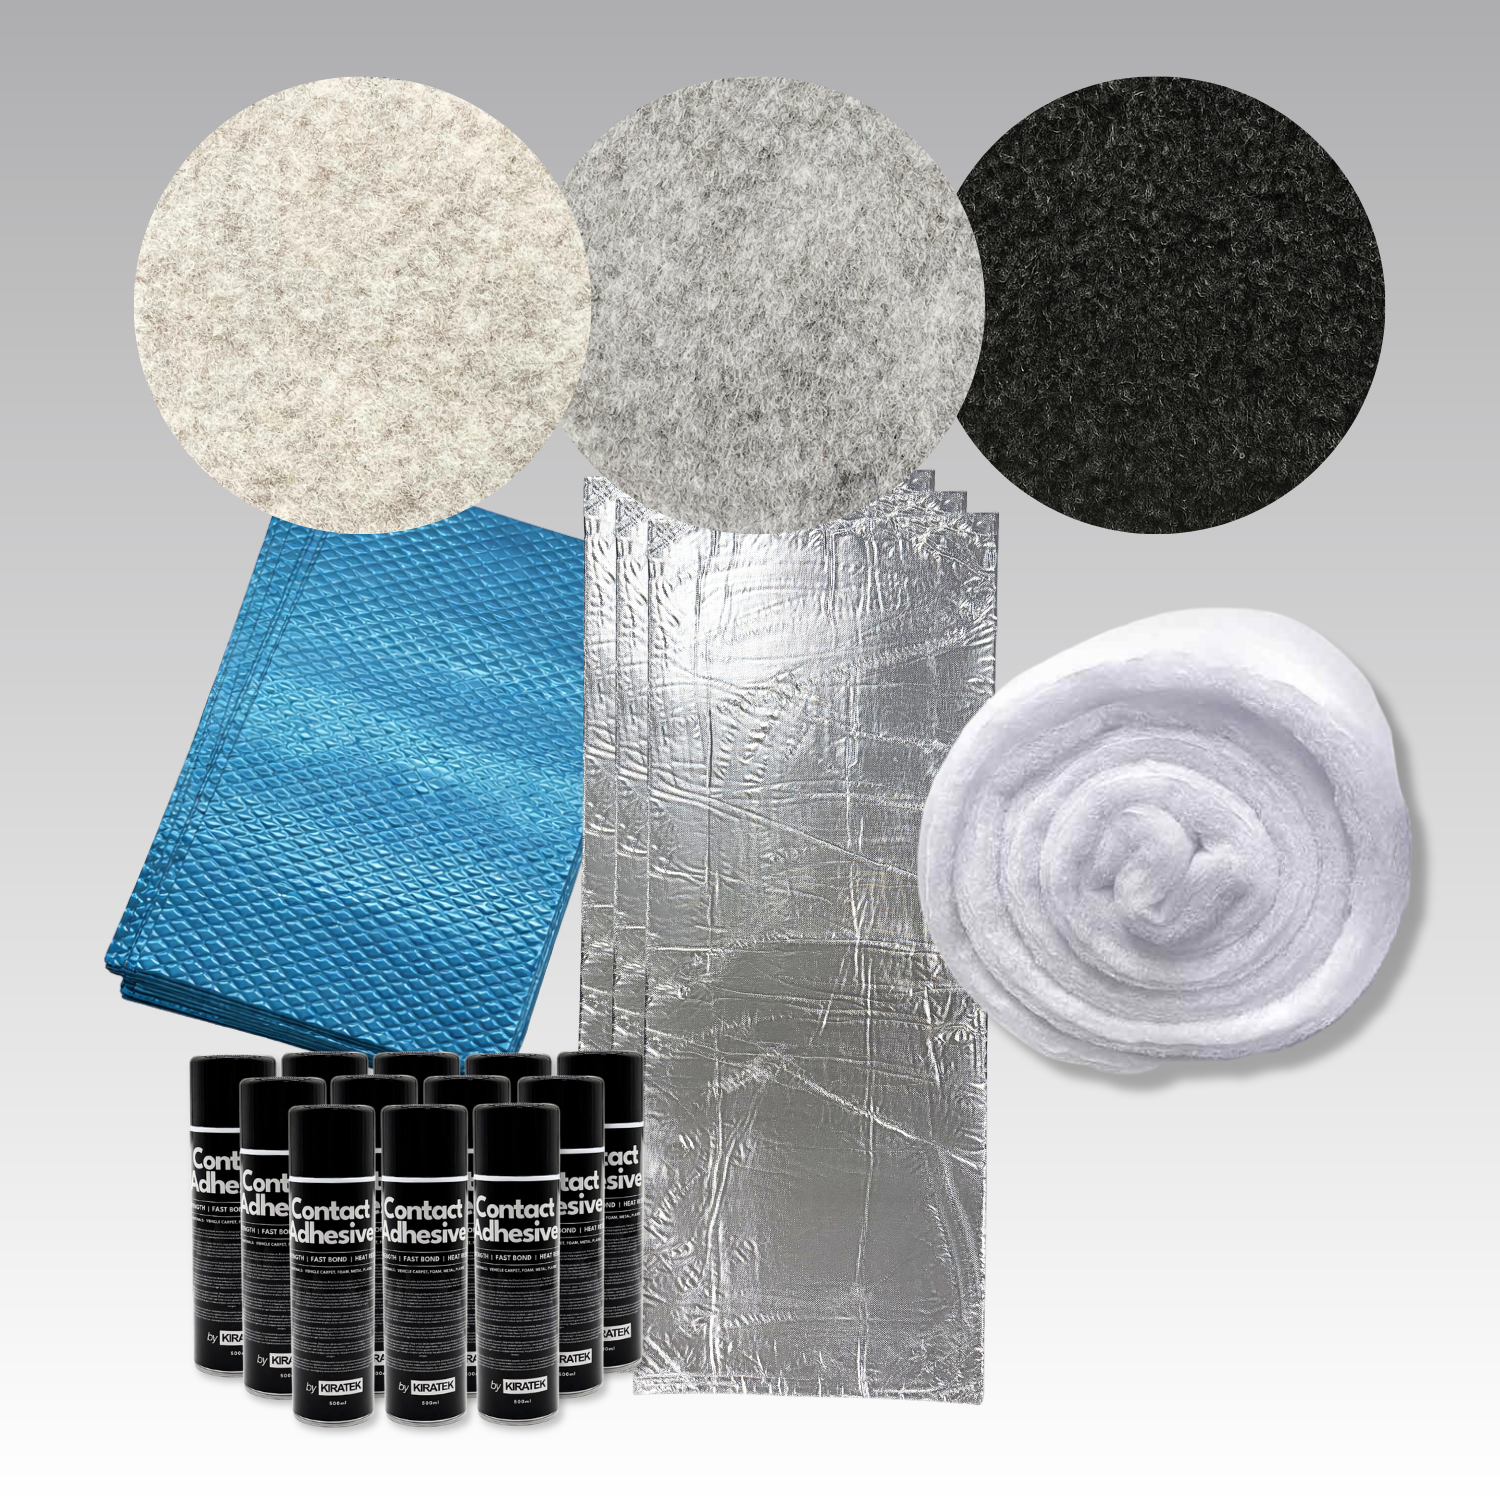
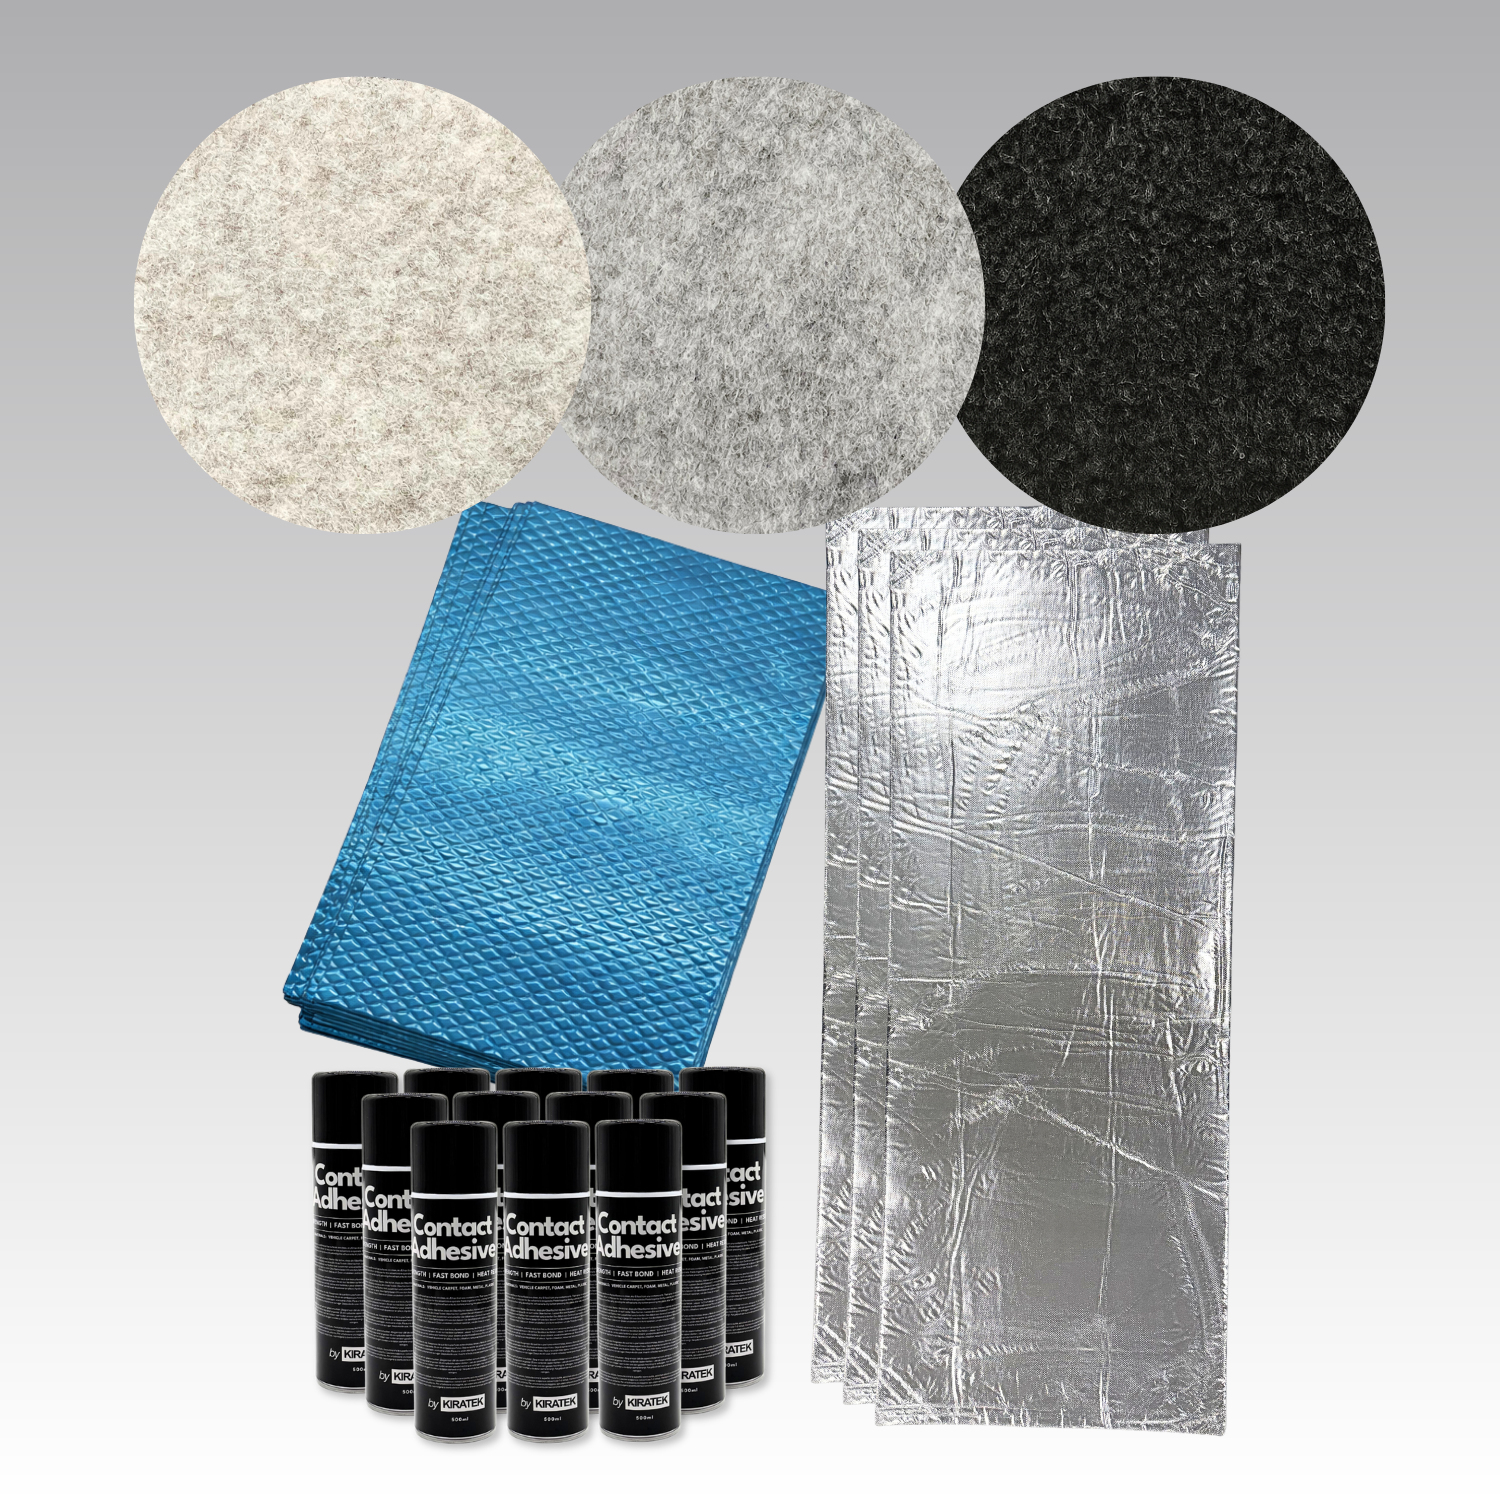
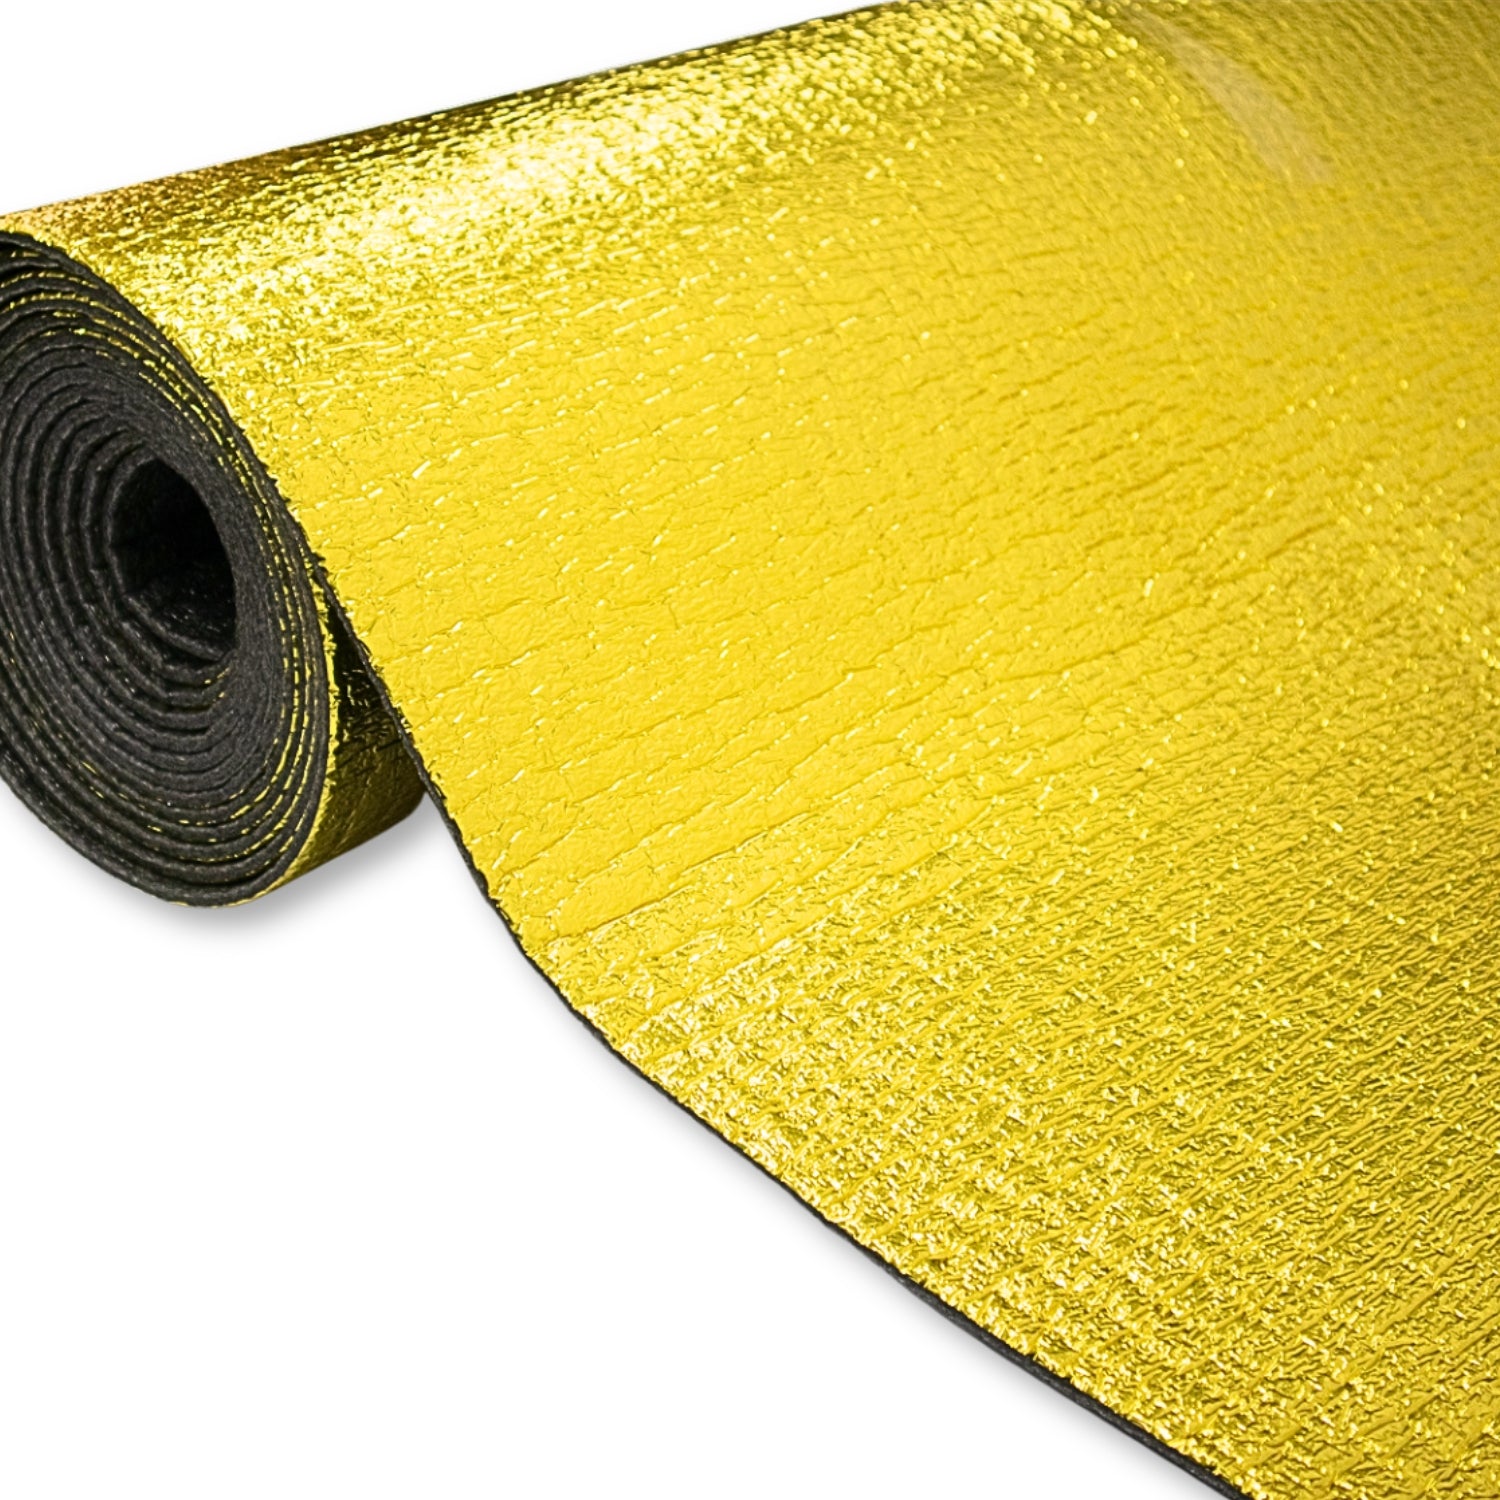
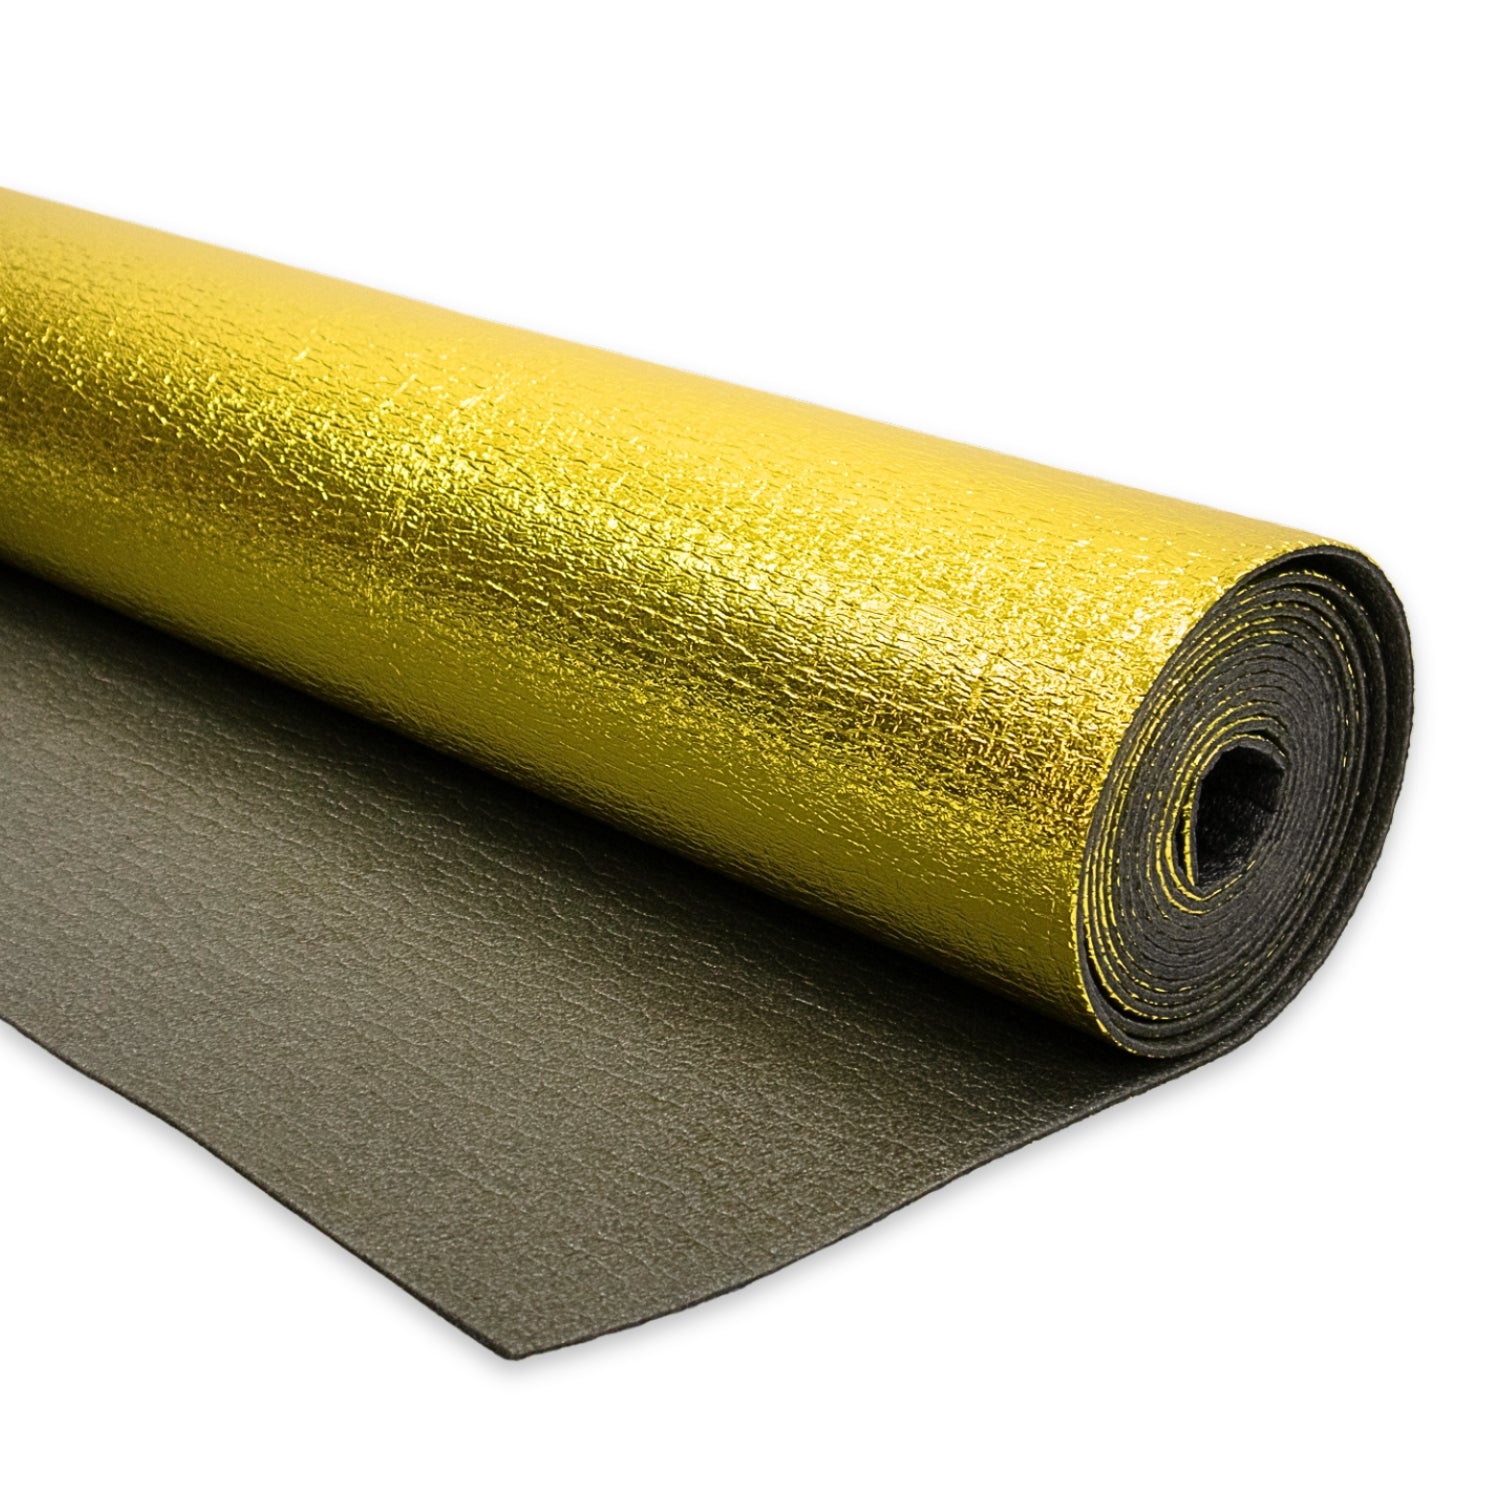
Diese hochwertige Unterbodenisolierung wurde für Transporter und Wohnmobile entwickelt und trägt dazu bei, den Straßenlärm zu reduzieren und die Wärmedämmung unter dem Boden zu verbessern.
Warum eine Unterboden-Isolierung?
Die Unterbodenisolierung sorgt für einen leiseren, wärmeren und komfortableren Transporter, indem sie eine Isolierschicht zwischen dem Metallboden und der Verkleidung bildet. Sie trägt dazu bei, Fahrgeräusche und Vibrationen von unten zu reduzieren, und verbessert gleichzeitig die Wärmespeicherung, so dass sich der Wagen unter den Füßen weniger kalt anfühlt. Außerdem gleicht sie kleinere Unebenheiten im Metallboden aus und sorgt so für eine sauberere und gleichmäßigere Unterlage für Ihren Bodenbelag.
💡 Bündel-Kits: Wenn Sie hier gelandet sind und einen kompletten Transporter isolieren möchten, ist unser Transporter-Isolierkit in der Regel die bessere Wahl, da es preiswerter ist, als alles einzeln zu kaufen.
Wichtigste Merkmale
- Entwickelt für den Einsatz unter dem Bodenbelag - Passt genau unter den Bodenbelag
- Reduziert Straßenlärm - Hilft, Geräusche und Vibrationen von der Straße zu reduzieren
- Verbessert die Wärmedämmung - macht Ihren Transporter wärmer und angenehmer unter den Füßen
- Glättet kleinere Bodenunebenheiten - Schafft eine gleichmäßigere Oberfläche unter dem Bodenbelag
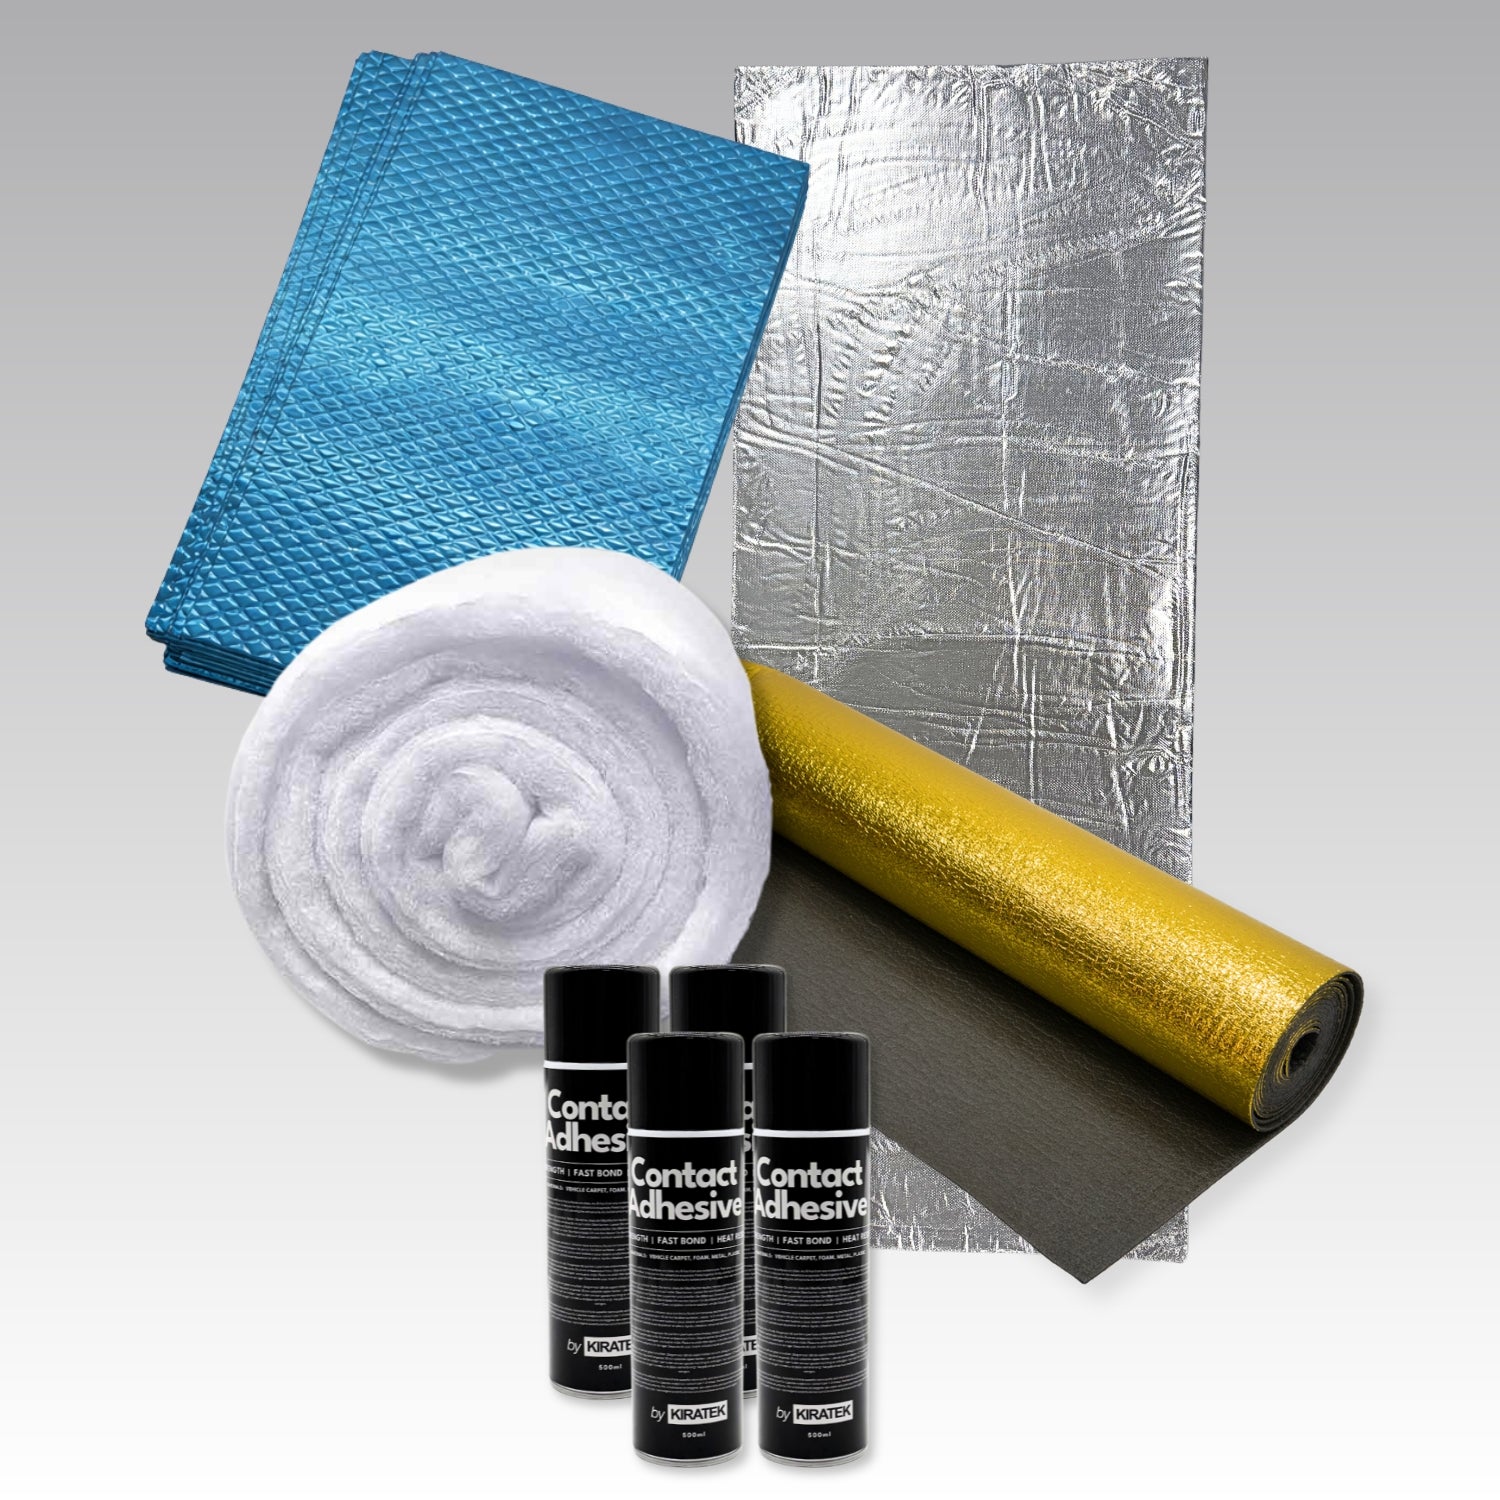
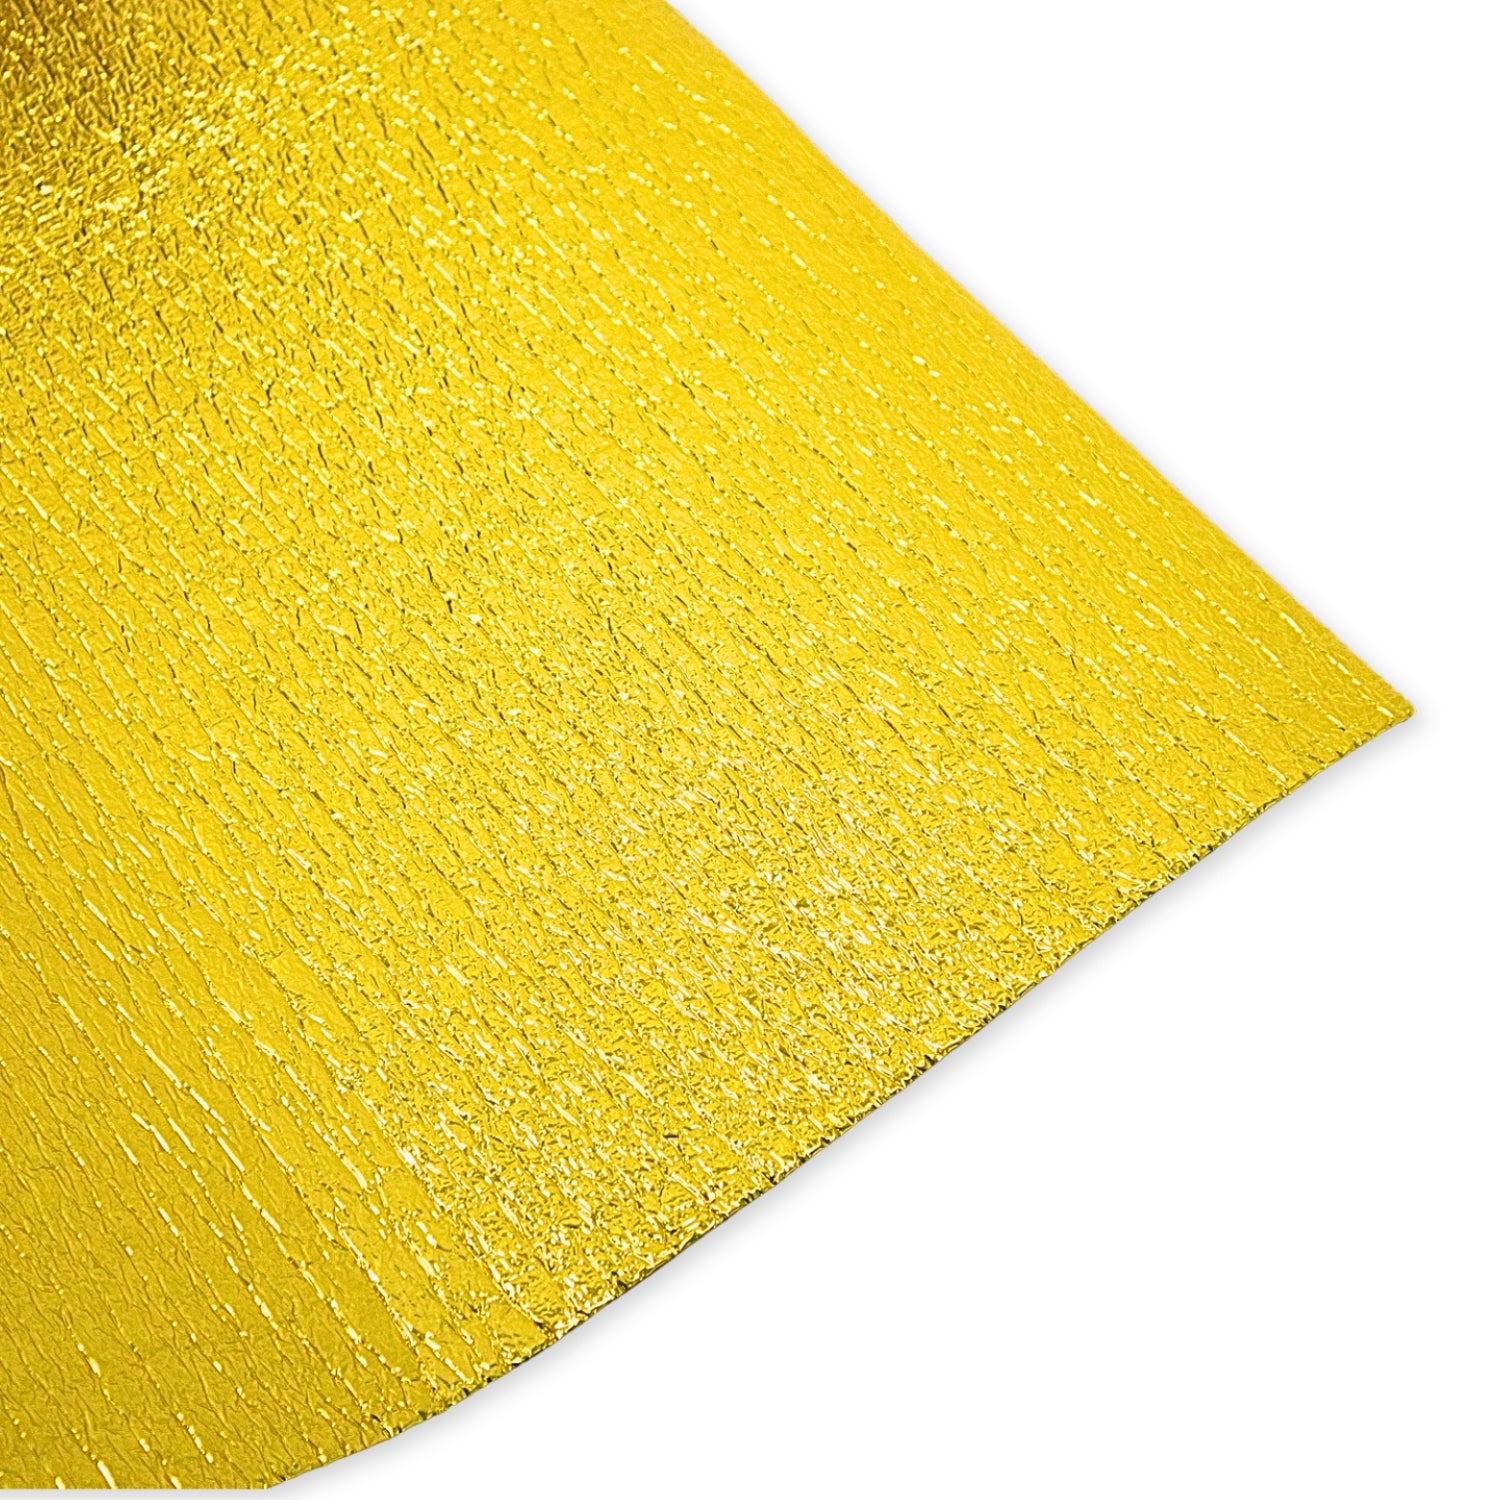
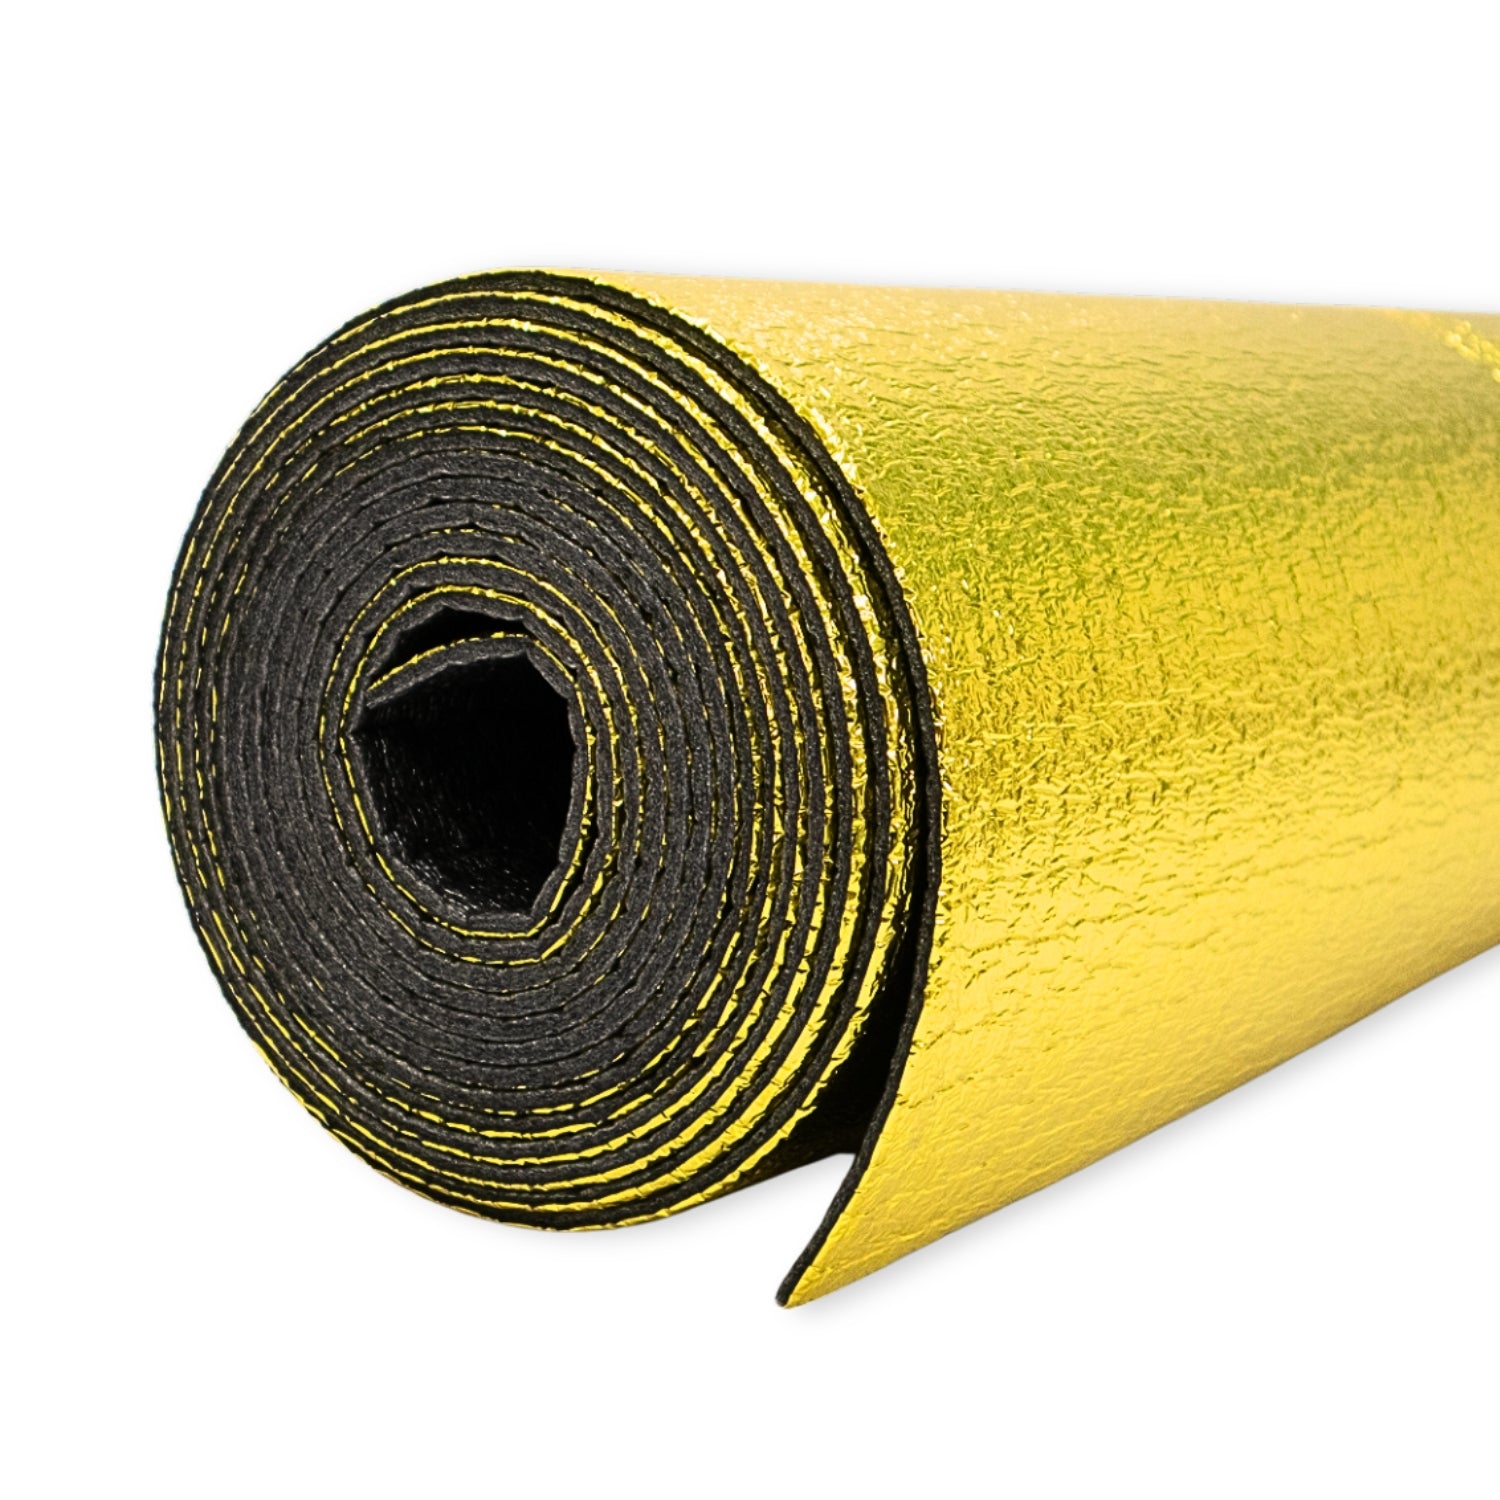
- Dampfsperre aus goldener Aluminiumfolie - Verringert das Risiko von Feuchtigkeitsansammlungen
- Leicht - Einfach zu handhaben und zu verlegen
- Flammhemmend - Zusätzliche Sicherheit für Ihren Transporterbau
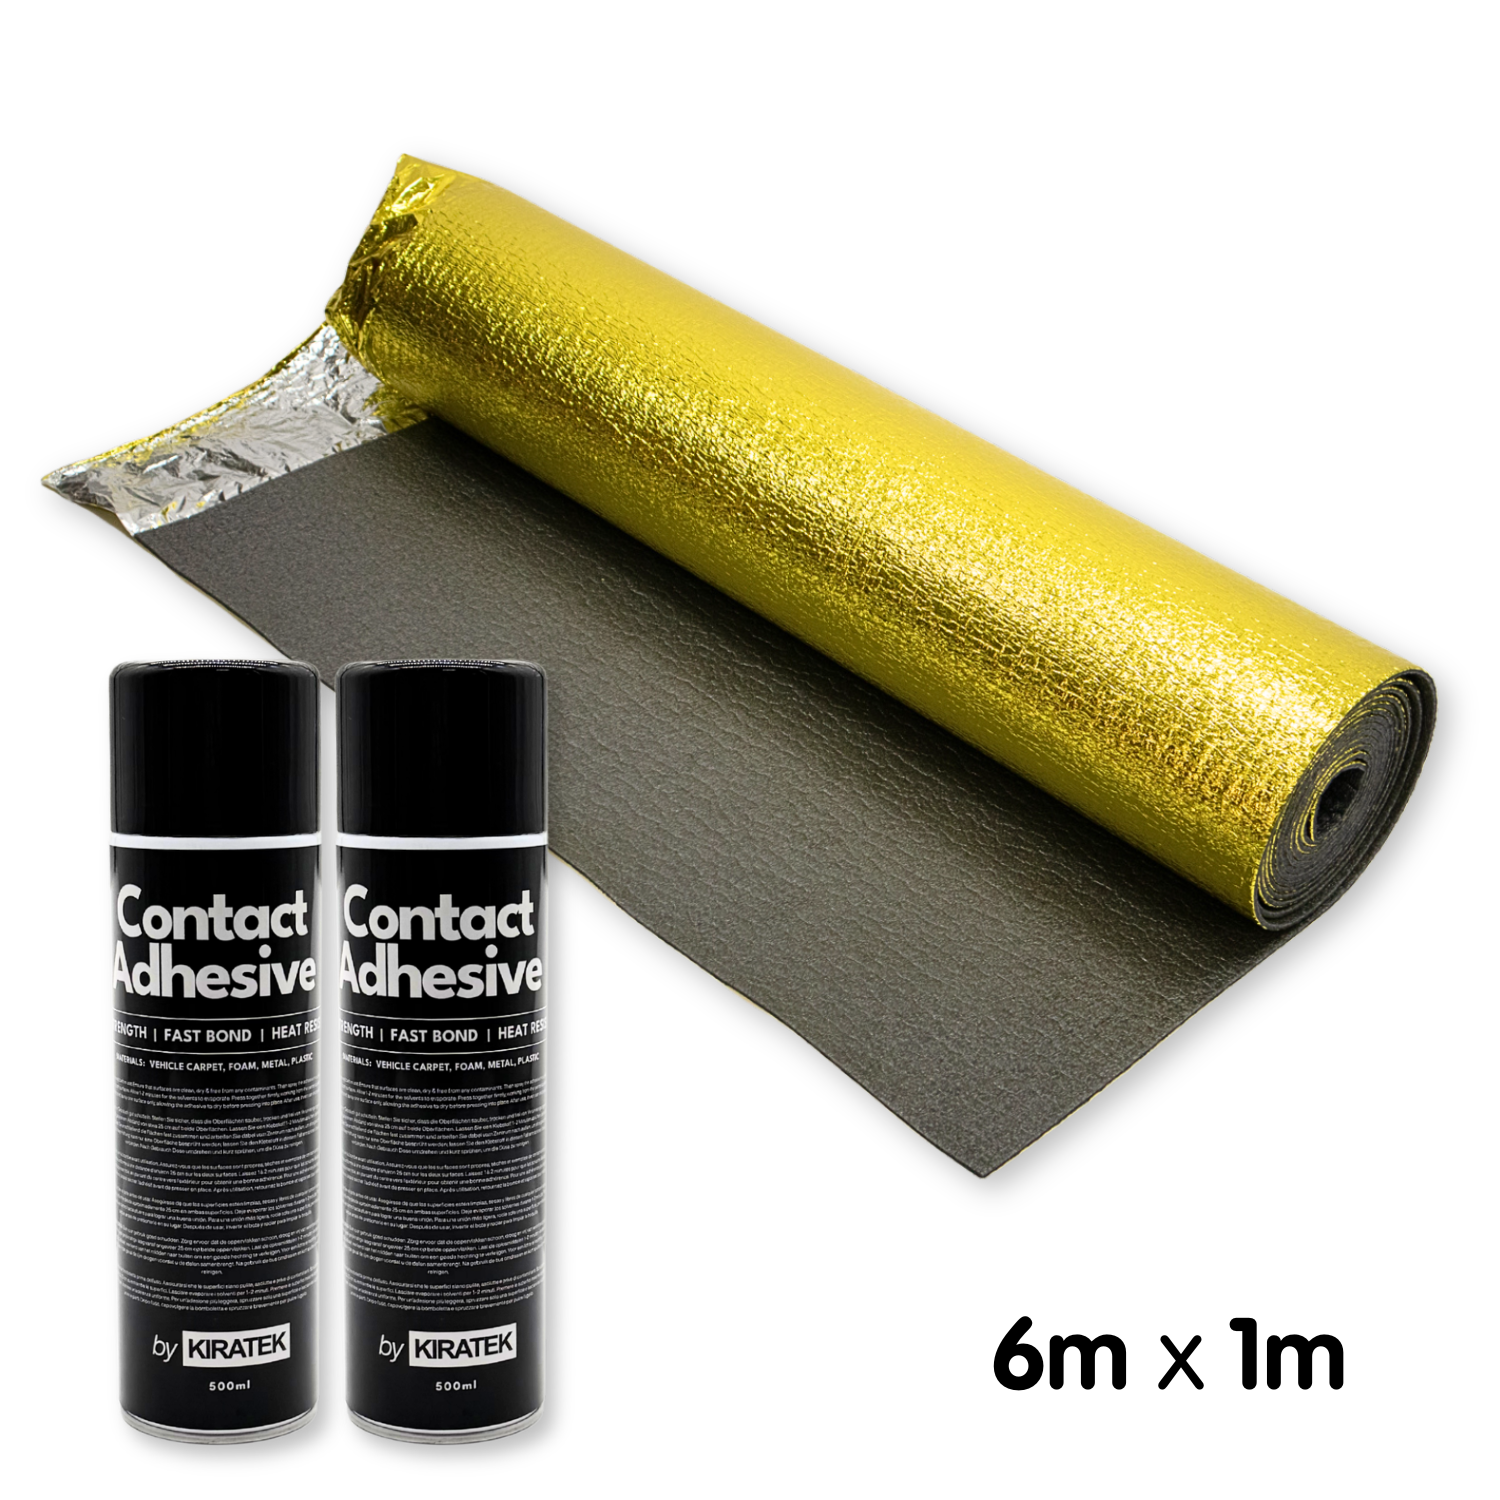
- Inklusive ausreichend Hochtemperatur-Sprühkleber - Ein komplettes Set!
Technische Einzelheiten
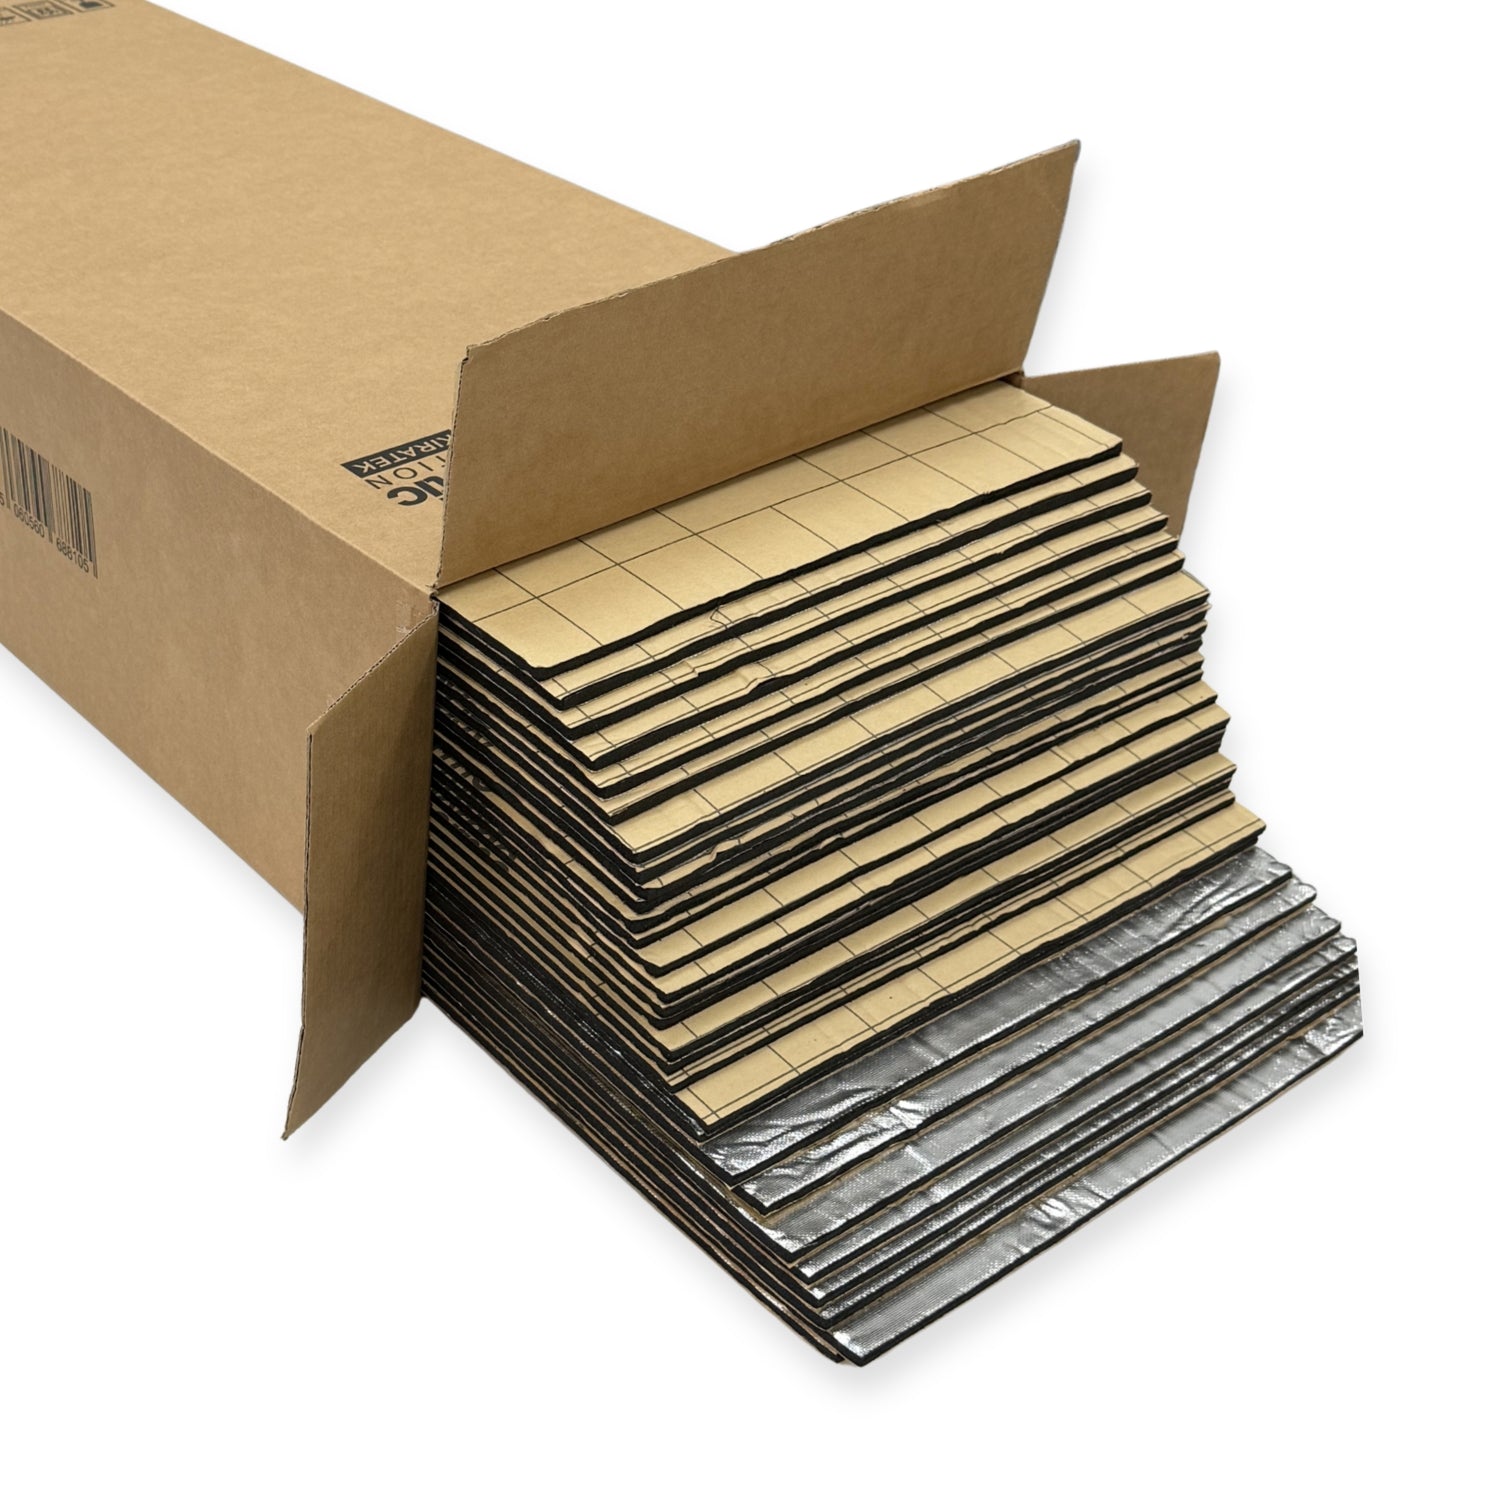
- Breite: 1 Meter
- Länge: Länge nach Wahl
- Dicke: 5 mm
Sie sind sich nicht sicher, welche Größe Sie benötigen?
| Van Größe | Benötigte ungefähre Bodenabdeckung | Empfohlene Unterflur-Isolierung | Beispiele für Van-Größen |
|---|---|---|---|
| HALBER Wohnwagen | 4qm | 1 x 4m Rolle | VW Caddy, Ford Transit Connect |
| MEDIUM - Kurzer Radstand | 5qm | 1 x 6m Rolle | VW Transporter T4/T5/T6/T6.1, Ford Transit Custom, Vivaro, Trafic, Primastar |
| MEDIUM - Langer Radstand | 6qm | 1 x 6m Rolle | VW Transporter T4/T5/T6/T6.1, Ford Transit Custom, Vivaro, Trafic, Primastar |
| LARGE | 7-8sqm | 2 x 4m-Rollen | VW Crafter, MAN TGE, Mercedes Sprinter, Fiat Ducato |
Wie man eine Unterbodenisolierung in einem Wohnmobil anbringt
Was Sie brauchen:
- Gold-Unterfußbodenisolierung
- Hochtemperatur-Sprühkleber
- Universalmesser
- Maßband
- Entfetter + sauberes Tuch
Tipp: Verlegen Sie die Dämmung bei trockener Raumtemperatur, damit sie optimal haftet.
1. Bereiten Sie den Boden vor: Kehren / saugen Sie Staub und Schutt ab. Wischen Sie den Metallboden mit Entfetter ab und lassen Sie ihn vollständig trocknen. Eine saubere Oberfläche ist wichtig, damit der Klebstoff haftet.
2. Rollen Sie die Dämmung aus und schneiden Sie sie zu:
-
Rollen Sie die Dämmung über die gesamte Bodenflächeaus. Lassen Sie sie einen Moment lang flach liegen - das erleichtert das Schneiden.
-
Bringen Sie sie grob in Position.
-
Schneiden Sie um Hindernisse wie Radkästen, Stufen, Sitzhalterungen oder Bodenverstärkungenherum. Verwenden Sie ein scharfes Universalmesser und machen Sie langsame, kontrollierte Schnitte. Heben Sie die Isolierung bei Bedarf etwas an oder falten Sie sie zurück, damit Sie die Umrisse deutlich sehen können.
-
Überprüfen Sie die Passform häufig.
Drücken Sie die Platte beim Schneiden vorübergehend nach unten, um sicherzustellen, dass sie sich gut an die Bodenkonturen anpasst. -
Schneiden Sie die Kanten ab, um einen passgenauen Abschluss zu erzielen.
Wenn alles flach sitzt, schneiden Sie den Rand bündig mit den Wänden oder Rippen ab.
Tipp: Große Platten können sperrig sein. Wenn das Stück schwer zu handhaben ist, zögern Sie nicht, es in zwei Teile zu schneiden, um die Montage zu erleichtern - die Leistung wird dadurch nicht beeinträchtigt.
Wenn sich die Handhabung großer Stücke schwierig anfühlt, können Sie die Dämmung auch in kleinere, handlichere Abschnitte schneiden. Dies erleichtert die genaue Positionierung des Materials, insbesondere wenn Sie es ohne Hilfe verlegen. Kleinere Abschnitte können auch dazu verwendet werden, verbleibende Lücken sauber zu schließen.
3. Kleber auftragen und Dämmung befestigen
- Arbeiten Sie in überschaubaren Abschnitten, damit der Kleber klebrig bleibt.
- Sprühen Sie eine dünne, gleichmäßige Schicht Klebstoff sowohl auf den Metallboden als auch auf die Rückseite der Dämmung.
- Warten Sie 30-60 Sekunden, bis der Kleber klebrig ist.
- Drücken Sie die Dämmung fest an ihren Platz.
- Glätten Sie sie von einer Kante aus nach außen, um Lufteinschlüsse zu vermeiden.
- Vergewissern Sie sich, dass die Dämmung vollständig über Kanten und Ecken geklebt ist.
4. Verlegen Sie Ihren Bodenbelag
- Legen Sie Sperrholz oder Ihren fertigen Bodenbelag direkt darauf.
- Wenn Sie Holzlatten verwenden, legen Sie diese auf die Dämmung (nicht auf das blanke Metall), um eine durchgehende Dämmung zu gewährleisten.
Downloads
- 📄 Kiravans_Guide_to_Lining_and_Insulation_-_EN_-_EU_19.5.26?v=13216898753612586394
- 📄 Kiravans_Guide_to_Lining_and_Insulation_-_DE_-_EU_19.5.26?v=1341552485107635333
- 📄 Kiravans_Guide_to_Lining_and_Insulation_-_FR_-_EU_19.5.26?v=11781593676593581868
- 📄 Kiravans_Guide_to_Lining_and_Insulation_-_ES_-_EU_19.5.26?v=8701840867010735285
- 📄 Kiravans_Guide_to_Lining_and_Insulation_-_IT_-_EU_19.5.26?v=15379910778108904230
- 📄 Kiravans_Guide_to_Lining_and_Insulation_-_NL_-_EU_19.5.26?v=8694541492370723474
LIEFERUNG - Ab 12,50 EUR
Die unkomplizierte Versandpreispolitik von Kiravans - eine Pauschale von 12,50 EUR für Länder der Zone 1 & 2, unabhängig von der Anzahl der Artikel, die Sie kaufen.
Dieser transparente Ansatz bedeutet, dass Sie nur für die erste Box bezahlen, egal ob Sie einen Artikel oder zwanzig Artikel kaufen! Wir setzen auf Fairness und Ehrlichkeit, und unsere Versandpreise spiegeln dies wider, indem keine Kosten in den Produktpreisen versteckt werden.
Nicht sicher, in welcher Zone Sie sich befinden? Prüfen Sie hier.
Kiravans bietet eine umfassende "Keine Rückfragen-Rückgaberecht"-Richtlinie. Sie können jeden Kauf innerhalb von 90 Tagen nach dem Kauf für einen Umtausch oder eine volle Rückerstattung zurückgeben.
Wir bitten lediglich darum, dass Sie die empfohlenen Wartungsanweisungen und Verfallsdaten der Hersteller beachten. Lesen Sie unsere vollständige Richtlinie hier: Rückgaberecht.
Zahlung & Sicherheit
Deine Zahlungsinformationen werden sicher verarbeitet. Wir speichern keine Kreditkartendaten und haben auch keinen Zugang zu deinen Kreditkartendaten.
Kiravans ist der führende Online-Händler für Produkte zur Wohnmobilumbau. Wir entwerfen, fertigen und beschaffen seit über 16 Jahren hochwertiges Zubehör.
Unser Lager befindet sich in den Niederlanden. Wir sind stolz auf unsere schnellen Lieferungen, und es fallen keine Importzölle oder Tarife an - einfach ein unkompliziertes Einkaufserlebnis!
Lesen Sie die ganze Geschichte von Kiravans hier.
Alles shoppen >