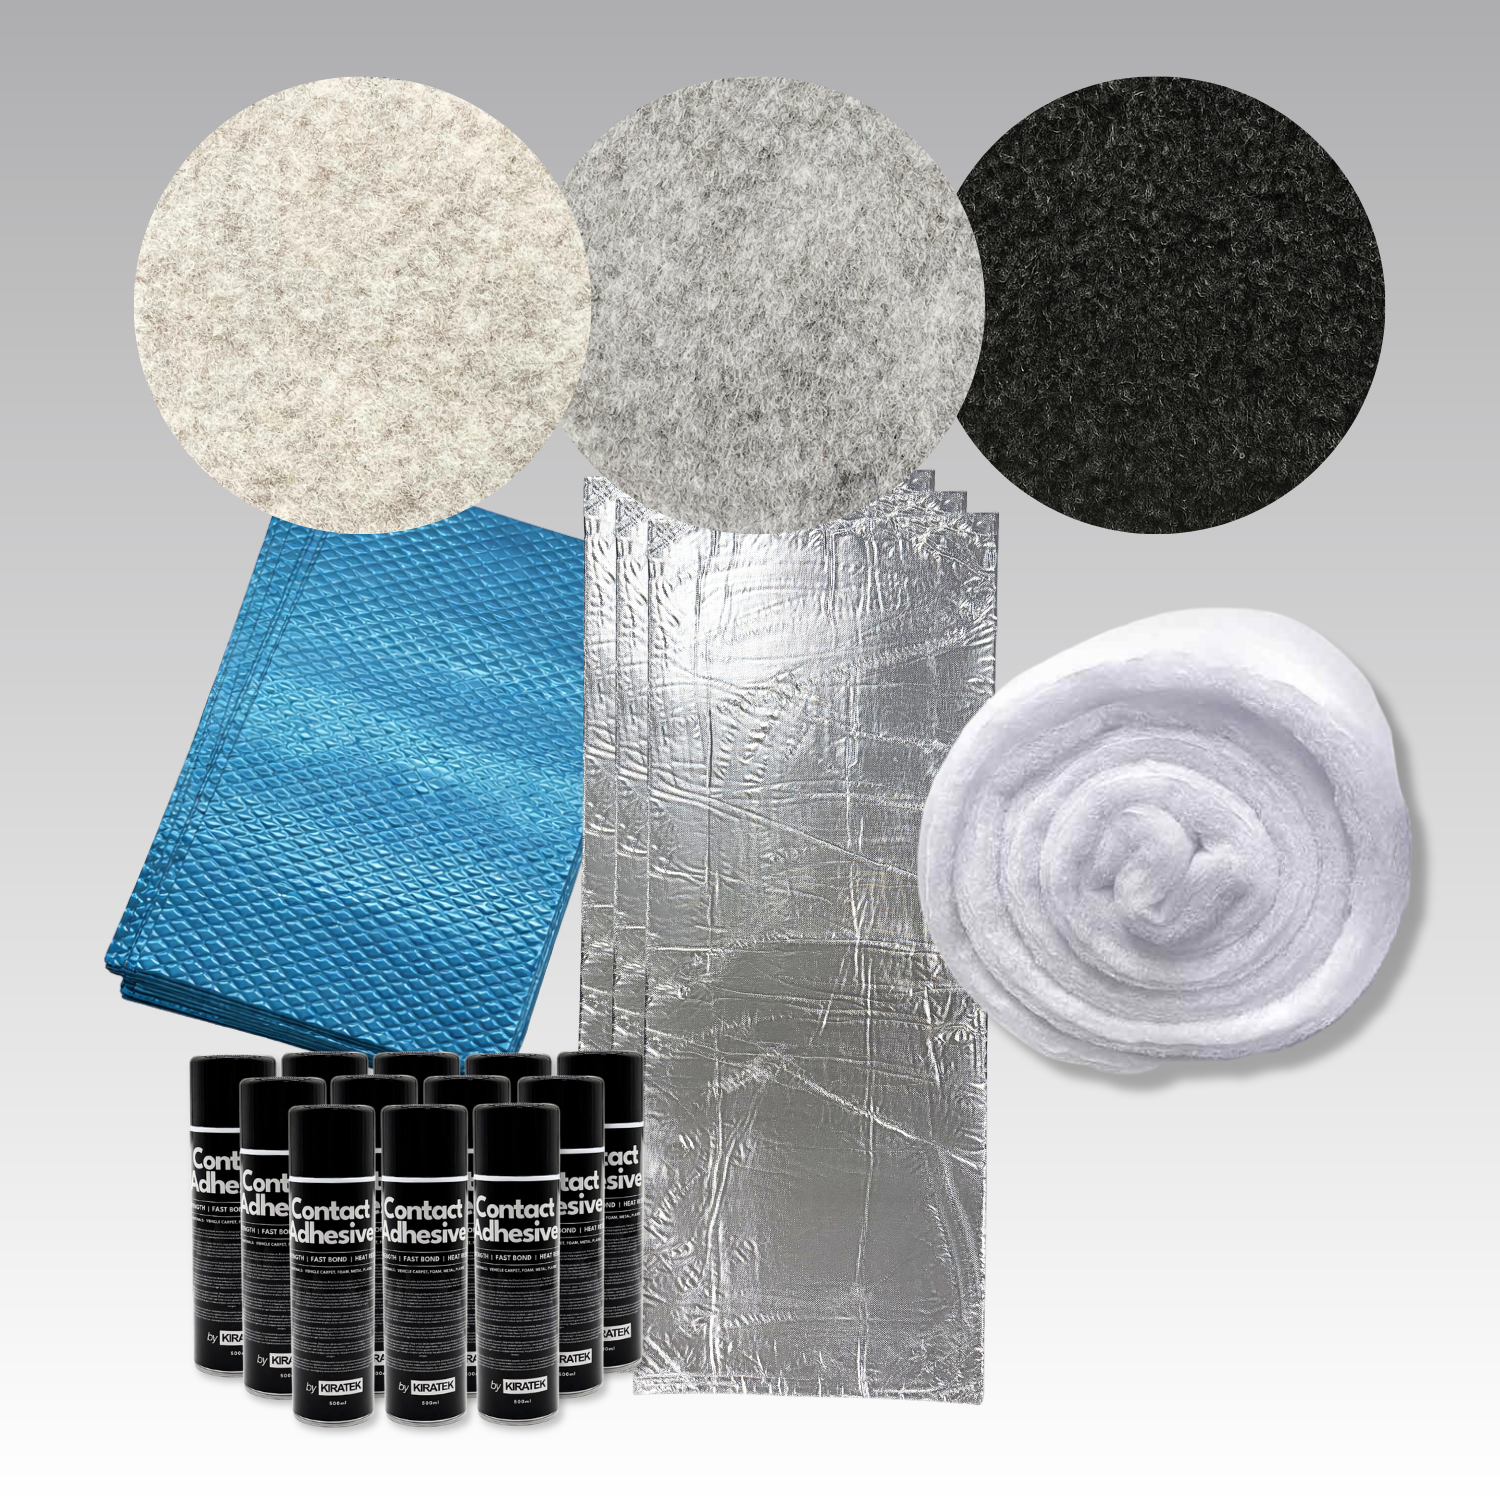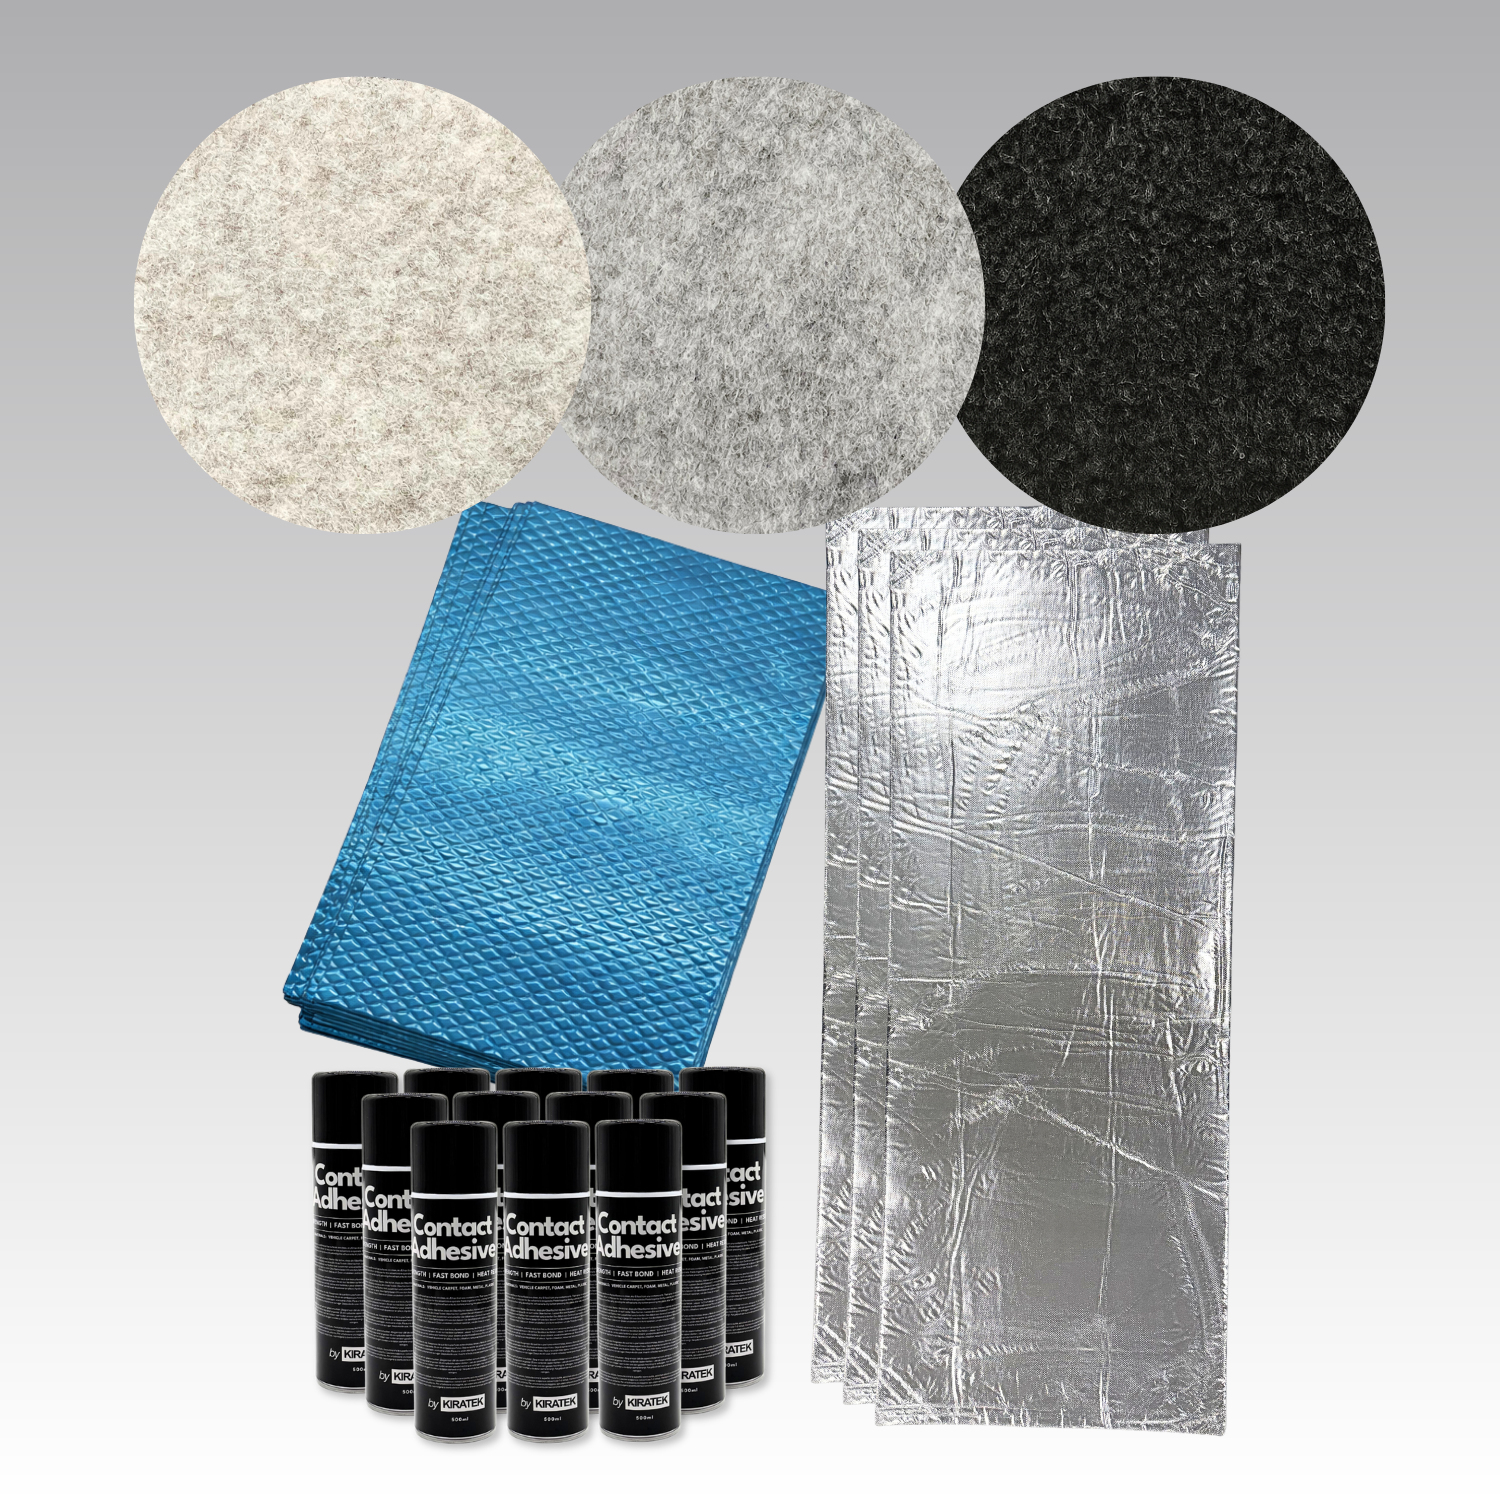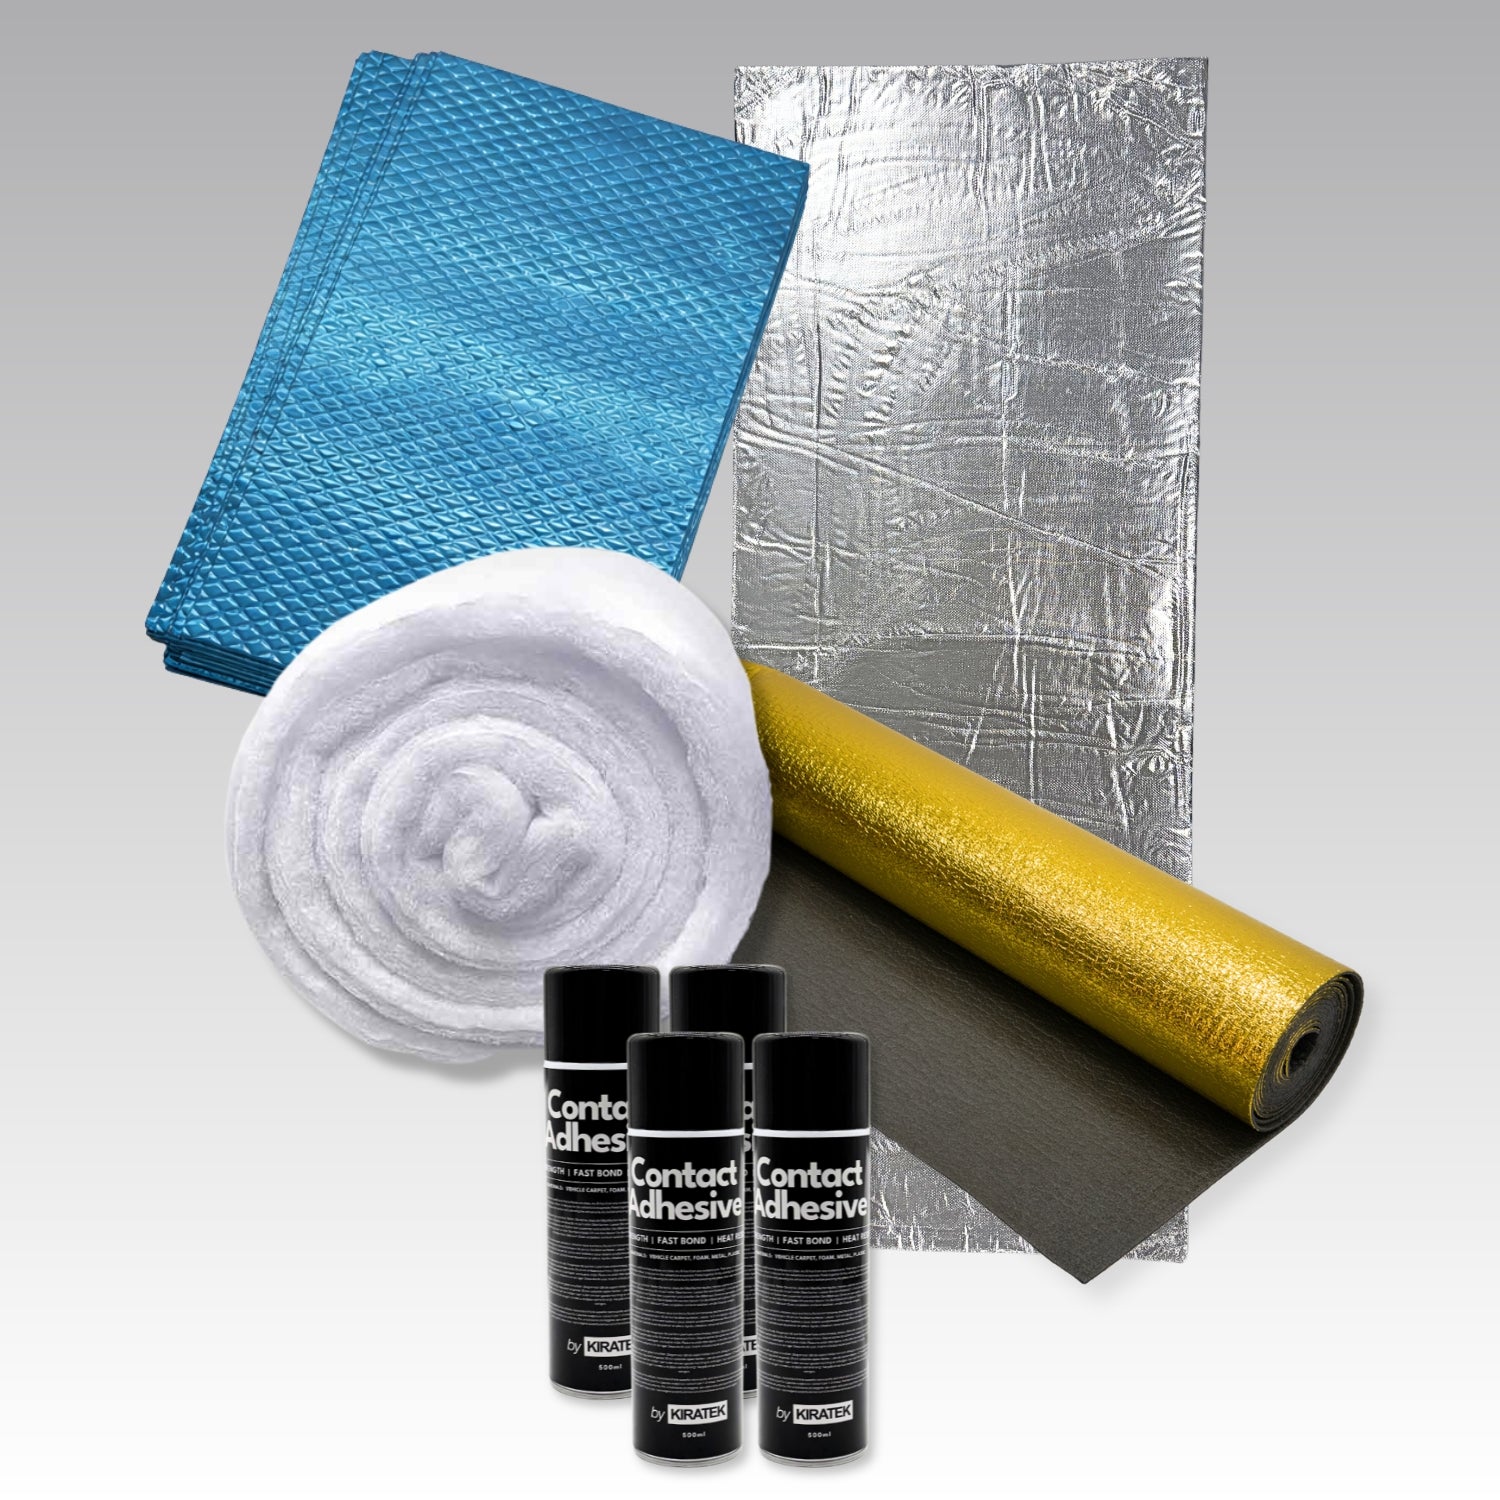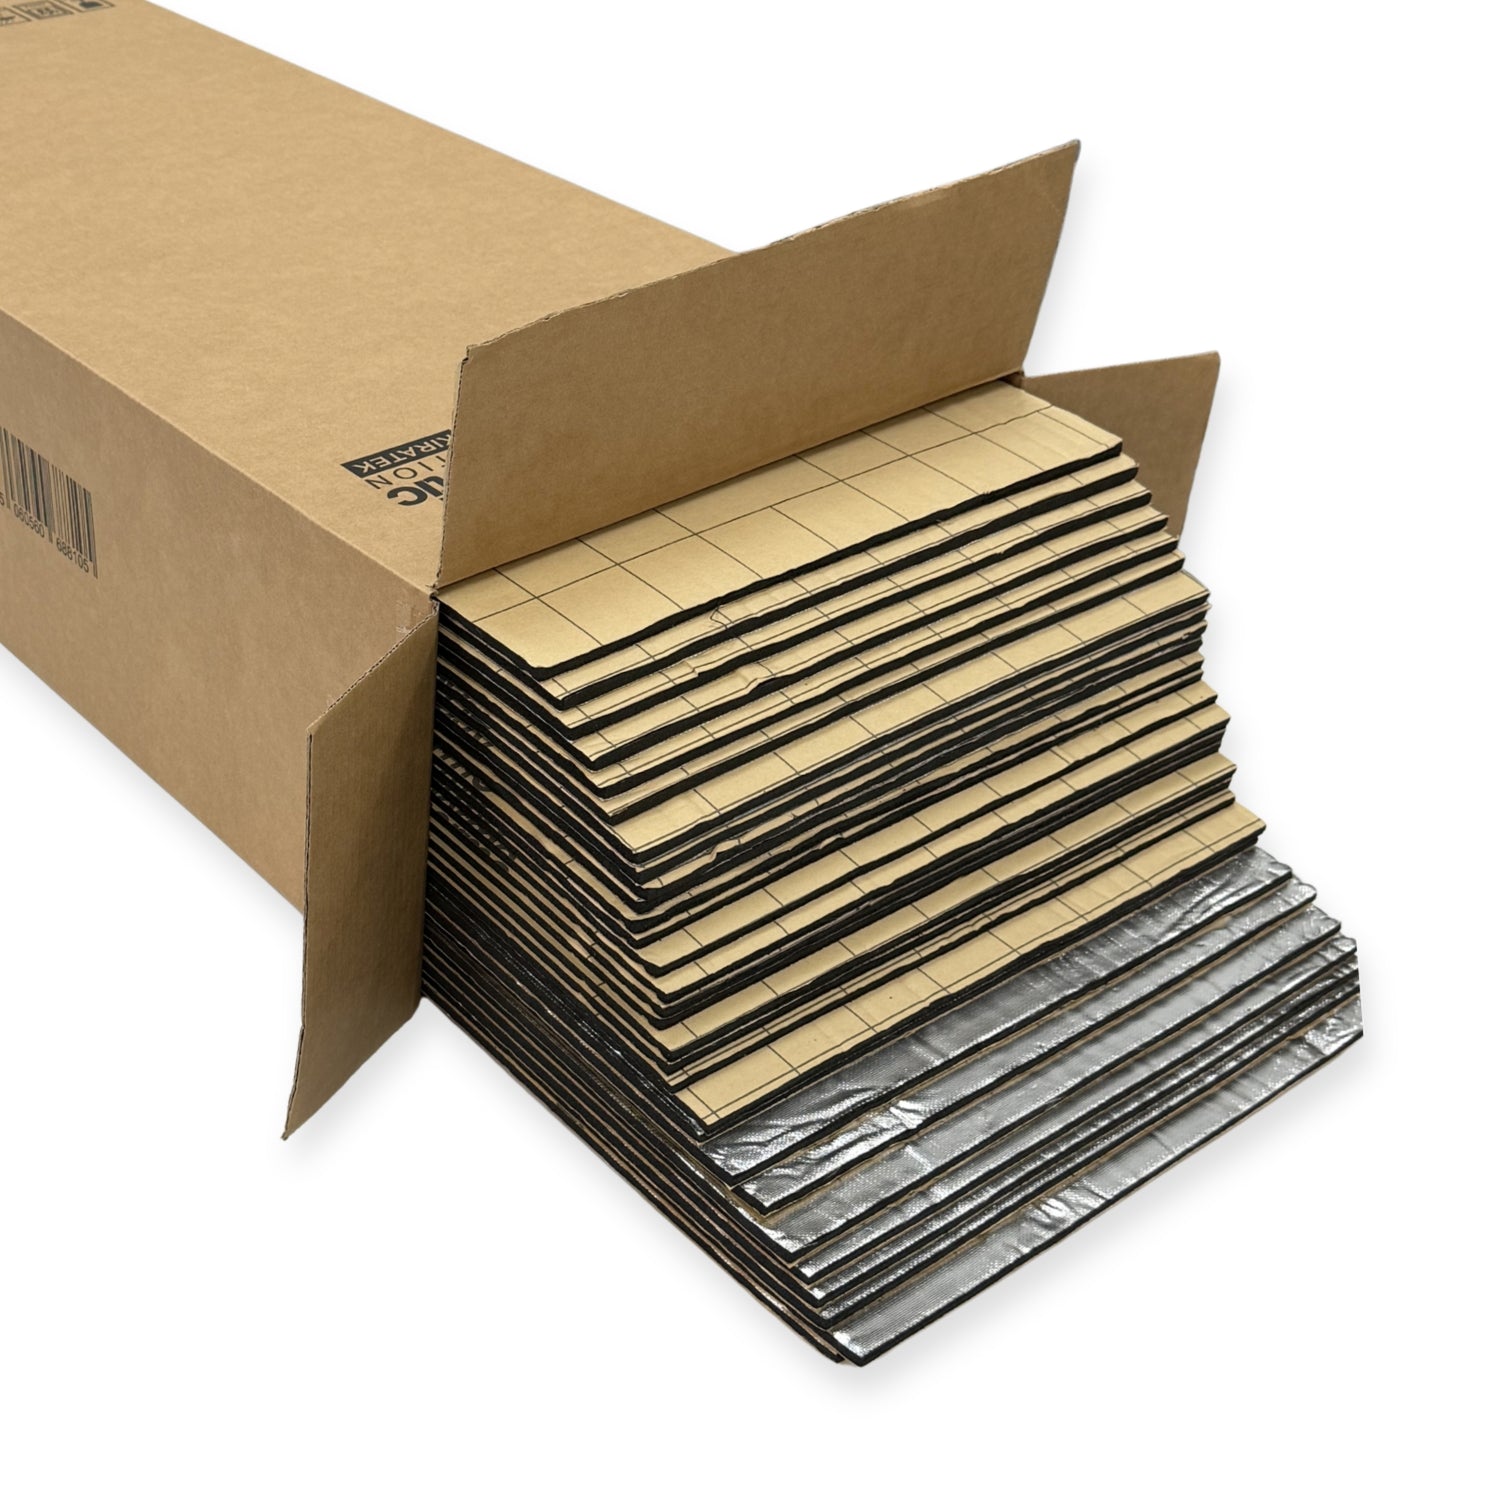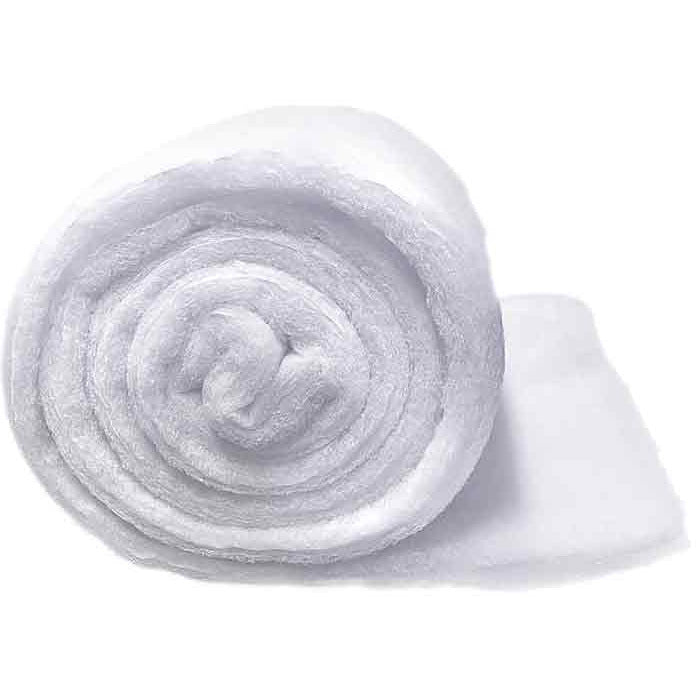
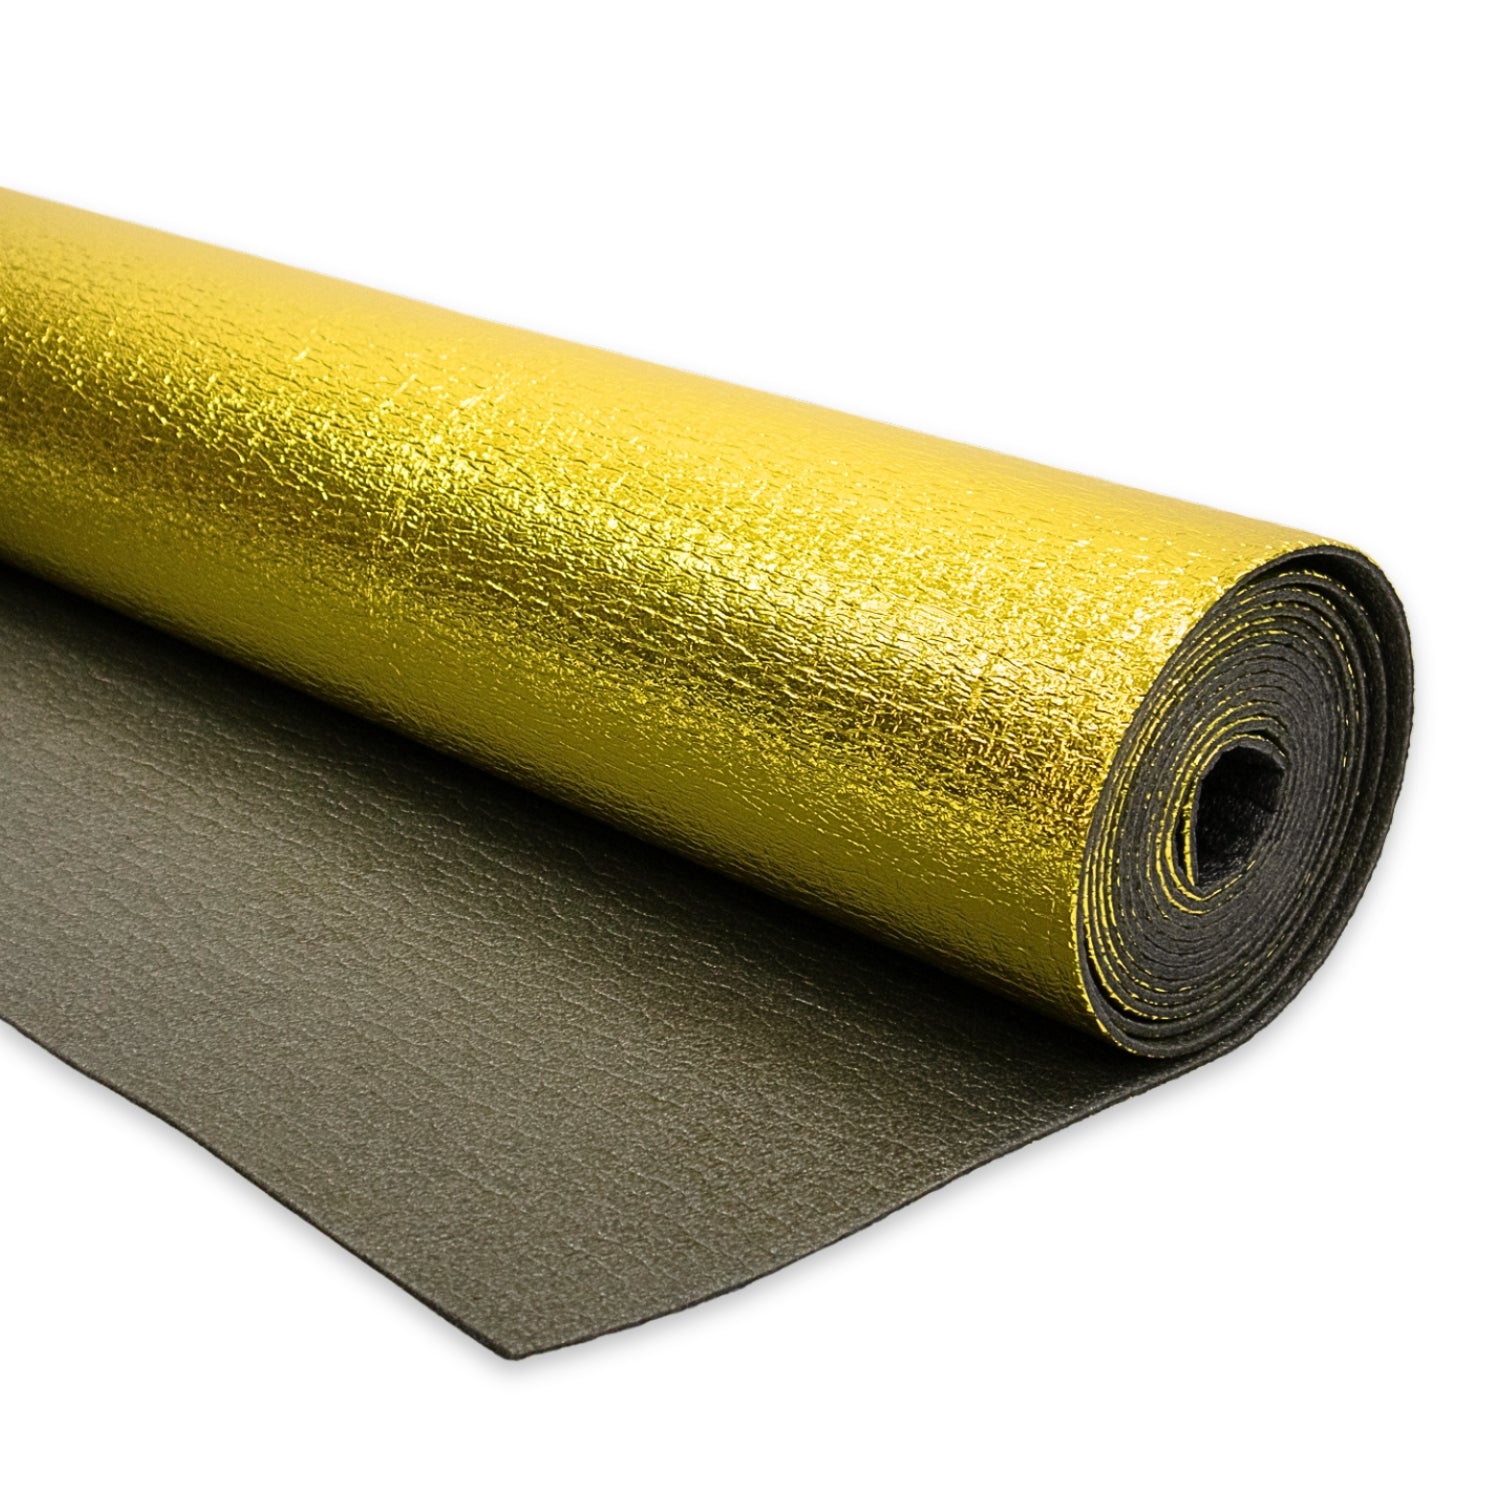
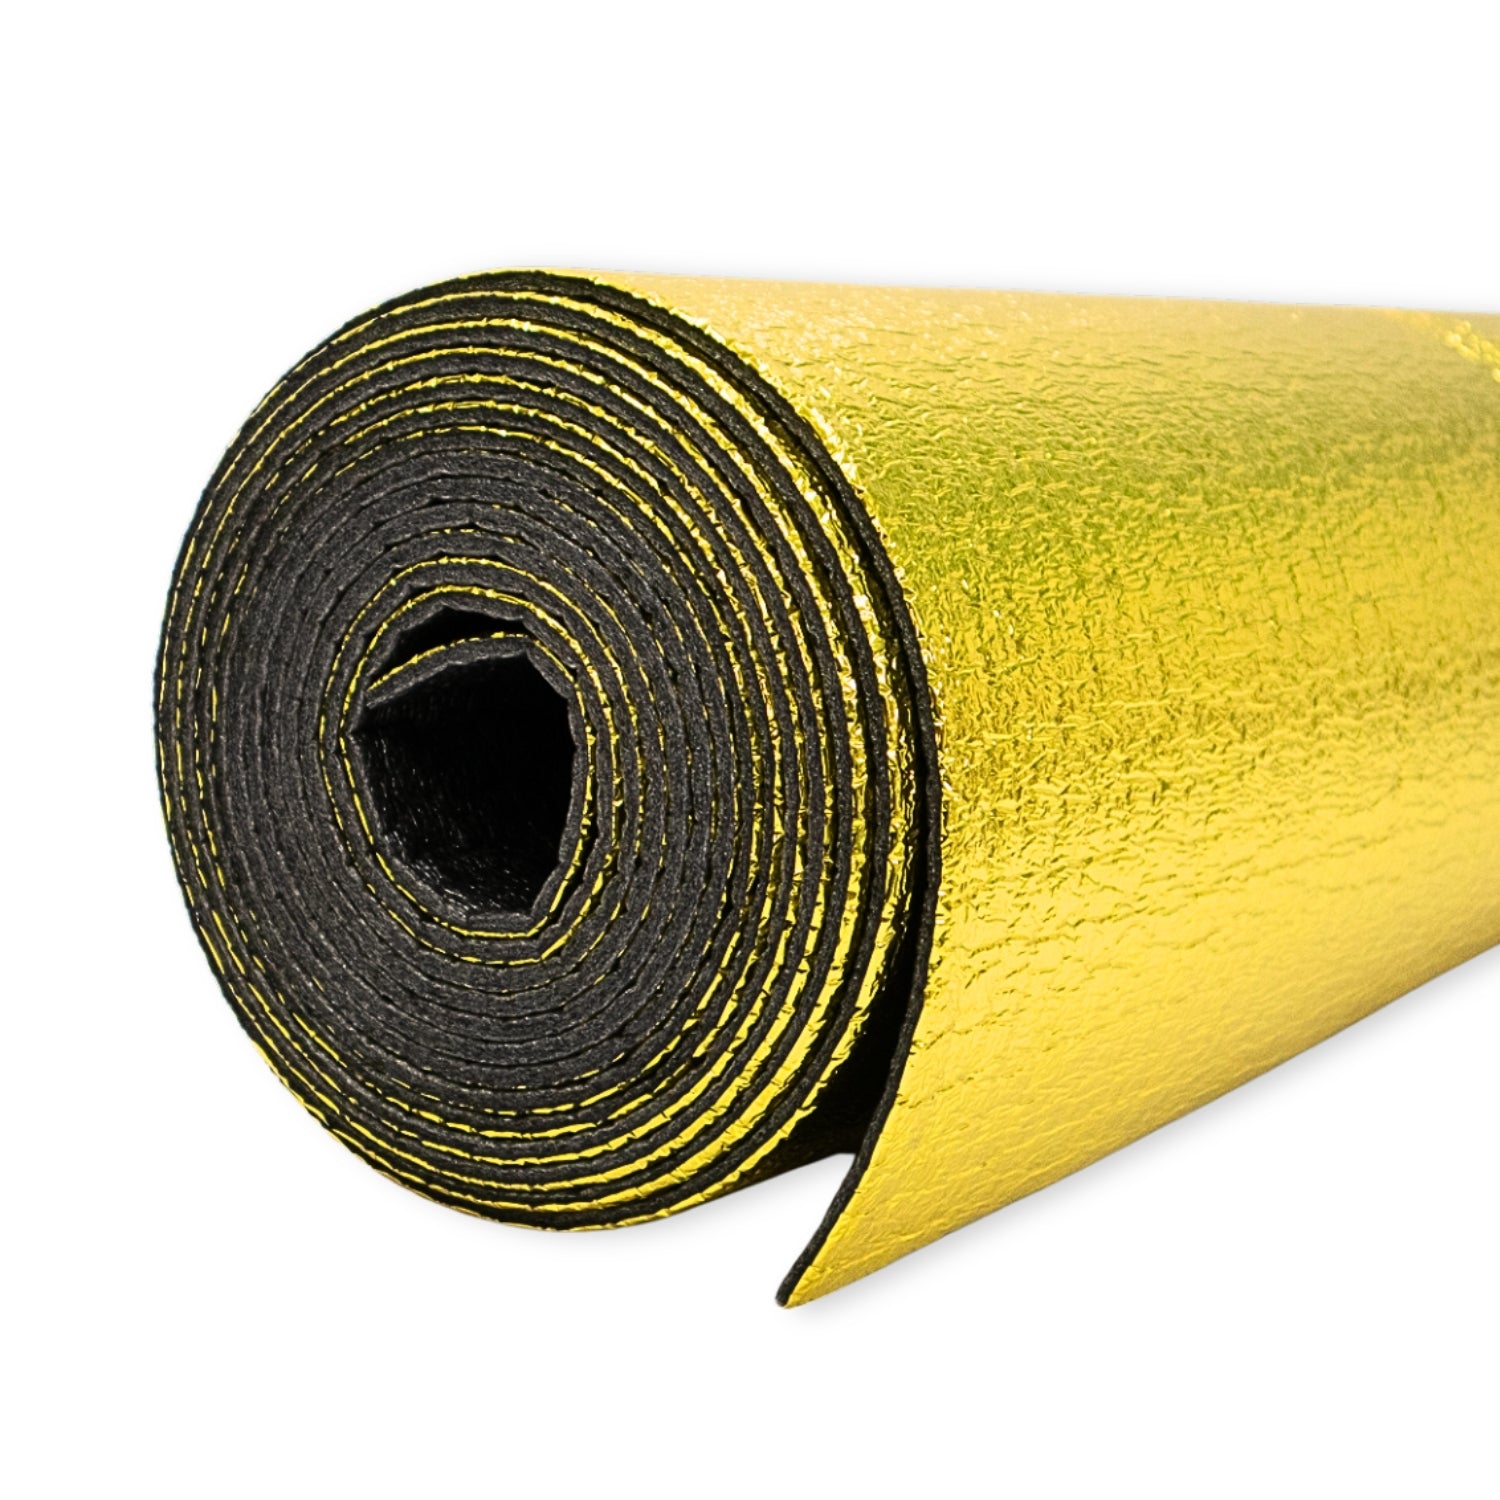


Description
This premium underfloor insulation is designed for vans and campervans, helping to reduce road noise and improve thermal insulation beneath your floor.
Why Use Underfloor Insulation?
Underfloor insulation helps create a quieter, warmer and more comfortable van by adding an insulating layer between the metal floor and your ply lining. It helps reduce road noise and vibration from below, while also improving heat retention to make the van feel less cold underfoot. It also helps smooth out minor imperfections in the metal floor beneath, giving your ply flooring a neater and more even base to sit on.
💡 Bundle kits: If you’ve landed here looking to insulate a full van, our van insulation kit is usually the better option, as it works out better value than buying everything separately.
Key Features
- Designed for under ply flooring – Sits neatly beneath your floor layer
- Reduces road noise – Helps cut down sound and vibration from the road below
- Improves thermal insulation – Helps make your van warmer and more comfortable underfoot
- Smooths minor floor imperfections – Creates a more even surface beneath ply flooring
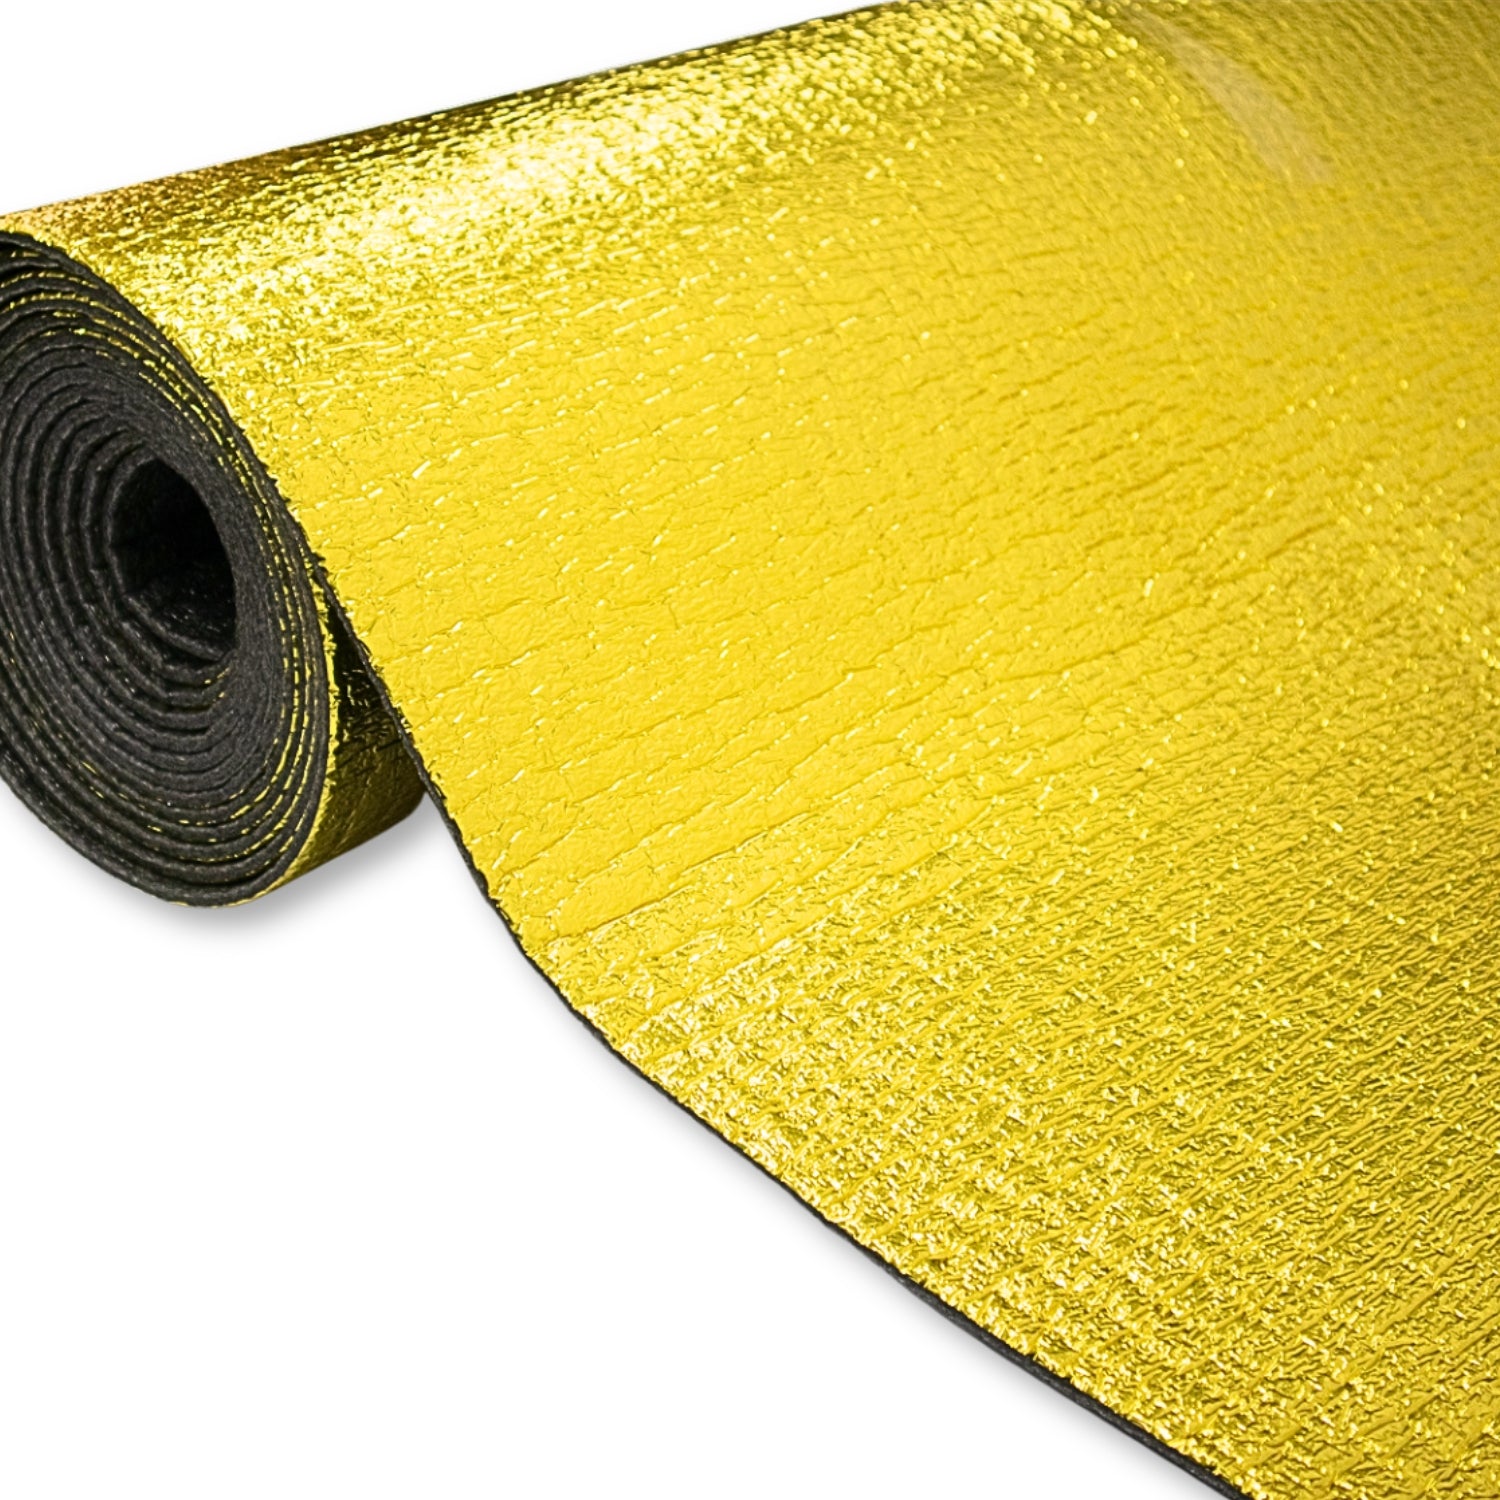
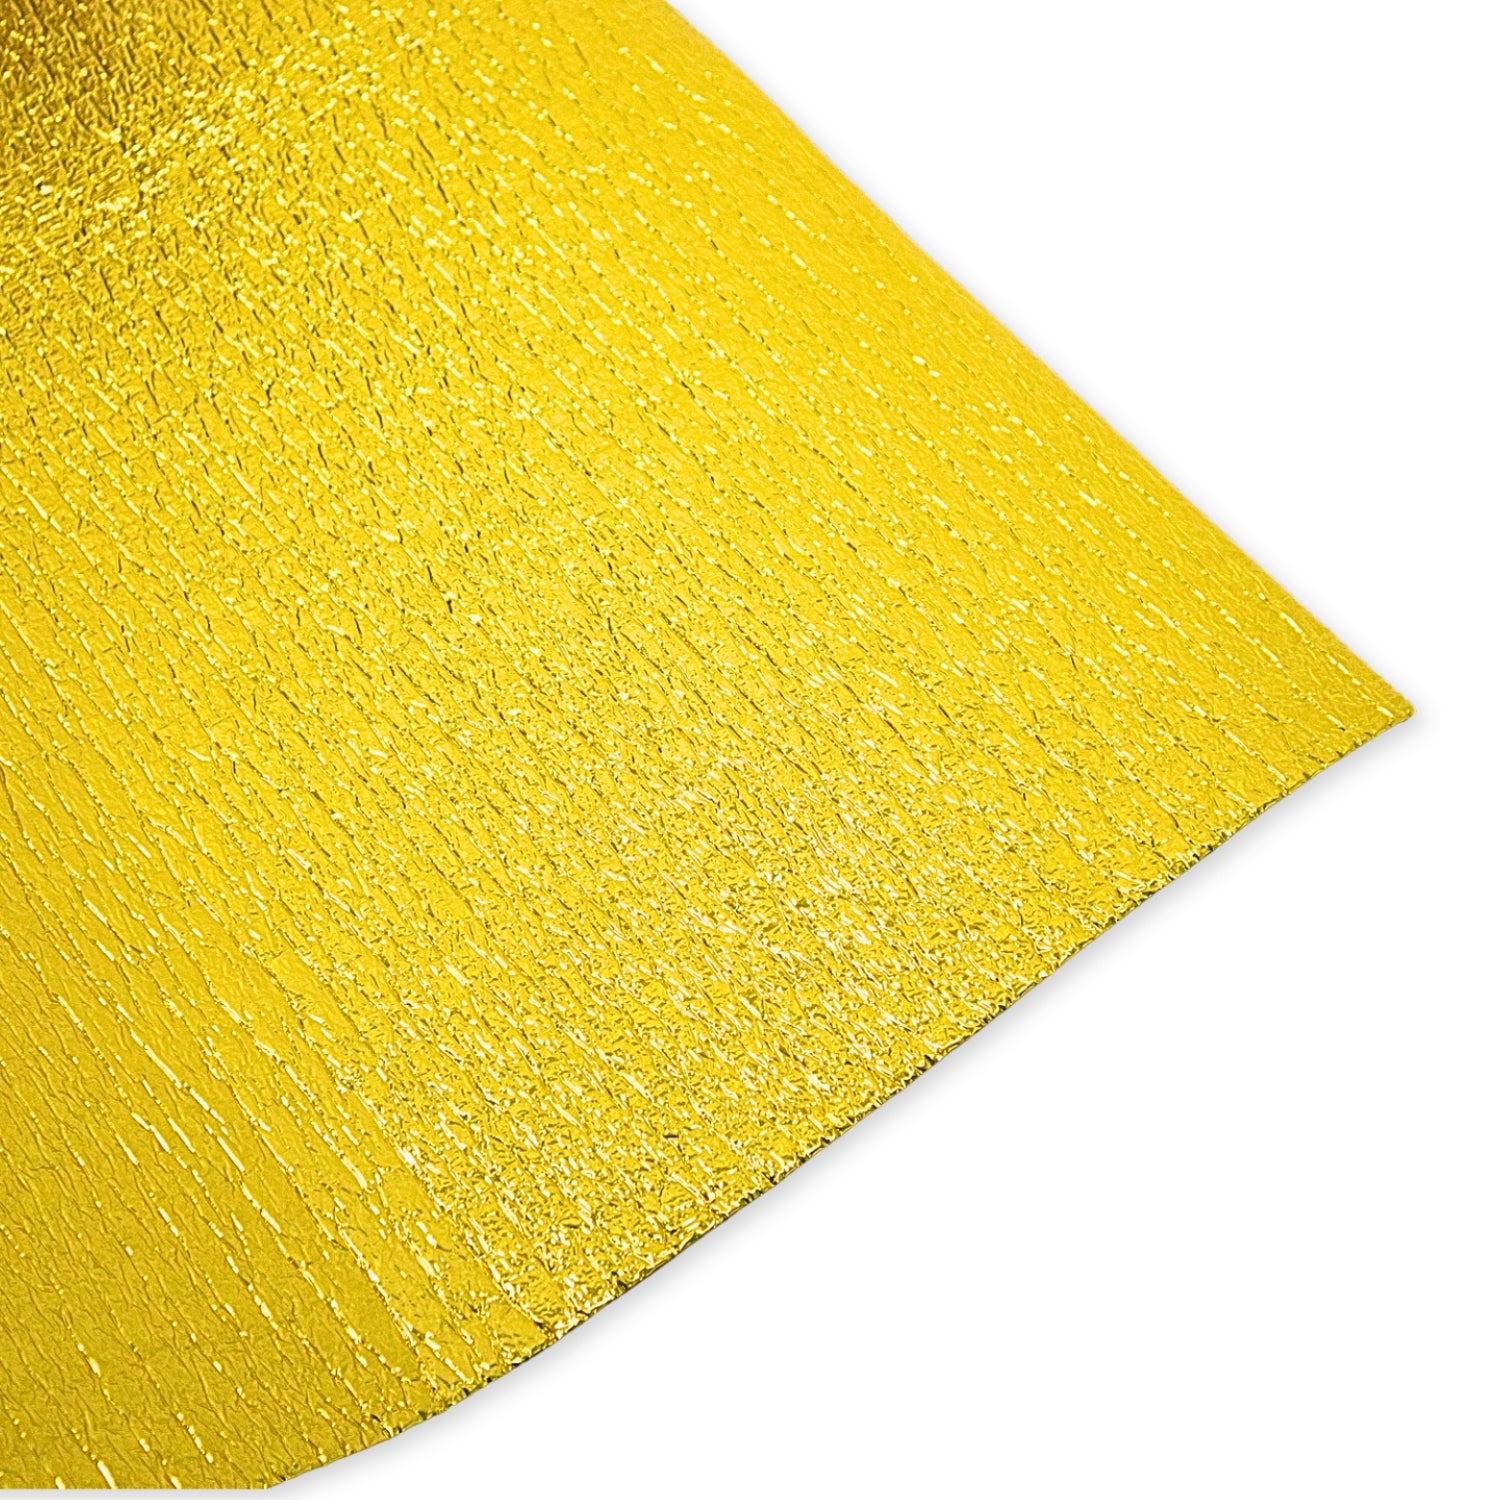
- Gold aluminium foil vapour control barrier – Helps reduce the risk of moisture build-up
- Lightweight – Easy to handle and install
- Flame retardant – Added safety for your van build
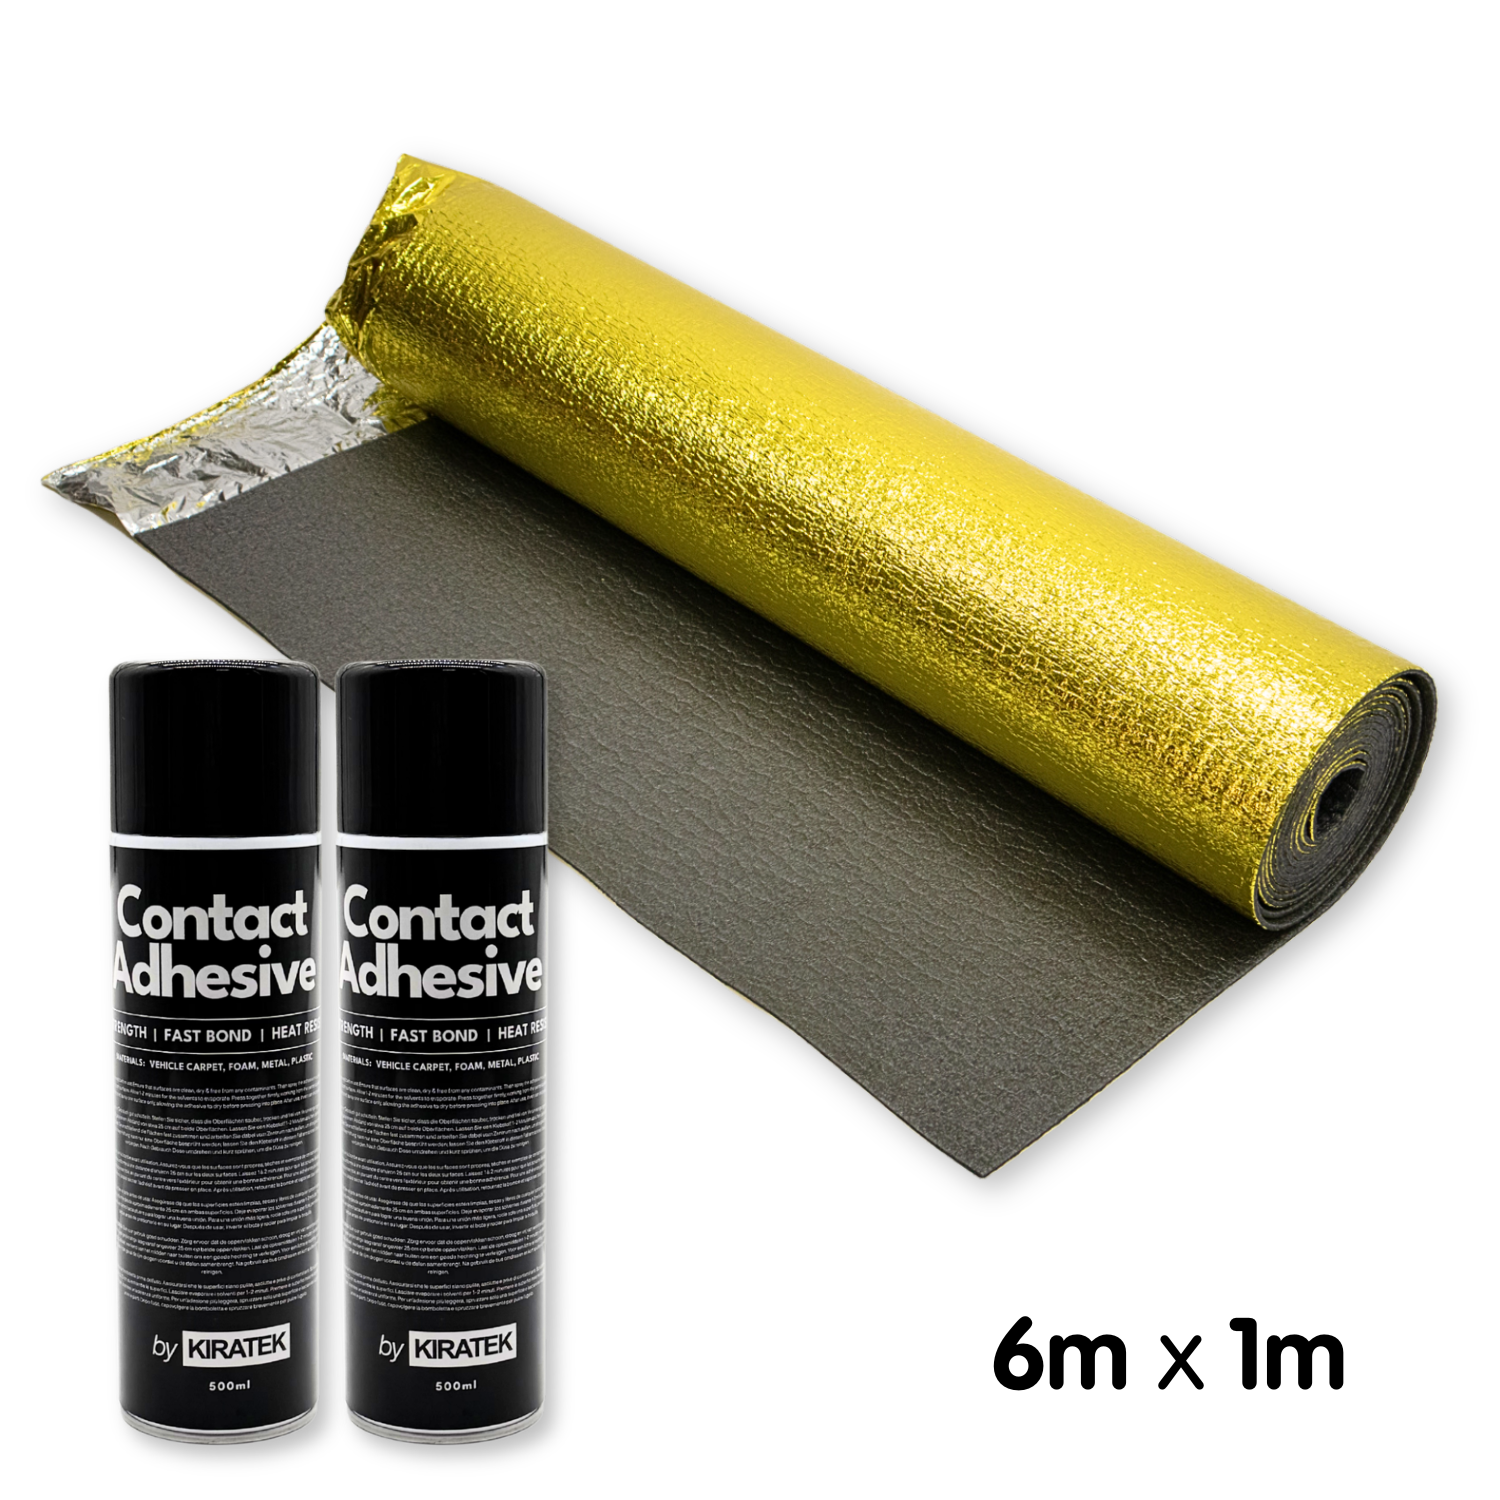
- Includes enough High Temperature Spray Adhesive – One complete kit!
Technical details
- Width: 1 metre
- Length: Choice of length
- Thickness: 5mm
Not sure which size you need?
| Van Size | Approx. Floor Coverage Needed | Recommended Underfloor Insulation | Van Size Examples |
|---|---|---|---|
| HALF Camper | 4sqm | 1 x 4m roll | VW Caddy, Ford Transit Connect |
| MEDIUM - Short Wheel Base | 5sqm | 1 x 6m roll | VW Transporter T4/T5/T6/T6.1, Ford Transit Custom, Vivaro, Trafic, Primastar |
| MEDIUM - Long Wheel Base | 6sqm | 1 x 6m roll | VW Transporter T4/T5/T6/T6.1, Ford Transit Custom, Vivaro, Trafic, Primastar |
| LARGE | 7-8sqm | 2 x 4m rolls | VW Crafter, MAN TGE, Mercedes Sprinter, Fiat Ducato |
How to fit underfloor insulation in a campervan
What you'll need:
- Gold Underfloor Insulation
- High-temperature spray adhesive
- Utility knife
- Tape measure
- Degreaser + clean cloth
Tip: Install in dry, room-temperature conditions for best adhesion.
1. Prepare the Floor: Sweep / vacuum any dust and debris. Wipe the metal floor with degreaser and allow to dry fully. A clean surface is important for the adhesive to stick.
2. Roll out & Cut the Insulation:
-
Roll the insulation out across the entire floor area. Allow it to settle flat for a moment - this makes cutting easier.
-
Roughly position it into place.
-
Cut around obstacles such as wheel arches, steps, seat mounts, or any floor reinforcements. Use a sharp utility knife and make slow, controlled cuts. Lift or fold the insulation back slightly where needed so you can see the outline clearly.
-
Check your fit frequently.
As you cut, press the sheet down temporarily to make sure it settles nicely into floor contours. -
Trim the edges for a snug finish.
Once everything is sitting flat, tidy up the perimeter by trimming flush to the walls or ribs.
Tip: Large sheets can be bulky. If the piece becomes difficult to handle, don’t hesitate to cut it into two sections to make fitting easier - it won’t affect performance.
If handling large pieces feels difficult, you can also cut the insulation into smaller, more manageable sections. This makes it easier to position the material accurately, especially if installing it without any help. Smaller offcuts can also be used to neatly fill any remaining gaps.
3. Apply Adhesive & Fix the Insulation
- Work in manageable sections so the glue stays tacky.
- Spray a thin, even coat of adhesive on both the metal floor and the back of the insulation.
- Allow 30–60 seconds for the adhesive to go tacky.
- Press the insulation firmly into place.
- Smooth from one edge outward to avoid air pockets.
- Ensure it is fully stuck down over ridges and corners.
4. Add Your Flooring
- Lay plywood or your finished floor covering directly on top.
- If using wooden battens, place them on top of the insulation (not on the bare metal) to maintain continuous insulation.
Downloads
- 📄 Kiravans_Guide_to_Lining_and_Insulation_-_EN_-_EU_19.5.26?v=13216898753612586394
- 📄 Kiravans_Guide_to_Lining_and_Insulation_-_DE_-_EU_19.5.26?v=1341552485107635333
- 📄 Kiravans_Guide_to_Lining_and_Insulation_-_FR_-_EU_19.5.26?v=11781593676593581868
- 📄 Kiravans_Guide_to_Lining_and_Insulation_-_ES_-_EU_19.5.26?v=8701840867010735285
- 📄 Kiravans_Guide_to_Lining_and_Insulation_-_IT_-_EU_19.5.26?v=15379910778108904230
- 📄 Kiravans_Guide_to_Lining_and_Insulation_-_NL_-_EU_19.5.26?v=8694541492370723474
DELIVERY - 12.50 EUR
Kiravans' straightforward delivery pricing - a flat fee of 12.50 EUR, for Zone 1 & 2 countries regardless of the quantity of items you purchase.
This transparent approach means that you only pay for the first box, whether you buy one item or twenty items! We believe in fairness and honesty, and our delivery pricing reflects that by not hiding costs within our product prices.
Not sure what zone you are in? Check here.
Kiravans provide a comprehensive 'No Quibble Returns' policy. You can return any purchase up to 90 days after purchase, for an exchange or full refund.
We only ask that you follow any manufacturers' recommended maintenance advice and use-by dates. Read our full policy here >
Payment & Security
Your payment information is processed securely. We do not store credit card details nor have access to your credit card information.
Kiravans is the leading online retailer of campervan conversion products. We have been designing, making and sourcing top quality kit for over 16 years.
Our warehouse is in the Netherlands. We are proud of our fast deliveries and there's no import duties or tariffs to pay - just a hassle free shopping experience!
Read the Kiravans full story here
Shop All >